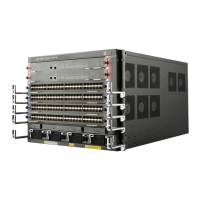
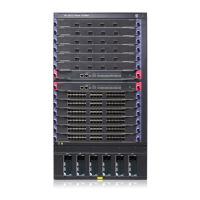
24
The power supply slots are horizontal on a 10504 switch and vertical on a 10508, 10508-V, or 10512
switch.
Strictly follow the order shown in Figure 20 to a
void security hazards.
Figure 20 Power supply installation flow
AC and DC power supplies are installed in the same way. This section uses an AC power supply as an
example. For information about AC and DC power supplies, see HP 10500 2500W AC Power Supply
User Guide and HP 10500 2400W DC Power Supply User Guide.
Some power supply slots do not have blank panels. The figures in this section are for illustration only.
To install the power supply:
1. Wear an ESD wrist strap and make sure it makes good skin contact and is reliably grounded. For
more information, see "Attaching an ESD wrist strap."
2. Use a Phillip
s screwdriver to loosen the captive screws on the blank filler panel (if any) to remove
the blank filler panel.
3. Unpack the power supply.
4. Follow the installation graph printed on the blank filler panel of the power supply to install the
power supply in a correct direction:
a. Grasp the handle of the module with one hand and support the module bottom with the other.
b. Push the power supply along the guide rails into the slot until it has firm contact with the slot.
For vertical slot installation, see callout 1 in Figure 21. For horizontal slot installation, see
callo
ut 1 in Figure 22.
5. Press the han
dle inward until the handle seats into the slot.
6. As shown by callout 2 in Figure 21, us
e a Phillips screwdriver to fasten the captive screw on the
handle to attach the power supply.