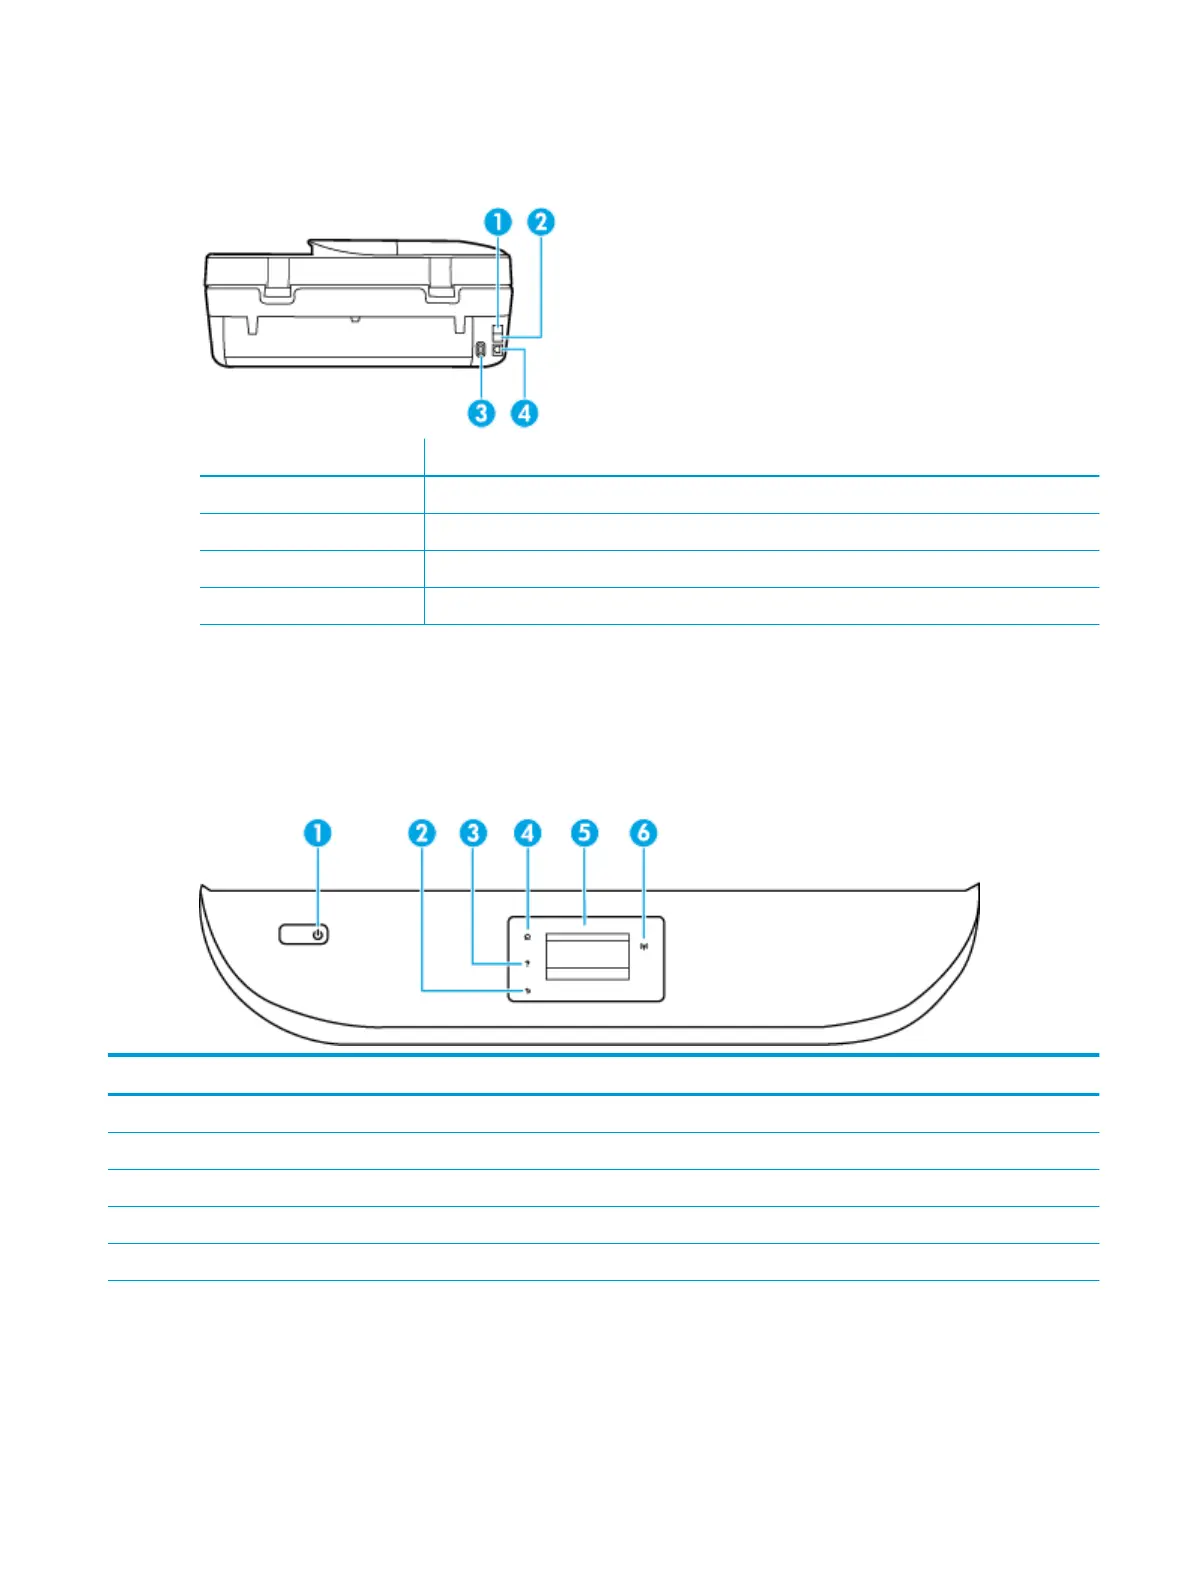
Back view
Figure 2-2 Rear view of HP OiceJet 5200 All-in-One series
Feature Description
1 Fax port (2-EXT)
2 Fax port (1-LINE)
3 Power connection. Use only the power cord supplied by HP.
4 Rear USB port
Control panel and status lights
Overview of buttons and lights
The following diagram and related table provides a quick reference to the printer control panel features.
Label Name and Description
1 Power button: Turns the printer on or o.
2 Back button: Returns to the previous screen.
3 Help button: Opens the Help menu for the current operation.
4 Home button: Returns to the Home screen, the screen that is displayed when you rst turn on the printer.
5 Control panel display: Touch the screen to select menu options, or scroll through the menu items.
6 Wireless light: Indicates the status of the printer wireless connection.
●
Solid blue light indicates that wireless connection has been established and you can print.
●
Slow blinking light indicates that wireless is on, but the printer is not connected to a network. Make sure your printer is
within the range of wireless signal.
ENWW Control panel and status lights 7
 Loading...