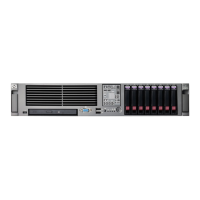
Hardware options installation 117
7.
Install the access panel (on page 28).
8. Slide the server into the rack.
9. Connect the LAN segment cables.
10. Connect each power cord to the server.
11. Connect each power cord to the power source.
12. Power up the server ("Powering up the server" on page 26).
Expansion board options
The server supports PCI Express expansion boards. The server ships with PCIe riser boards and
expansion slots. PCIe expansion boards are supported with optional riser boards.
Removing an expansion slot blank
WARNING: To reduce the risk of personal injury, electric shock, or damage to the equipment,
remove the power cord to remove power from the server. Pressing the Power On/Standby
button does not shut off system power completely. Portions of the power supply and some
internal circuitry remain active until AC power is removed.
CAUTION: For proper cooling, do not operate the server without the access panel, baffles,
expansion slot covers, or blanks installed. If the server supports hot-plug components,
minimize the amount of time the access panel is open.
To remove the component:
1. Power down the server (on page 26).
2. Remove all power:
a. Disconnect each power cord from the power source.
b. Disconnect each power cord from the server.
3. Do one of the following:
o Extend the server from the rack (on page 26).
o Remove the server from the rack (on page 27).
4. Remove the access panel (on page 27).
5. Remove the PCIe riser cage:
o Primary PCIe riser cage ("Remove the PCI riser cage" on page 30)
o Secondary PCIe riser cage
6. Remove the expansion slot blank:
o Primary PCIe riser cage

 Loading...