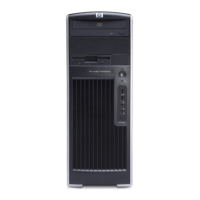
Removal and replacement of components
This section discusses the procedures necessary to remove and install various hardware components
on your workstation. Review the safety and precautions and the
Service considerations on page 52, as
well as the Safety and Regulatory Information, before servicing or upgrading your system.
1. Read all safety information and precautions.
2. Locate and clear a suitable work area.
3. Shut down the system and remove power from the unit.
4. Gather your tools.
5. Service your unit.
6. Restore power to your unit.
Disassembly order
Use the following table to determine the sequence in which to remove the major components.
Predisassembly
(
Predisassembly
procedures on page 57)
Locks (Security lock
(optional) on page 61
)
Side access panel (Side access panel
on page 63)
Hood sensor (Hood sensor
(Smart cover sensor)
on page 66)
Top
cover
Top
cover
on page 65
Front bezel (Front Bezel
on page 64)
Front panel I/O device assembly (Front
panel I/O device assembly on page 68)
Power button and front
speaker (
Power button
assembly and system
speaker on page 68)
Optical drive (Optical
drive on page 84)
Diskette drive (Diskette
drive (optional)
on page 86)
Bezel blanks (Bezel
blanks on page 65)
60 Chapter 4 Removal and replacement procedures ENWW

 Loading...