EasyManuals Logo

HPE OfficeConnect 1950 Series Getting Started Guide

HPE OfficeConnect 1950 Series
61 pages
To Next Page IconTo Next Page
To Previous Page IconTo Previous Page
Page #13 background imageLoading...
Page #13 background image
9
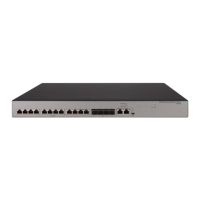
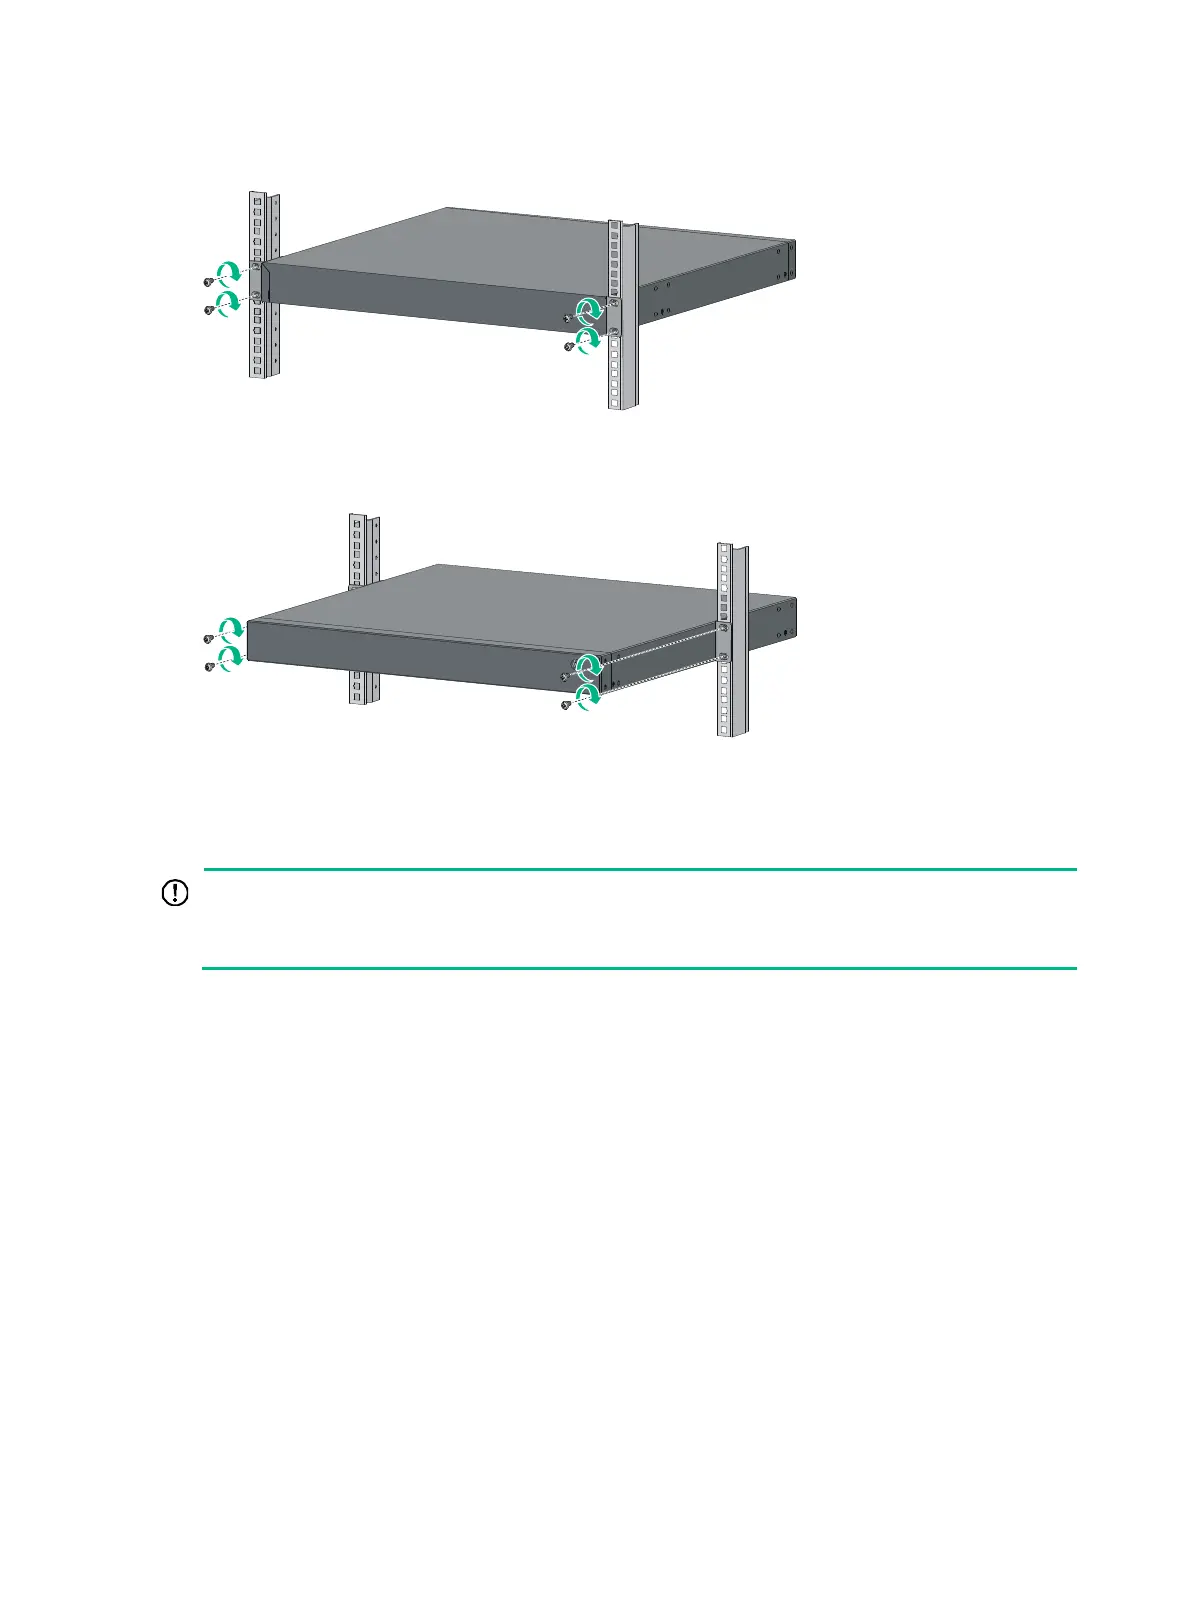
Figure 10 Mounting an HPE 1950 24G 2SFP+ 2XGT PoE+(370W) switch by the rear mounting
position
Figure 11 Mounting an HPE 1950 24G 2SFP+ 2XGT PoE+(370W) switch by the mid-mounting
position
Mounting the switch on a workbench
IMPORTANT:
Ensure 10 cm (3.9 in) of clearance around the chassis for heat dissipation.
Do not place heavy objects on the switch.
If a standard 19-inch rack is not available, you can place the switch on a workbench.
To mount the switch on a workbench:
1. Verify that the workbench is sturdy and reliably grounded.
2. Place the switch bottom up, and clean the round holes in the chassis bottom with a dry cloth.
3. Attach the rubber feet to the four round holes in the chassis bottom.
4. Place the switch upside up on the workbench.

Table of Contents

Other manuals for HPE OfficeConnect 1950 Series

Questions and Answers:

Question and Answer IconNeed help?

Do you have a question about the HPE OfficeConnect 1950 Series and is the answer not in the manual?

HPE OfficeConnect 1950 Series Specifications

General IconGeneral
ModelHPE OfficeConnect 1950 Series
Switch TypeManaged
LayerLayer 2/3
Switching CapacityUp to 176 Gbps
MAC Address Table Size16, 000 entries
Routing ProtocolStatic, RIP, OSPF
Operating Temperature0°C to 45°C
QoS SupportYes
Ports24 or 48 Gigabit Ethernet ports
10G PortsOptional 2 or 4 SFP+ ports
PoE SupportYes
StackingYes (up to 4 switches)
ManagementWeb-based, SNMP, CLI
Security802.1X, ACLs, Port Security
Forwarding RateUp to 131 Mpps
Power SupplyInternal
DimensionsVaries by model
WeightVaries by model
Operating Humidity10% to 90% non-condensing

Related product manuals