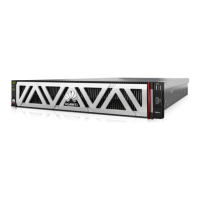
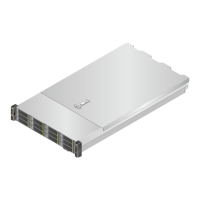
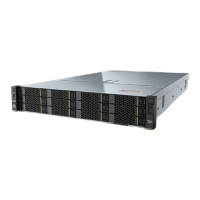
Figure 3-19 Installing the built-in drive assembly
Step 7 Install built-in drives. For details, see 5.3.2 Installing a SAS/SATA Drive.
Step 8 Connect cables to the built-in drive module. For details, see 7 Internal Cabling.
Step 9 On the iBMC WebUI, check whether the drives in the built-in drive assembly are normal. For
details, see the Huawei Rack Server iBMC User Guide.
----End
3.12 Removing a Riser Card Tray
Step 1 Wear an ESD wrist strap. For details, see 12 Preventing Electrostatic Discharge.
Step 2 Power off the server. For details, see 3.2 Powering Off the Server.
Step 3 Remove the power cables. For details, see 3.7 Removing Cables from a PSU.
Step 4 Remove the server. For details, see 3.3 Removing the Server and Guide Rails.
Step 5 Remove the chassis cover. For details, see 3.4 Removing the Chassis Cover.
Step 6 Loosen the screw on the riser card tray and lift the riser card tray. See Figure 3-20 or Figure
3-21.
2288H V5 Server
User Guide
3 Basic Operations
Issue 04 (2018-09-04) Copyright © Huawei Technologies Co., Ltd. 60
 Loading...

