LP500 Series Service Manual 12
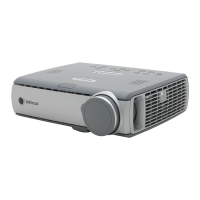
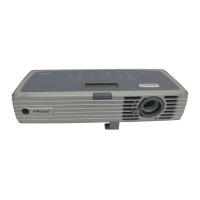
Assembly Notes
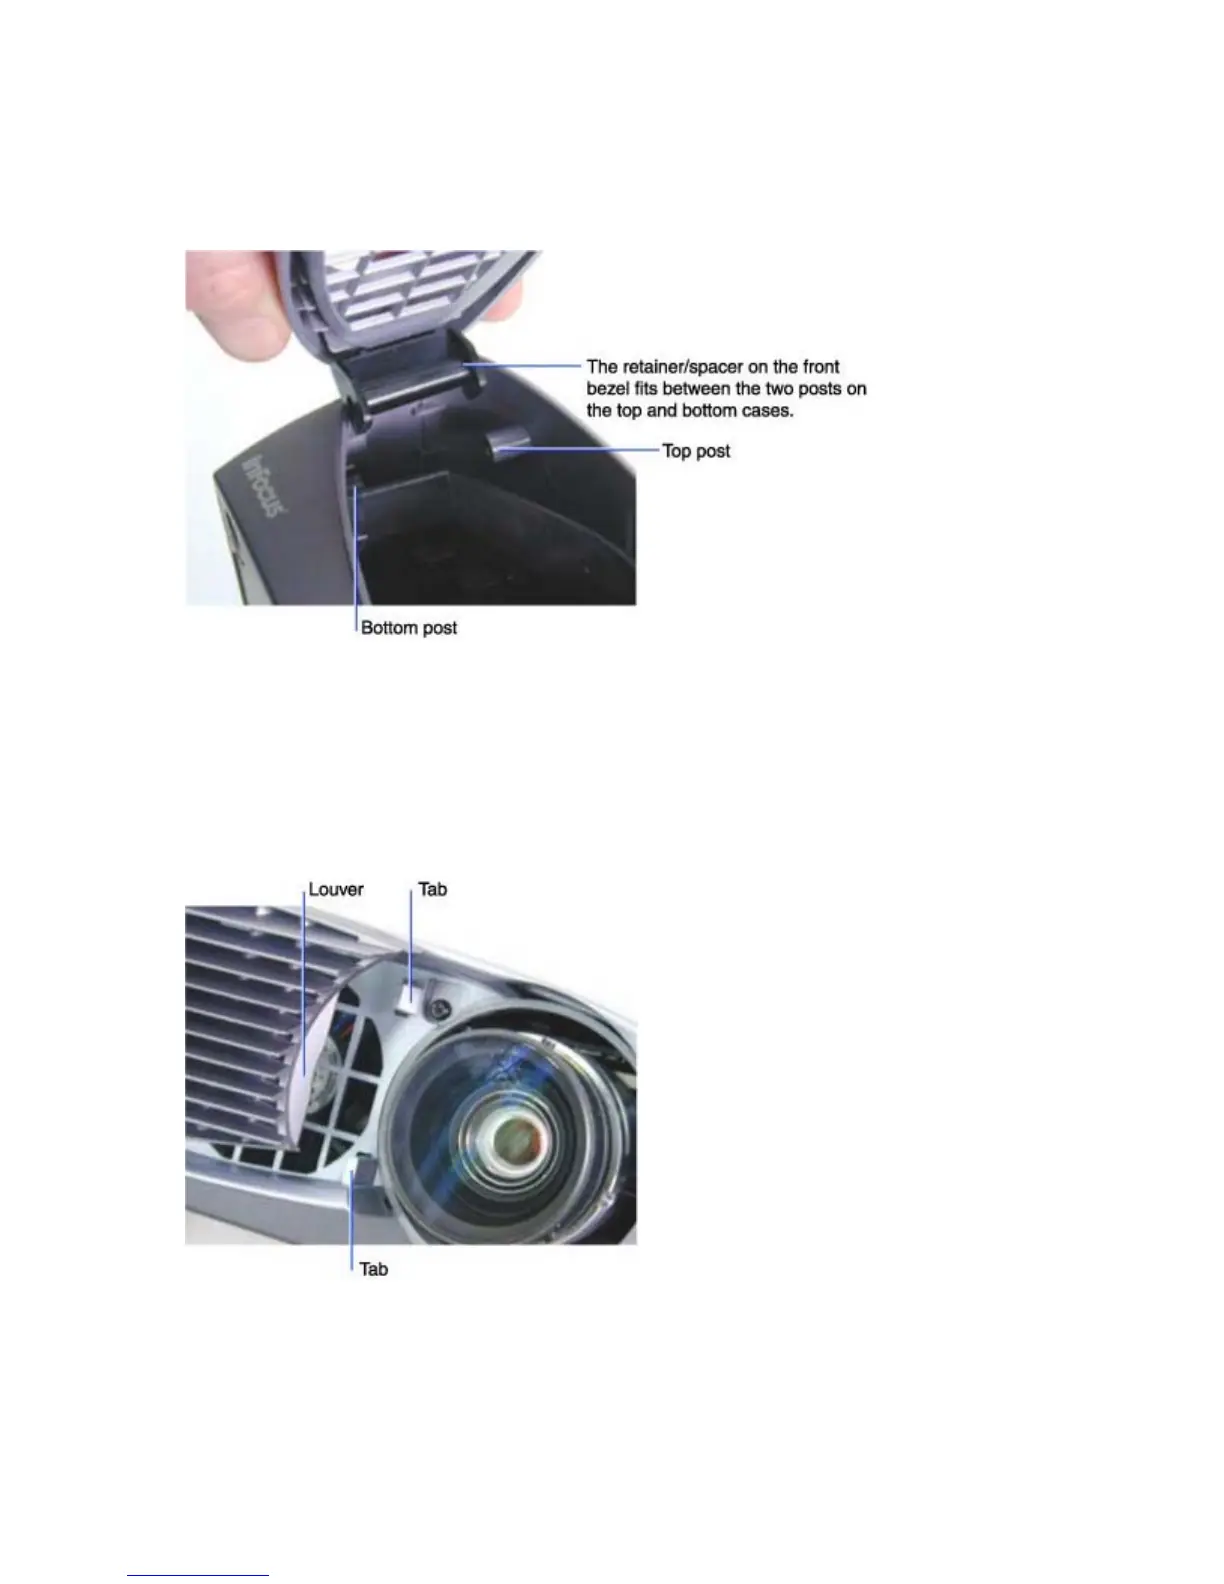
♦ To install the front bezel, slide the retainer/spacer at the left side of the bezel between the top and
bottom posts in the projector as you swing the bezel into place over the lens. The bezel should fit
evenly around the top and bottom cases.
♦ Insert the black M3x48 cone point Torx screw into its hole in the bottom case. If it does not fully insert,
it means that the front bezel is not properly installed. Torque the screw to 4 in.-lbs (.45 Nm)
♦ Torque the two black M3x8 Torx screws near the lens to 4 in.-lbs (.45 Nm).
♦ To install the bezel vent, slide the end nearest the lens toward the lens so that the two tabs on the
front bezel engage the first vertical louver on the inside of the vent.
♦ Torque the black M3x8 Plastite Torx screw on the bezel vent to 4 in.-lbs (.45 Nm).