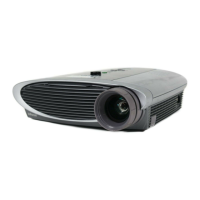
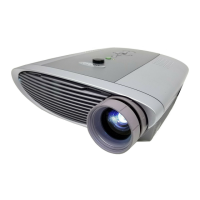
LP500 Series Service Manual 43
Remove and replace the rear bezel
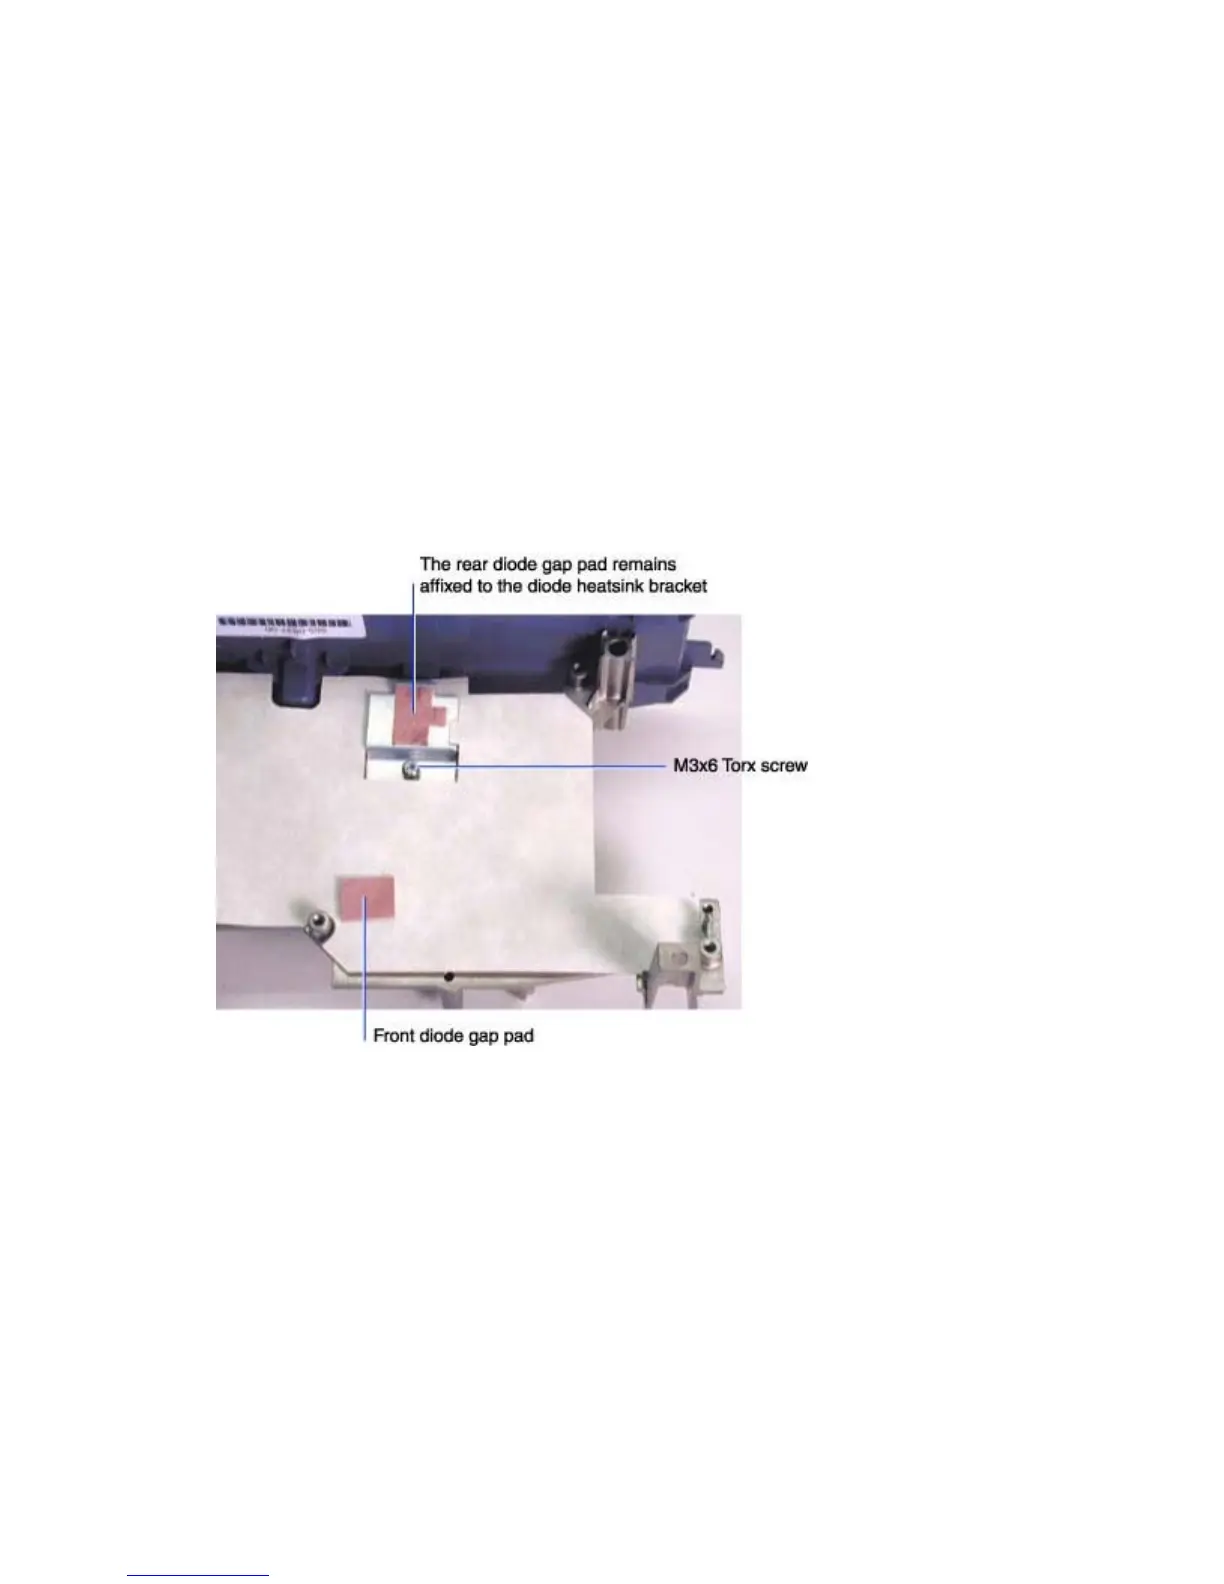
The rear bezel (505-0837-xx) fastens to the metal chassis. The rear bezel label (020-1137-xx) adheres
to the outside of the rear bezel.
When you access the rear bezel, you also remove the power supply insulator (329-0268-xx), the front
diode gap pad (329-0302-xx), the rear diode gap pad (329-0301-xx), and the diode heat sink bracket
(330-0724-xx). These four parts provide thermal and electrical protection for the power supply.
1 Remove the chassis and power supply from the bottom case (see page 39).
2 Remove the power supply from the chassis (see page 51).
3 Place the chassis on the work surface so that the paper power supply insulator faces upward.
4 Remove the M3x6 Torx screw that secures the diode heat sink bracket to the chassis, then
remove the heat sink and attached gap pad.
5 Remove the front diode gap pad. Place it in a secure location so that it does not get lost.