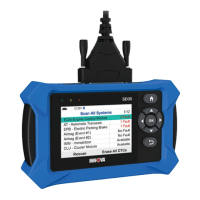
USING THE TABLET
OEM Diagnostics
29
n If In-use Performance Tracking is not available for your vehicle, an advisory message shows on the
diagnostic tablet’s display. Press Back to return to the Vehicle Information Menu.
4. When you have nished viewing the list of available modules, press Back to return to the Vehicle Information
menu.
OEM Diagnostics
The OEM DIAGNOSTICS function allows you to perform enhanced, OEM level diagnostics not available over generic
OBD2. It provides the ability to retrieve “enhanced” DTCs for ABS, Transmission, and Engine Control Module. You can even
provide a comprehensive Vehicle Inspection report that shows the complete Diagnostic Report, Customer Report, and the
Collision Industry Report – offering a complete overview of the vehicle’s current health status.
1. From the Home Screen, select OEM Diagnostics and press the OK
button.
2. A selection dialog is provided.
3. Choose the type of test you wish to perform:
n Select the Select System to perform a comprehensive module
scan in each Powertrain, Body, or Chassis group.
n Select the Scan All Systems to perform a comprehensive vehicle
scan of all available network modules.
n Select the “individual” listed control module name to perform a diagnostic check on that single
module.
n Select Vehicle Inspection to perform a complete vehicle health status report, including: OBD2
check, all Network system scans, service check, tire pressures, and more.
NOTE: The available modules may vary depending on the specic vehicle being tested.
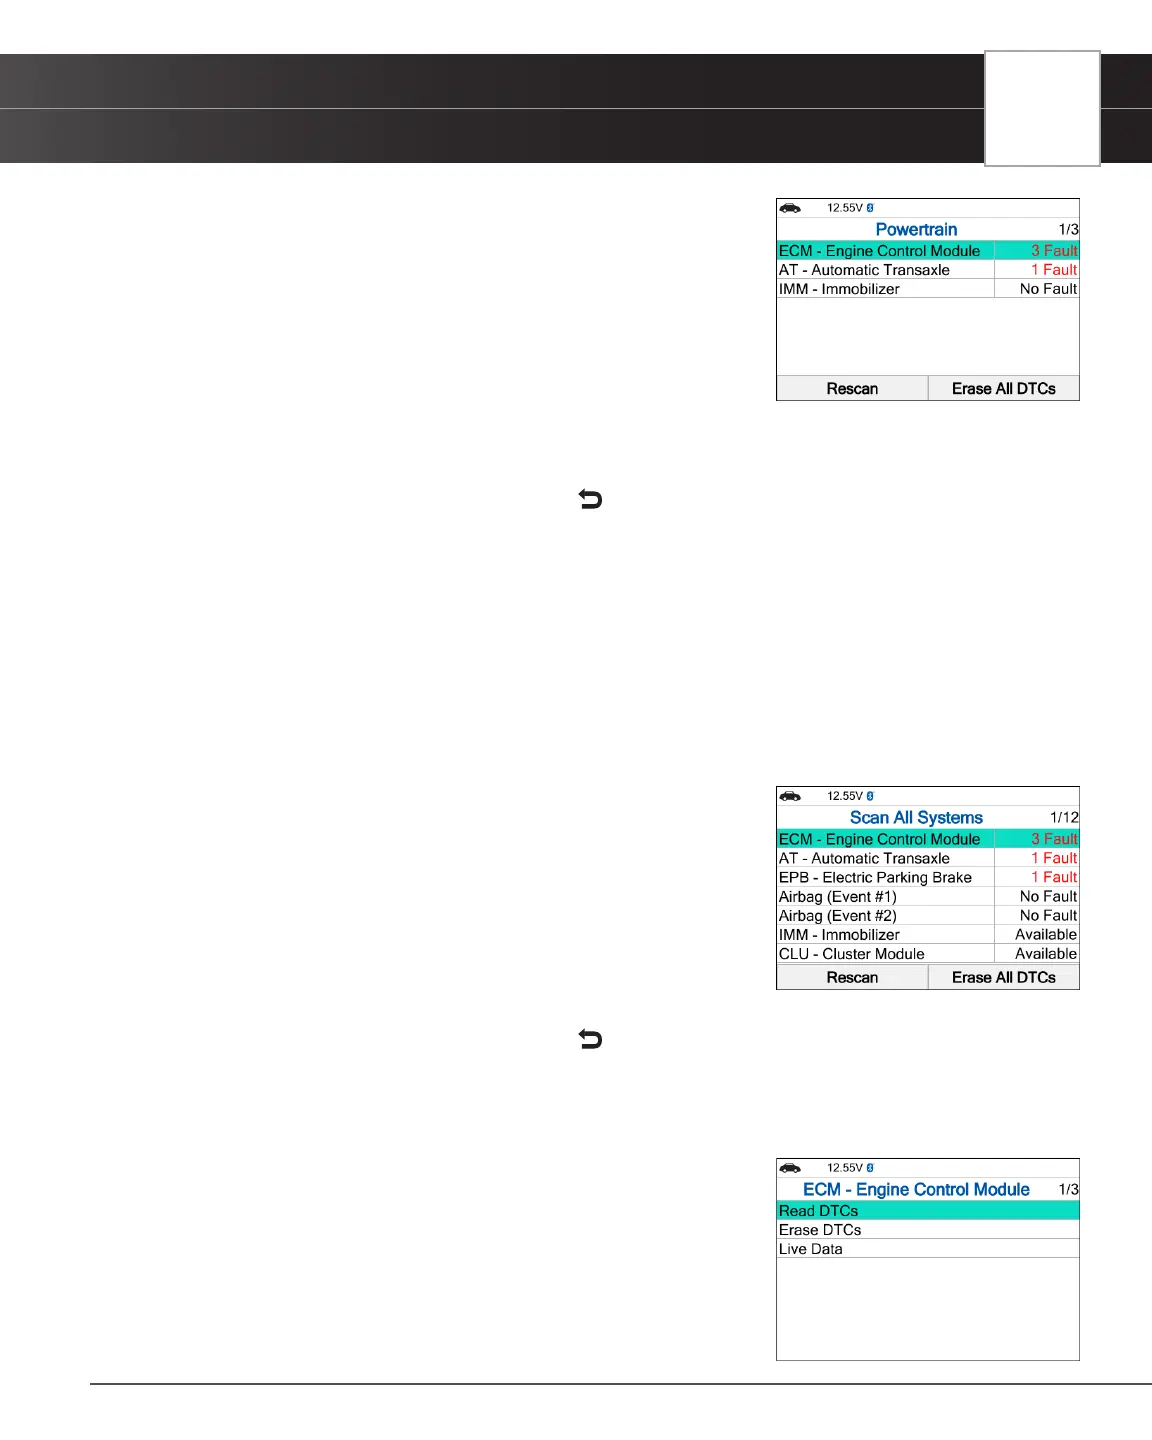
Perform a Scan - Select System
1. Select Select System from the OEM Diagnostics screen, then press OK.
n The Module Selection screen displays.
2. Choose either Powertrain, Body, or Chassis modules you wish to scan,
then press OK.
n A “Linking…” message displays while the Scan Tool scans all
available modules.
n When the scan is complete, the <Module> scan screen displays.
The screen shows the number of DTCs recorded for each available
module.
n The results window lists all tested control modules with its corresponding result:
━ Fault – Indicates the number of reported DTCs.
━ No Fault – Indicates that no DTCs were found.
━ Available – Indicates that the module is part of the system but
does not report DTCs.
n The results screen also allows too either:
━ Erase All DTCs - Erases all the module’s retrieved Diagnostic
Trouble Codes (DTCs).
━ Rescan - Performs scanning all systems again.
3. Select the desired system, then press OK.
n The menu for each module displays a list of options.
n Depending on the module selected, you can read DTCs, erase DTCs and view Live Data.
4. Choose the function you would like to run. Or press Back to return to the selected module screen.
n Read DTCs
n Erase DTCs
n Live Data
Perform a Scan - Scan All Systems
1. Select Scan All Systems from the OEM Diagnostics screen, then press OK.
n A “Linking…” message displays while the Tablet Scan Tool scans all available modules.
n When the scan is complete, the Scan All Systems screen displays.
The screen shows the number of DTCs recorded for each available
module.
n Select the desired system, then press OK.
2. Select the desired system, then press OK.
n The menu for each module displays a list of options.
n Depending on the module selected, you can Read DTCs, Erase
DTCs and view Live Data.
3. Choose the function you would like to run. Or press Back to return to the selected module screen.
Perform a Scan for Individual Modules
1. From the OEM Diagnostics screen, select a module from the available list
of modules, then press OK.
2. Depending on the modules selected, you can Read DTCs, Erase DTCs,
and view Live Data.
n Read DTCs
n Erase DTCs
n Live Data