30
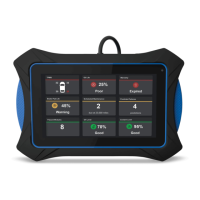
USING THE TABLET
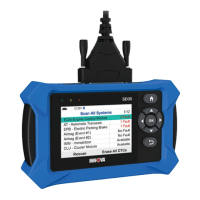
OEM Diagnostics
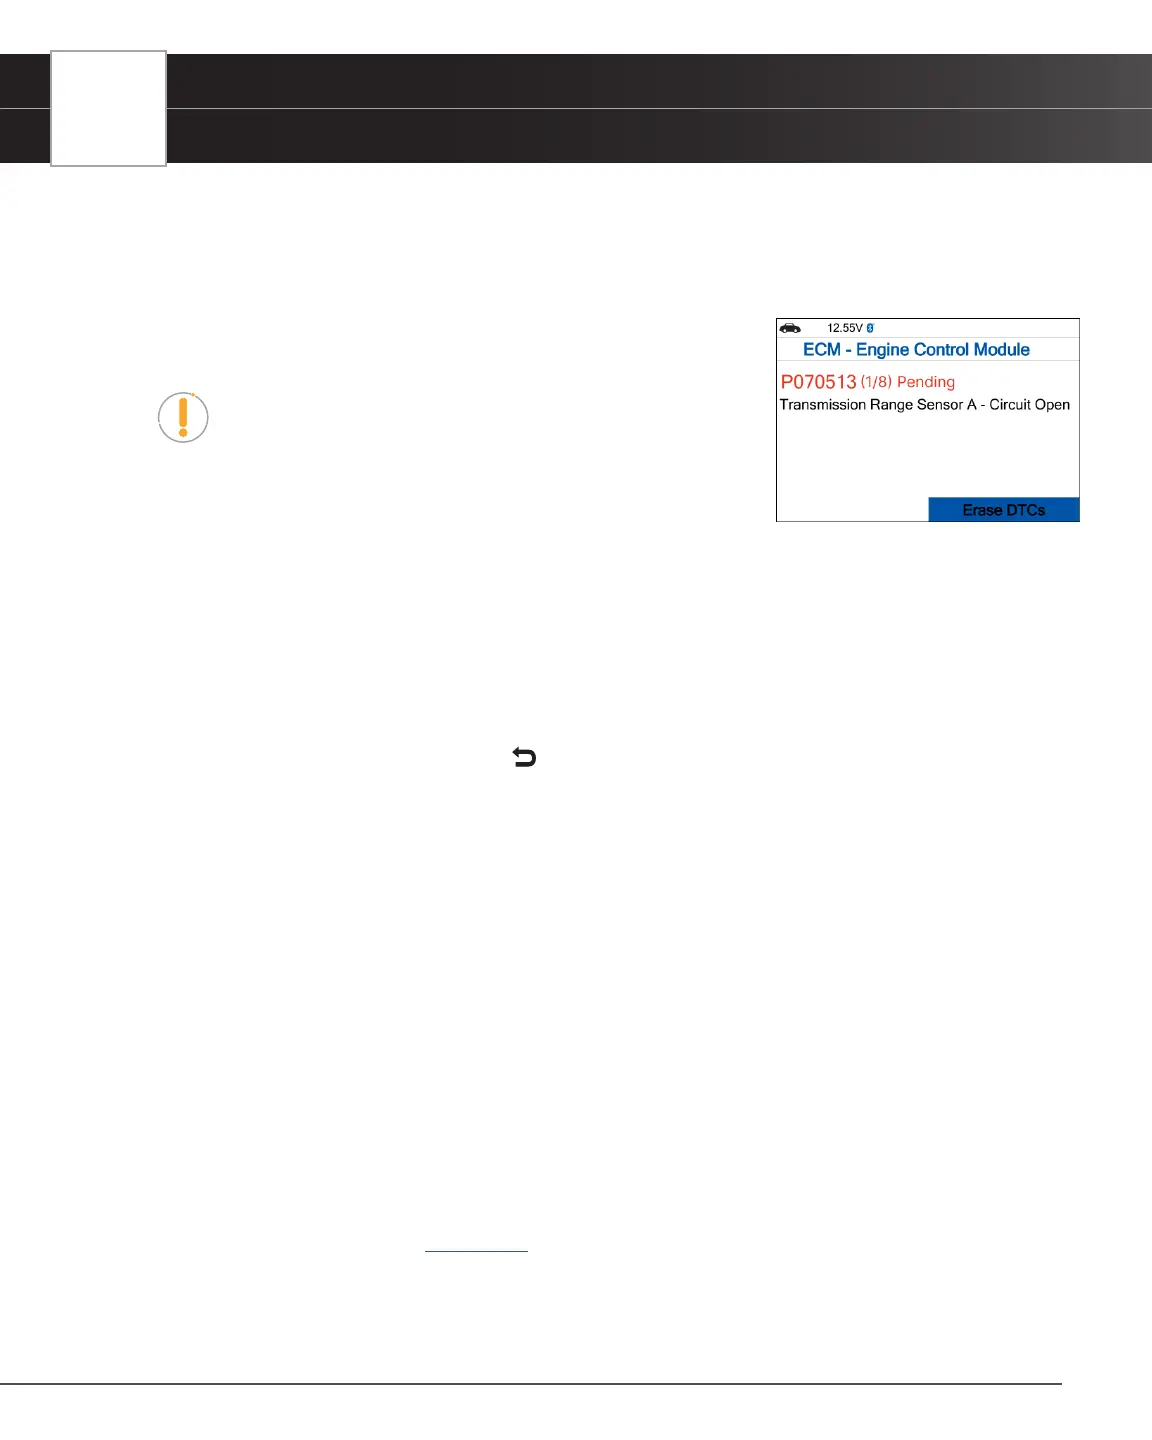
Reading DTCs
1. Select the module for which you wish to read DTCs.
n Select Read DTCs in the selected module screen.
2. The Tablet Scan Tool retrieves and displays DTCs stored in the vehicle’s
computer for the currently selected module.
NOTE: If no DTCs for the selected module are currently stored
in the vehicle’s computer, the message “No ‘modules’ DTCs are
presently stored in the vehicle’s computer” displays.
3. Select Erase DTCs to erase ALL retrieved Diagnostic Trouble Codes
(DTCs).
Erasing DTCs
1. Select the module for which you wish to erase its DTCs.
2. Choose Erase DTCs. A conrmation message shows.
n Ensure that the ignition in the Key ON, Engine OFF position.
n If you are sure you want to proceed, choose Erase DTCs for a second time.
n If you do not want to proceed, press Back to cancel the erase procedure.
3. If you selected to erase its DTCs, a “One moment please…” message displays while the erase function is in
progress.
n If the erase was successful, a conrmation message displays. After 3 seconds, the Tablet Scan Tool
will automatically re-scan the currently selected module.
n If the erase was not successful, an advisory message displays indicating the erase request was
sent to the vehicle’s computer. After 3 seconds, the Tablet Scan Tool will automatically re-scan the
currently selected module.
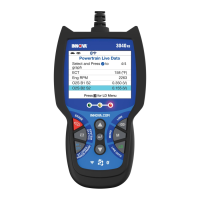
Live Data
Follow these steps to view Live Data for the currently selected module.
1. Select the module for which you wish to view Live Data, then press OK.
n The individual module menu screen displays.
2. Choose Live Data, then press OK.
n The results screen displays all the vehicle’s available PIDs with reported values.
n Refer to OBD2 Live Data [See page 17] on how to use Live Data mode.
Vehicle Inspection
Performing a full vehicle scan ensures peace of mind for you and your customers. Many systems do not turn on a light