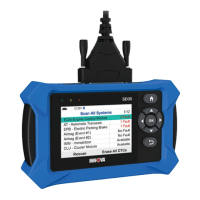
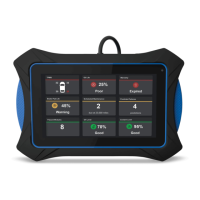
USING THE TABLET
OEM Diagnostics
31
or places a message on the vehicle’s Diagnostic Information Center, so following this process can help uncover hidden
issues.
A good practice is to perform a pre-scan before any work is done to uncover all issues, then a post-scan once repairs are
complete to conrm the repairs were completed properly. Furthermore, several manufacturers mandate a pre- and post-
scan for all warranty work and insurance carriers require it for pre- and post-collision work.
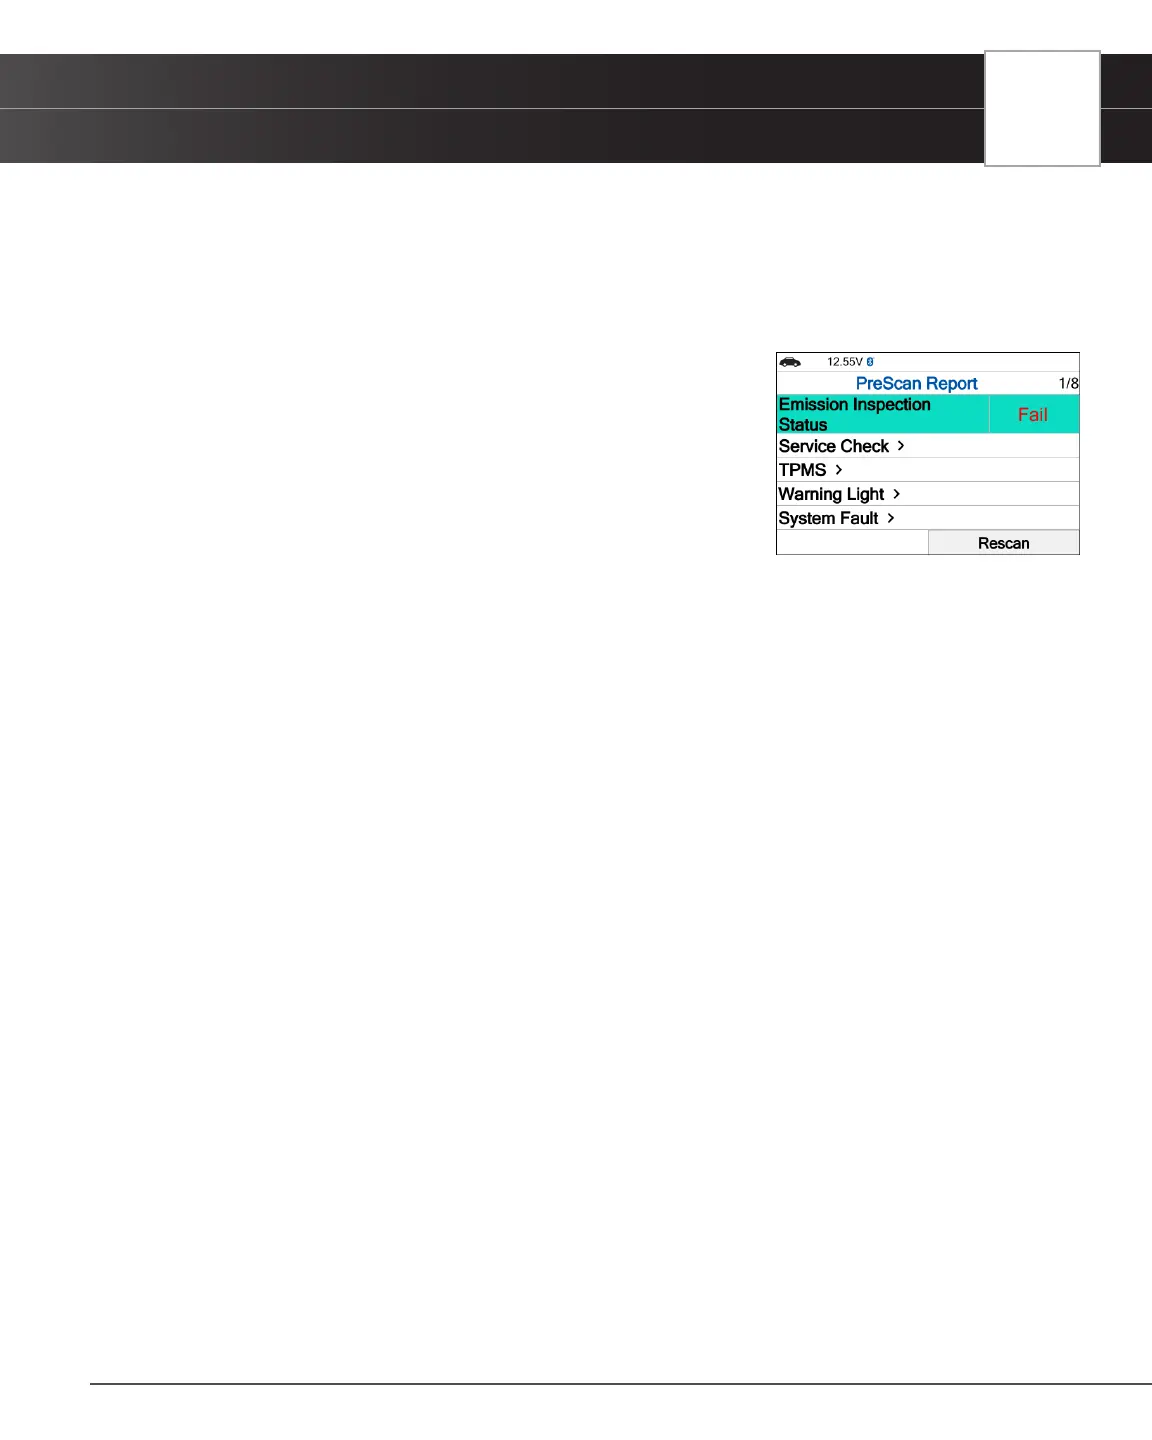
Emission Inspection Status - Indicates whether the vehicle
is ready for an Emissions Test (Smog Check) based on DTCs
present, Freeze Frame data, Monitor Status, MIL (Check Engine
Light) status, and Engine Type. Results are shown as “Pass”, “Fail”
or “Warning”.
Service Check – Provides values for Odometer, Engine Oil Level,
Oil Life Remaining, Transmission Fluid Temperature.
TPMS - Shows the status of the vehicle’s Tire Pressure Monitoring
System (TPMS) and the individual tire pressures for all tires.
Warning Light - Conrms the ON or OFF status for the vehicle’s ABS Dash Indicator and Airbag
Dash Indicator.
System Fault – Ahows number of DTCs retrieved for all of the vehicle’s systems.
System No Fault/Available – Provides information on which vehicle systems are not reporting any
DTCs and/or it does not support reading DTCs.
System No Response – shows the systems that the vehicle does not support.
1. From the OEM Diagnostics screen, select the Vehicle Inspection button.
n The Select Business Report screen displays.
2. Choose the Business Report you wish to retrieve, then press OK.
n Diagnostic Report – Provides a report for OBD2 Data, MIL DTC additional Information, Scan All
Systems Data, and Vehicle Care.
n Customer Report – Provides a report for OBD2 Data, Scan All Systems Data, Service Check, and
Vehicle Care.
n Collision Industry Report – Provides a report for OBD2 Data, Scan All Systems Data, and Service
Check.
3. Choose the report type you wish to view, then press OK.
n The PreScan – View the vehicle’s diagnostic report before making any repairs.
n The PostScan - View the vehicle’s diagnostic report after completing the repairs.
4. A “One moment please...” message displays, while the Tablet Scan Tool scans all the vehicle’s equipped modules.
n It can take several minutes depending on the number of available systems available on the vehicle
being tested.
5. A “Submitting data…” message displays while this function is in progress.
6. Select Rescan, to get the most current diagnostic status for vehicle under test – particularly as you continue to
troubleshoot each individual control module.