20 323094 Dev Kit Manual
3. Boot to BIOS Configuration screen by pressing F2 at the BIOS splash screen.
4. In the BIOS Main screen, check that the “Project Version” lists the correct version of
the BIOS.
5. Press the PWR key on the board to power the system back down, or you may simply
exit the BIOS menu and continue booting into the operating system.
BIOS update is now complete:
The system is now ready for normal operation.
2.9 Instructions to flash BIOS on SPI
The Intel
®
Core™ i7 Processor with Intel
®
QM57 Express Chipset Development kit requires the
use of a two-partition SPI image for SPI-0 and SPI-1 respectively. The Descriptors sit on SPI-0
while the BIOS on SPI-1.
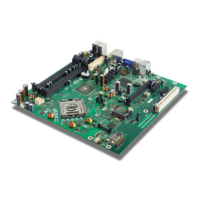
1. Remove all the power supplies to the board.
2. Connect the Dediprog* SF100 at J8E1.
3. Set jumpers J8D1 and J8D2 at 1-2.
4. Set jumper J8D3 and J9E2 at 1-2 for SPI-0 and flash the .bin image corresponding to
SPI-0.
5. Set the jumper J8D3 at 2-3 and J9E2 at 1-2 for SPI-1 and flash the .bin image
corresponding to SPI-1.
6. Set the jumper J9E2 at 2-3 for SPI-1 and flash the .bin image corresponding to SPI-2.
7. Once the programming is successful on the SPI, set J8D1 and J8D2 at 1-X and J8D3 at
1-X and 3-X.
8. Remove the Dediprog connector.
9. Set the SPI.
 Loading...
