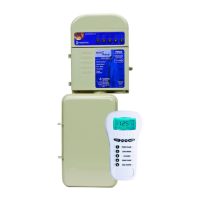
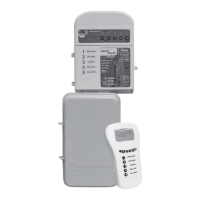
39 Programming — Use with Z-Wave Home Control Devices
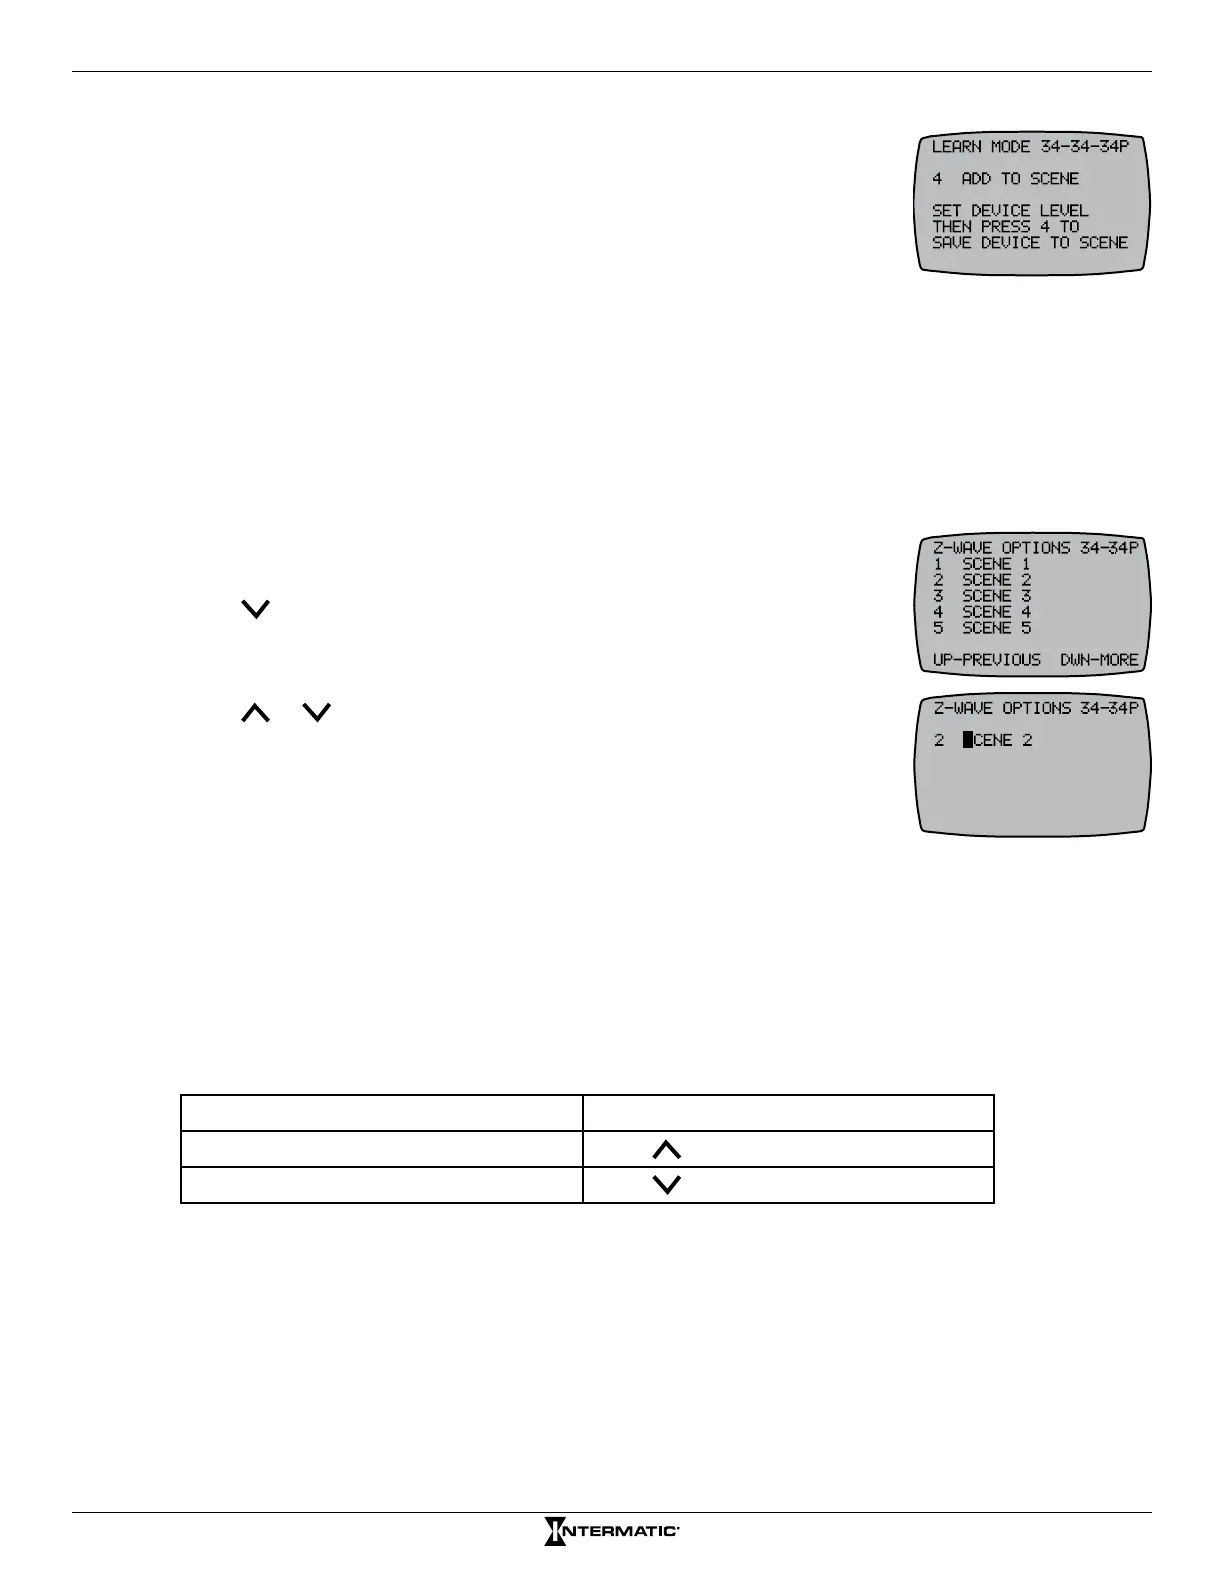
5. When a message appears on the controller instructing you to set the
device, adjust the device level as needed.
NOTE: Device levels enable users to congure which devices turn ON/
OFF when a Scene is activated.
6. Press the scene number to save the device to the scene. The controller
displays SUCCESSFUL to indicate the device is included in the scene.
7. Repeat steps 4 through 6 to add another device to a Scene or repeat steps 2 through 6 to add
devices to other Scenes.
8. When all the devices are added to the Scenes, press ENTER to scroll to the main screen.
&RQÀJXULQJ6FHQH1DPHVLQ&RQWUROOHU
Conguring Scene names enables users to better describe the function of each scene. Follow this
procedure to congure names for each Scene in the controller:
1. Press ENTER to scroll to the SCENE ACTIVATION screen.
2. Press P/S and ENTER simultaneously to access LEARN MODE.
3. Press to scroll to the Z-WAVE OPTIONS 32-32P screen.
4. Press the Scene number button for the Scene you want to name. The
Scene number appears with the rst letter of the name highlighted.
5. Press or to scroll to the desired number or letter and press
P/Sto scroll to the next character in the name.
6. Repeat step 5 as necessary to complete the desired name and press
ENTER to save the name and return to the Z-WAVE OPTIONS screen.
7. Repeat steps 4 to 6 as necessary to congure a name for each Scene.
&RQWUROOLQJ=:DYH'HYLFHV
Once you have included Z-Wave devices in the network and have added them to various Scenes,
follow this procedure to control Z-Wave devices:
1. Press ENTER to scroll to the SCENE ACTIVATION screen.
2. Press the corresponding button for the scene you want to activate. The scene name appears.
3. Take one of these actions:
If you want to... Then...
Activate the scene (ON)
Press
to activate the scene
De-activate the scene (OFF)
Press
to deactivate the scene
NOTE: After you activate or deactivate the scene, the controller screen displays WORKING
followed by SUCCESSFUL when it completes the command, and then returns to the scene
screen.
4. Repeat steps 2 and 3 to activate another scene.
5. When all the desired scenes are activated, press ENTER to return to the PE653 screen.