47
ALS 4.0 XE
PRODUCT MANUAL
EN
Step 6 – Move T1 to “-2” using the “Move T1” button on
the Manual Control Screen
Figure 122
Step 7 – Move Z1 to “2” using the “Move Z1” button on
the Manual Control Screen.
Figure 123
Step 8 – Start the blade using the “Saw Motor On”
button on the Manual Control Screen.
Figure 124
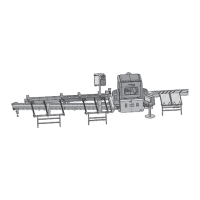
4.10 Check Alignment of the
T/Z Slide & Belt Feeders
Step 1 – Place a piece of machined lumber that is at
least 7.25” wide across the L1 and L2 belts.
Step 2 – Engage the L1 & L2 Pushers by pressing the
“L1 Pusher In” and “L2 Pusher In” buttons on the Manual
Control Screen.
Figure 118
Step 3 – Engage the L1 & L2 Clamps by pressing the
“L1 Clamp Down” and “L2 Clamp Down” buttons on the
Manual Control Screen.
Figure 119
Step 4 – Move B1 to “0” using the “Move B1” button on
the Manual Control Screen.
Figure 120
Step 5 – Move A1 to “90” using the “Move A1” button on
the Manual Control Screen.
Figure 121
 Loading...