JABLOTRON ALARMS a.s.
Pod Skalkou 4567/33 46601 Jablonec n. Nisou
Czech Republic www.jablotron.com
||
|
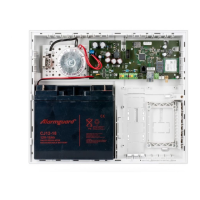
JA-101K(-LAN)(-LAN3G) and JA-106K(-3G)
Security System Control Panels 59 / 110 MLJ51410
10.1 Starting the F-Link software and setting the system size
1. Connect a computer to the control panel using a USB cable – the computer will initialize the new USB device
(it may take a longer time if the control panel is being connected for the first time).
2. After the connection your computer will display two newly found drives: FLEXI_CFG
and FLEXI_LOG. If displayed, you can close the window.
3. Start the F-Link software. If the control panel has default settings, the Initial setup tab will open and
the system will automatically get into the Service mode. If the control panel has been configured before
(its service code has been changed), the software will request entry of the code – it should be entered
in the format 0*nnnn (the default setting of the service code is 0*1010). If the prefix is disabled (in the Initial
setup tab in F-Link) it is nnnn (1010). You can use the Remember option to make the software save
the code until closing of the database. Use the Display Code option to check the entered code e.g. if you
use an alphanumerical keyboard where a mistake can be made. Note: After establishing connection using
the USB cable the possibility of programming changes of settings from the LCD keyboard will be disabled
(menu item Settings will be
disabled). After disconnection of
the cable the item will re-appear in
the menu in a few seconds.
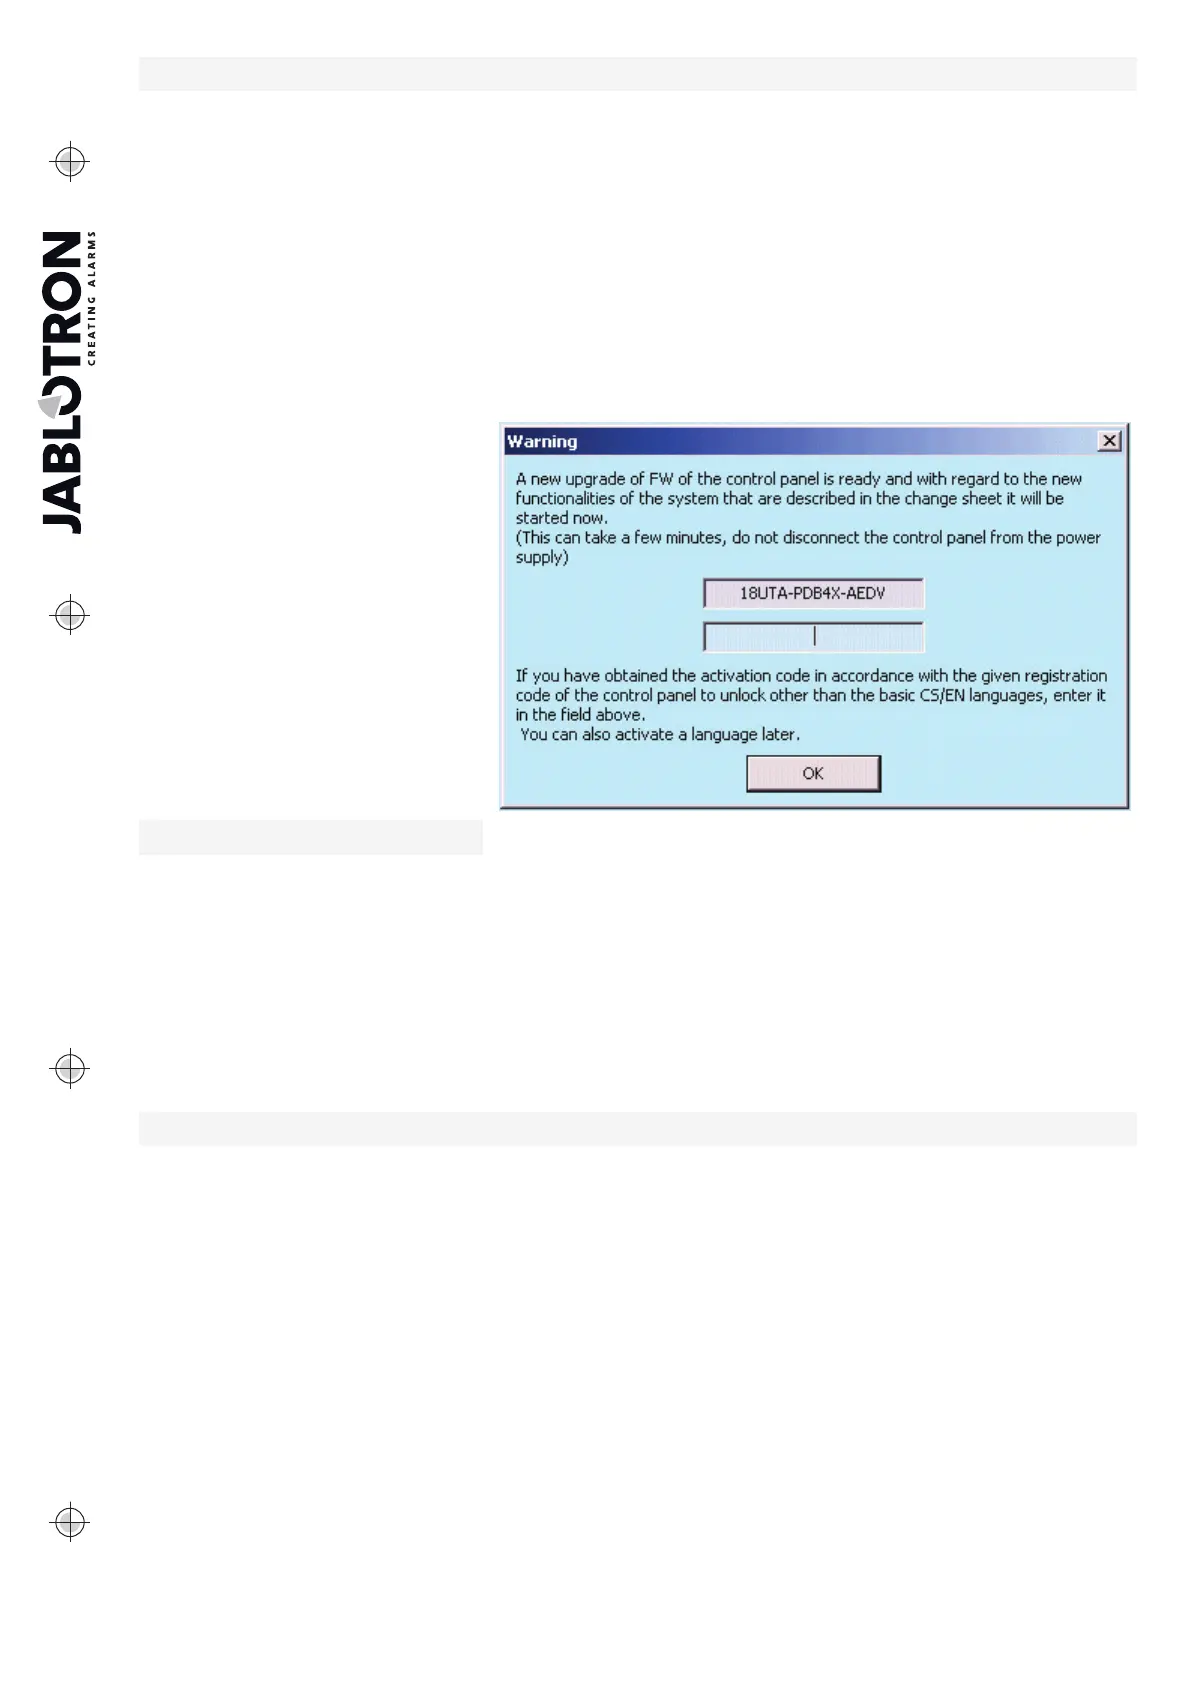
4. After proper authorization
the following window can appear:
In such a case we recommend
to perform the update. After
confirmation of the key the new
firmware package will be downloaded,
which may take a few minutes. After
the completion of the update the first
page of the Wizard (Initial setup tab)
will be displayed.
10.2 Starting the Wizard
1. In every offered tab set the required parameter and click on the “Next” button. If you skip a setting by
mistake, you can return to tab that have already been previously set in the Wizard.
2. After setting the last tab press “Save” and close the Wizard with the “Exit” button.
3. After exiting you will be asked whether you want to start the Installation Wizard when starting the F-Link
software next time.
4. You can exit the Wizard any time during the setting process by pressing the “Exit” button.
5. You can start the Wizard independently and any time in the Control Panel / Installation Wizard menu
10.3 Initial setup
This tab is used to set the basic size of the system. The set values can be changed any time. The range
values influence the size of the database and thus the time required for loading and saving data (generally via
remote access). To make changes in this tab you do not need to be in the Service mode. During the first start of
the F-Link SW the Wizard will gradually guide you through the setting of all parameters of the system.