Do you have a question about the JRC JMA-933B and is the answer not in the manual?
Explains various symbols used for safe operation and correct handling of equipment.
Notifies about a warning label on the equipment's top cover.
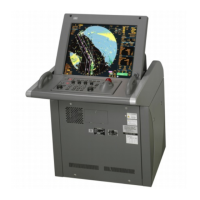
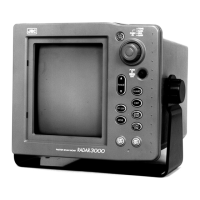
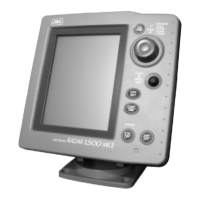
Lists components and optional accessories for the JMA-900B series radar system.
Details the internal circuits for the JMA-900B Scanner Unit and Transceiver Unit.
Illustrates the overall system connections and components for the JMA-933B-SA radar.
Outlines the configuration of NCD-2096 display unit components.
Describes the H-2695110056* 14-core shielded composite cable.
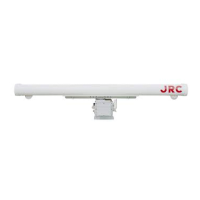
Provides installation instructions for NKE-1125, NKE-1129, NKE-1130, NKE-1139 scanners.
Covers installation procedures for NTG-3225 and NTG-3230 type transceivers.
Details important precautions for transporting and installing the scanner unit.
Guides on determining the optimal installation location for the display unit.
Instructions for connecting the power cable to the display unit.
Details how to connect the display unit to the scanner and transceiver.
Explains how to connect the GPS device to the display unit.
Describes connecting the vessel speed unit to the display unit.
Covers connecting GYRO and Electromagnetic LOG devices.
Details connecting the GYRO using IEC61162-1/2 standard.
Explains how to connect the AIS unit to the display unit.
Details connecting the ECDIS system to the display unit.
Describes connecting to an alarm monitoring system.
Provides instructions for installing the cable ground.
Steps to confirm and set the power supply for the units.
Procedure for connecting sensors to the CQD-2121 standard terminal board.
Details setting the Ethernet rotary switch for equipment configuration.
Procedure for connecting to the CQD-2128 radar terminal board.
Instructions for setting the GYRO I/F circuit, including STEP/SYNC.
Guides on displaying the device and configuration set menus for port settings.
Instructions for setting the ship's parameters like length and beam.
Covers setting antenna positions and the CCRP location on the ship.
Details various settings within the RADAR application, including navigation equipment.
Procedures for backing up application data to external memory.
Instructions for installing the Interswitch Unit and its components.
Covers the installation of the NQE-3167 Power Control Unit.
Instructions for installing the VDR (Video Recording Device).
| Output Power | 25 kW |
|---|---|
| Transmitter Output Power | 25 kW |
| Peak Power | 25 kW |
| Antenna Type | Slotted waveguide array |
| Antenna Rotation Speed | 24 rpm |
| Maximum Range | 96 nautical miles |
| Display | LCD color display |
| Range Scales | 3, 6, 12, 24, 48, 96 nm |