4. When the fan stops spinning, slide the fan tray completely out of the chassis.
5. Place the fan tray in the antistatic bag or on the antistatic mat placed on a flat, stable
surface.
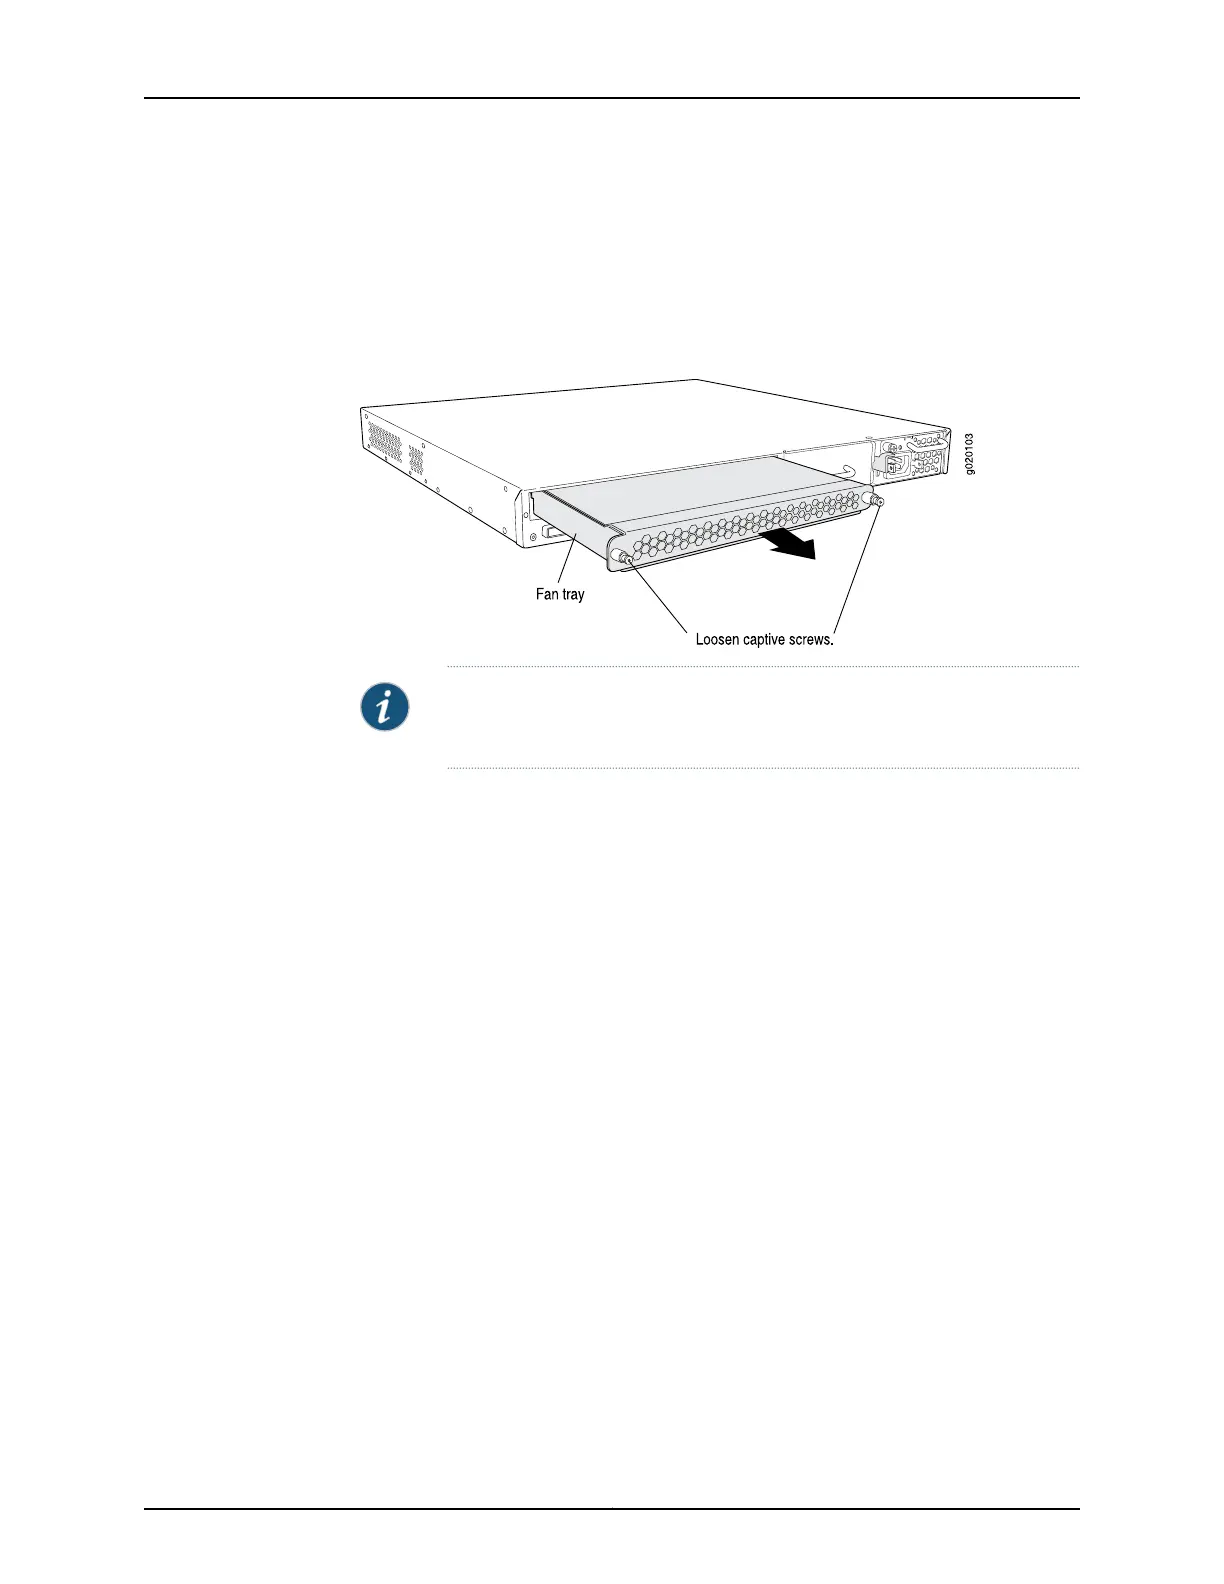
Figure 55: Removing a Fan Tray from an EX4200 Switch
NOTE: When a fan tray is removed, Fan/Blower is Absent is logged in the
system log and the system raises a minor alarm.
Related
Documentation
• Installing a Fan Tray in an EX4200 Switch on page 179
• Installing and Removing EX4200 Switch Hardware Components on page 140
• Cooling System and Airflow in an EX4200 Switch on page 31
• Field-Replaceable Units in EX4200 Switches on page 10
• Rear Panel of an EX4200 Switch on page 12
181Copyright © 2017, Juniper Networks, Inc.
Chapter 16: Replacing Cooling System Component