16 VI User Manual | Impulse Ergo Pedelec
4.2 Learning cycle
Aer lly charging the battery for the rst time and
thereaer roughly once every six months, you must
run the battery down until the system switches o.
This procedure (a so-called “learning cycle”) is nec-
essary so that the battery management recognises
the changes in the capacity caused by age and wear
and tear, in other words, the performance level of
the battery. Aerwards, the capacity of the battery is
calculated anew and correctly represented. This also
allows the remaining distance display to nction with
greater precision. With this procedure, you can pre-
vent a sudden loss of electrical assistance during an
extended trip.
4.3 Charging operation
Before charging the battery, read the information on
the charger carelly.
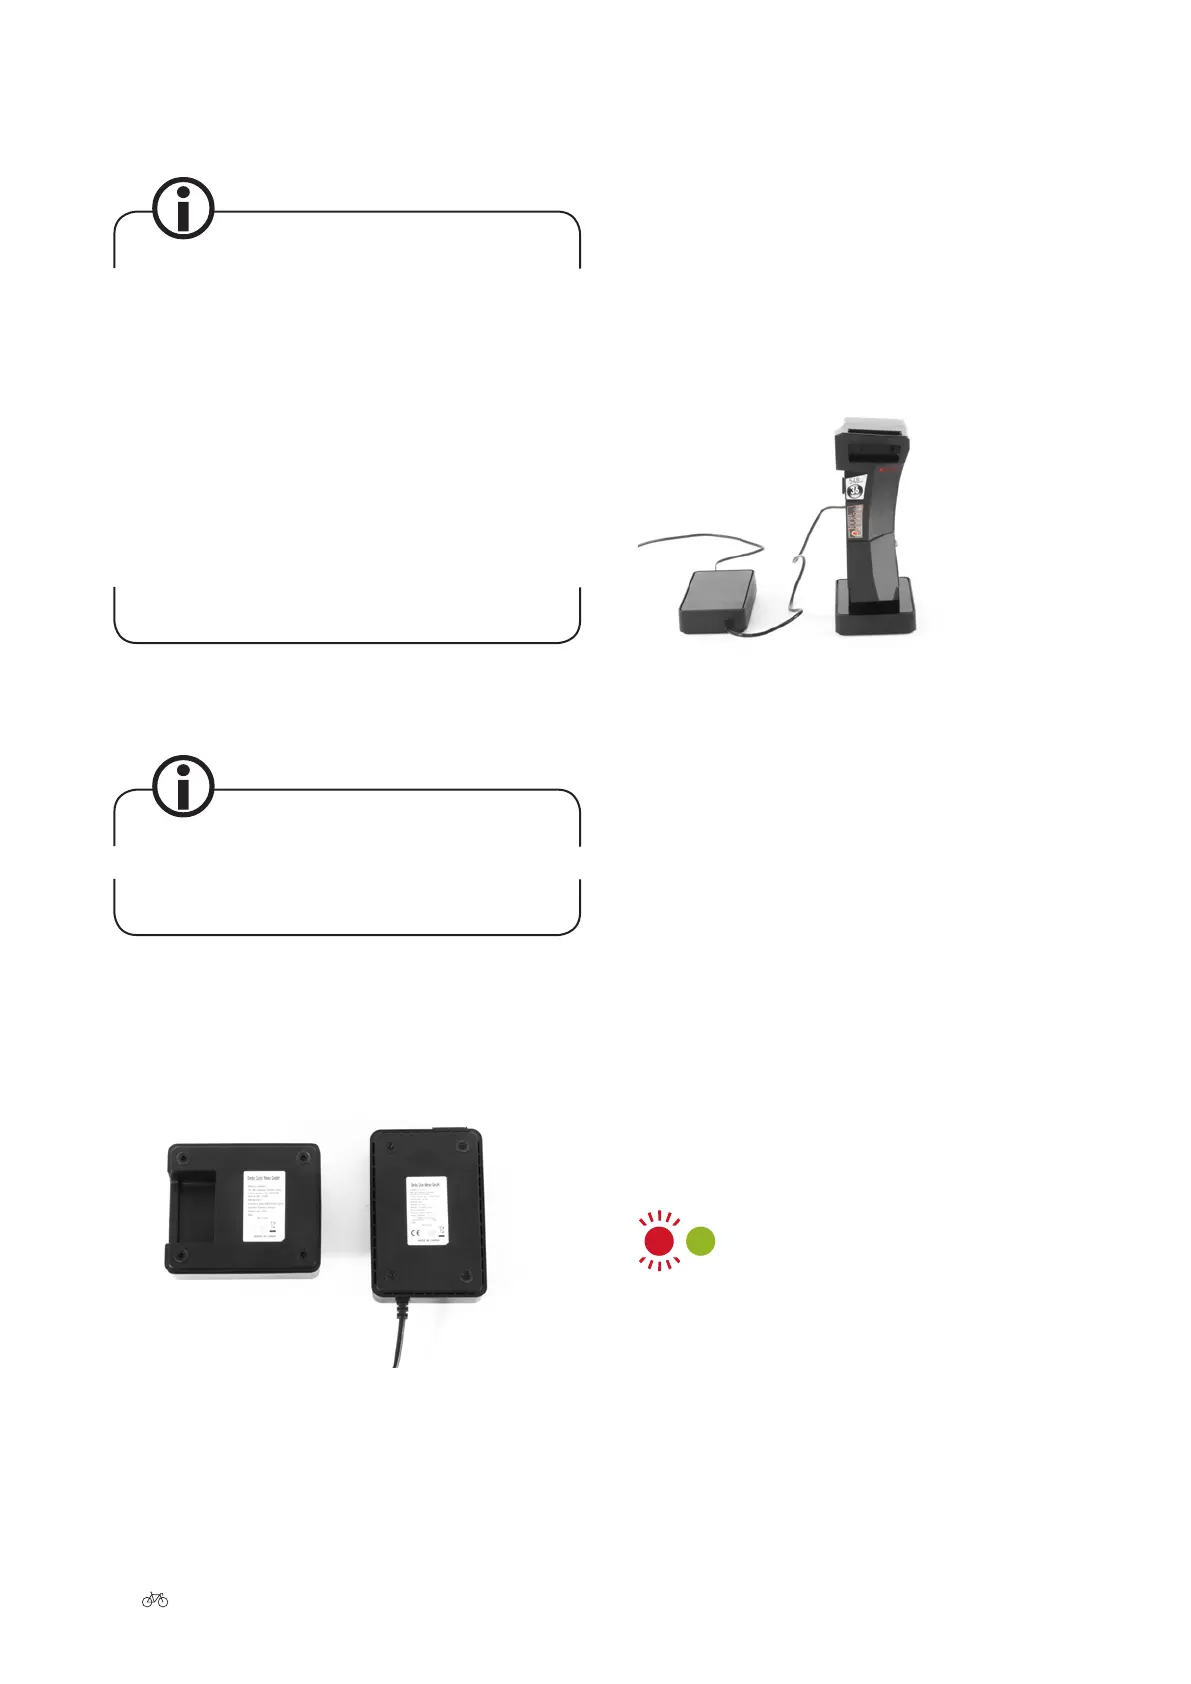
1. Take the charger provided and the docking station out
of their packaging and plug the mains plug into a sock-
et (110-230 V, please observe the type plate on the
charger).
Type plates on charger and docking station
2. To charge the battery safely, the charger must be
placed on a dry, non-ammable surface resting on its
four feet and with the LED facing upwards. Do not cov-
er the charger. This is the only way to ensure that the
hot air around the battery warmed during the charging
operation can dissipate via the surrounding ventila-
tion slots.
3. Connect the plug of the charger to the docking station.
The LED in the charger now lights up briey in red and
then permanently in green.
4. Put the battery in the charger. The battery and charger
are connected. The LED in the charger lights up in
green.
Battery in the docking station
5. The charging process begins. The LED of the charger
lights up in green. The battery LEDs light up one by
one to indicate the progress of the charging operation.
The battery is charged in ve stages. When charging
of one stage is in progress, the corresponding LED
ashes. If this stage has been lly charged, the LED
will light up permanently. Now the next LED will begin
to ash. Aer all ve LEDs have gone out, the battery
is lly charged.
6. If the LED on the charger ashes red permanently, a
charging fault has developed. In that case, disconnect
the battery om the charger, then connect it again.
The charger tests the battery and performs readjust-
ments, if required. If the LED on the charger still ash-
es, take the charger and battery to your specialist
dealer who will test the device and replace it, if
required.
7. To save power, pull the charger plug out of the socket
once the charging operation is complete.
Charging fault
 Loading...