Original User Manual | Pedelec Impulse 2.0 11
5.1.2 Charging operation
Before charging the battery, read the information on
the charger carelly.
1. a) Down tube battery: Take the charger provided out
of its packaging and plug the mains plug into a socket
(230–240V).
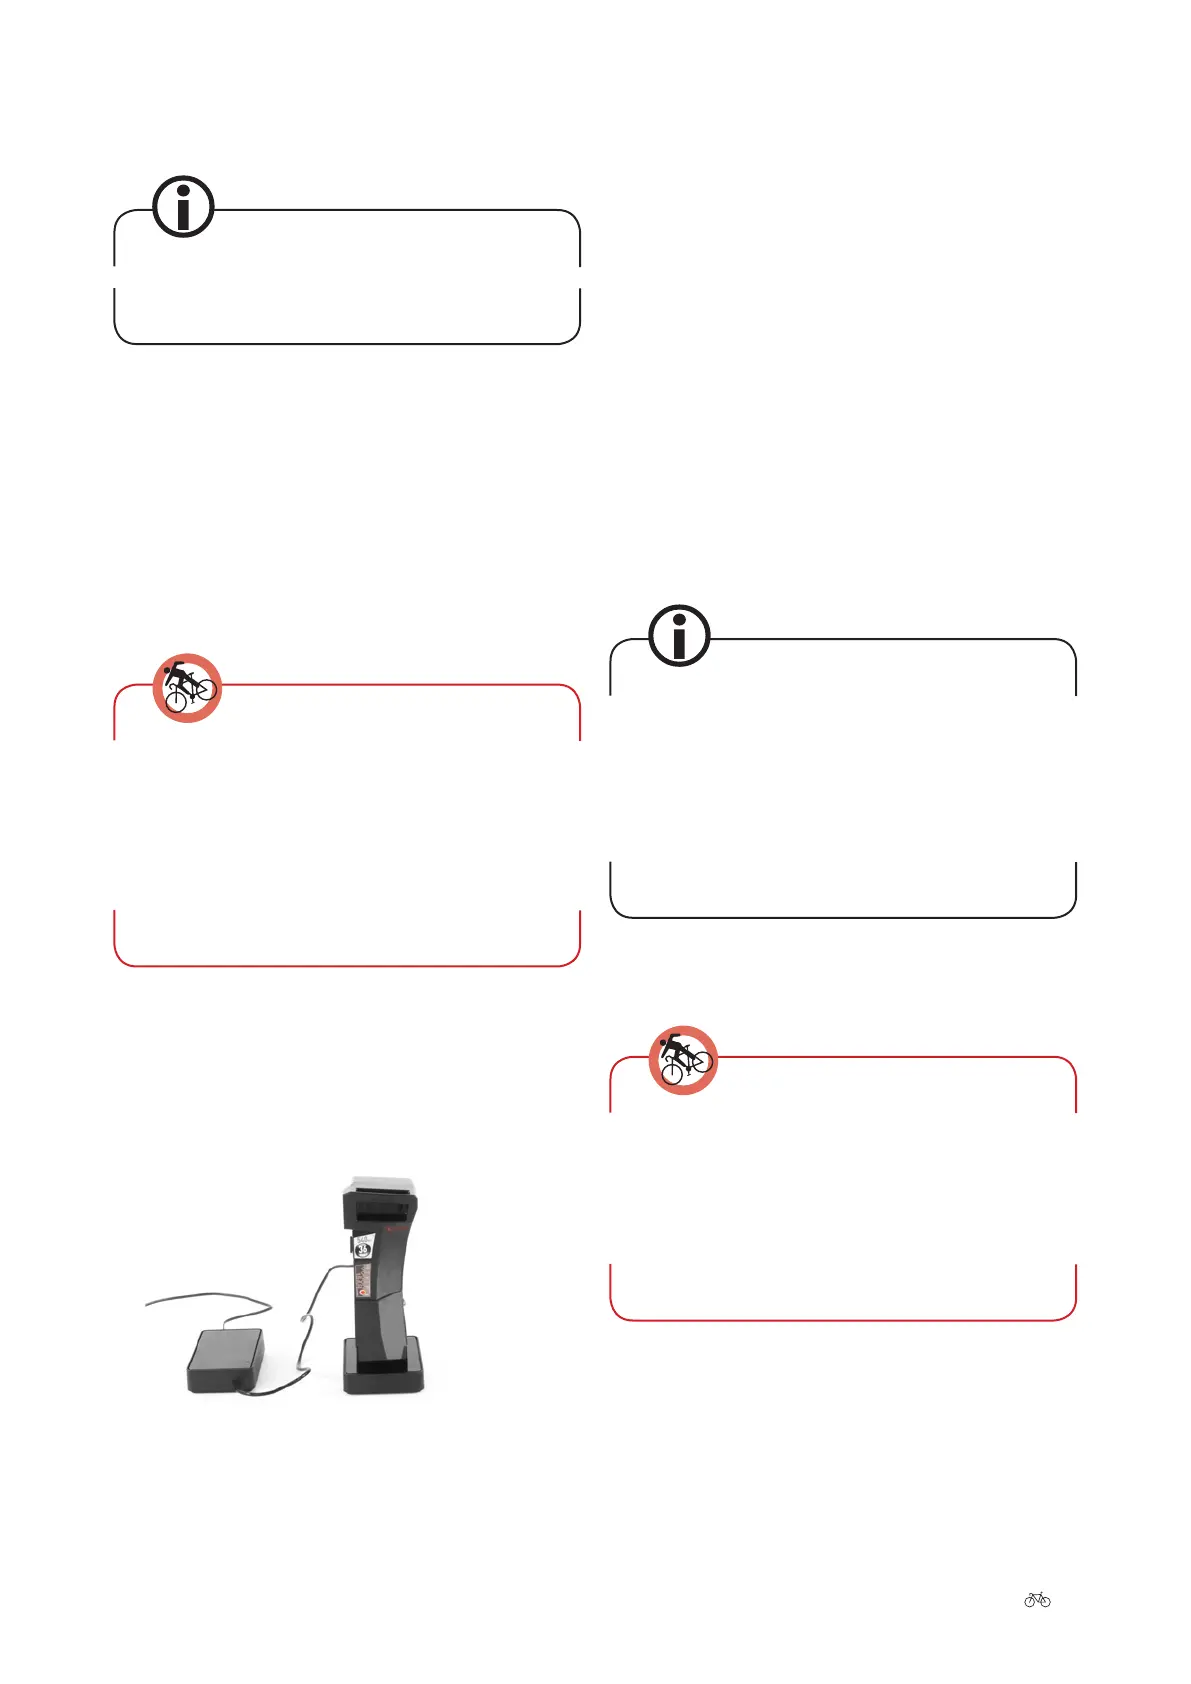
1. b) Seat tube battery: Take the charger provided and
the docking station out of their packaging and plug
the mains plug into a socket (230–240V). Connect the
charger to the docking station. The LED in the charger
now lights up briey in red and then permanently in
green.
› To charge the battery safely, the charger must be
placed on a suitable surface. This should be dry
and non-ammable.
› Seat tube battery: The charger must be support-
ed on its four feet. This is the only way to ensure
that the hot air around the battery can dissipate
via the surrounding ventilation slots.
2. a) Down tube battery: Connect the plug of the charger
to the battery.
2. b) Seat tube battery: Put the battery in the holder of
the docking station. The LED in the charger lights up in
green.
Charging the battery
SEAT TUBE BATTERY
3. a) Down tube battery: The charging process begins. If
your charger has an LED, this lights up red. The bat-
tery is charged in ve stages. When charging of one
stage is in progress, the corresponding LED ashes.
If this stage has been lly charged, the LED will light
up permanently. Now the next LED will begin to ash.
Aer all ve LEDs have gone out, the battery is lly
charged.
3. b) Seat tube battery: The charging process begins.
The LED of the charger lights up in green. The battery
LEDs light up one by one to indicate the progress of
the charging operation. The battery is charged in ve
stages. When charging of one stage is in progress, the
corresponding LED ashes. If this stage has been lly
charged, the LED will light up permanently. Now the
next LED will begin to ash. Aer all ve LEDs have
gone out, the battery is lly charged.
If your charger has an LED, it may be that this ashes
red permanently. If this is the case, a charging fault
has occurred. Take the battery out of the charger,
then put it back in. The charger tests the battery and
performs readjustments, if required. If the LED on the
charger still ashes, take the charger and battery to
your specialist cycle shop who will test the device and
replace it, if required.
4. To save power, pull the charger plug out of the socket
once the charging operation is complete.
› Damaged batteries may not be charged, and r-
ther use is not permitted.
› The battery may heat up during charging. A maxi-
mum temperature of 45°C may be reached. If the
battery becomes any warmer than this, suspend
the charging process immediately.
 Loading...