49
Functions and Measurements
Improving Frequency Resolution and Accuracy
Improving Frequency Resolution and Accuracy
This section provides information on using the frequency
counter function to improve frequency resolution and
accuracy.
1 Press Preset (With Preset Type of Factory)
2 Connect a cable from the front panel CAL OUT to RF IN;
Press System > Service > Calibration > CAL OUT ON to toggle on
and enable the 50 MHz amplitude reference signal.
3 Press Frequency > Auto Tune.
The analyzer will detect the signal peak and locate it to the
center of the display (Refer to “Auto Tune” on page 111).
4 Turn the frequency counter on:
Press
Marker > Function > Counter.
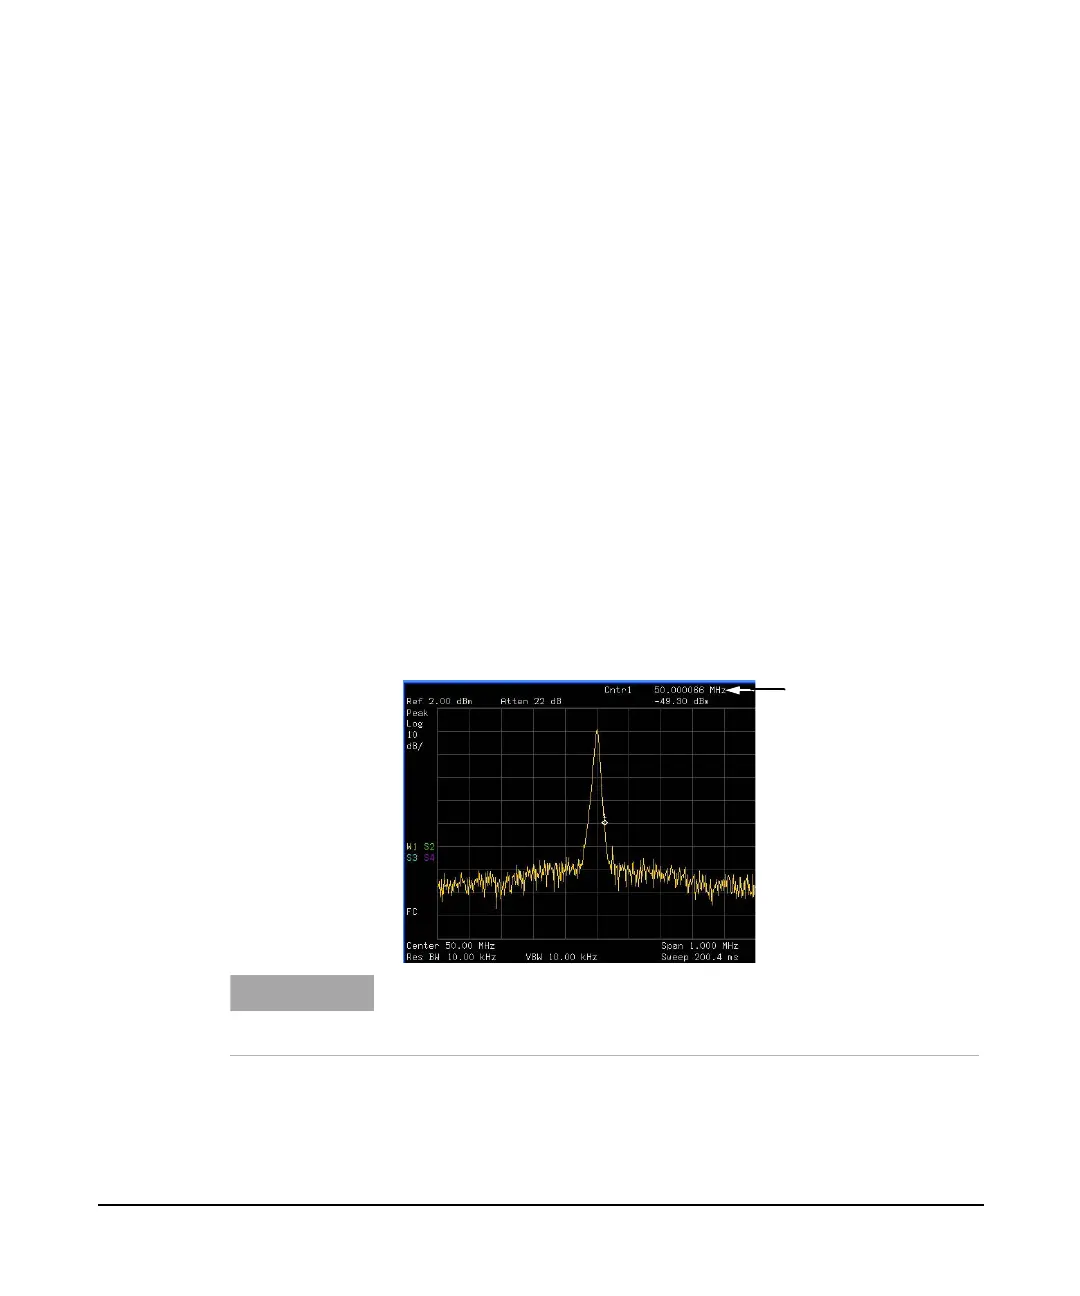
5 Move the marker, with the front- panel knob, half- way down
the skirt of the signal response.
Figure 3-14 Using Frequency Counter
NOTE
The frequency and amplitude of the marker appears in the active function
area (this is not the counted result). The counted result appears in the
upper-right corner of the display to the right-side of C1.
Counted result