E
Eugene LawrenceJul 31, 2025
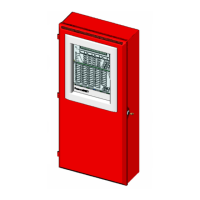
What to do if alarm cannot be cleared on Kidde Fire Systems Control Unit?
- JJohn HumphreyJul 31, 2025
If the alarm on your Kidde Fire Systems Control Unit cannot be cleared before removing it from the system, it might be because the device is in alarm. To resolve this, power down the system to re-initialize it.