DOCUMENT 301900, REVISION D
6 EPISENSOR USER GUIDE
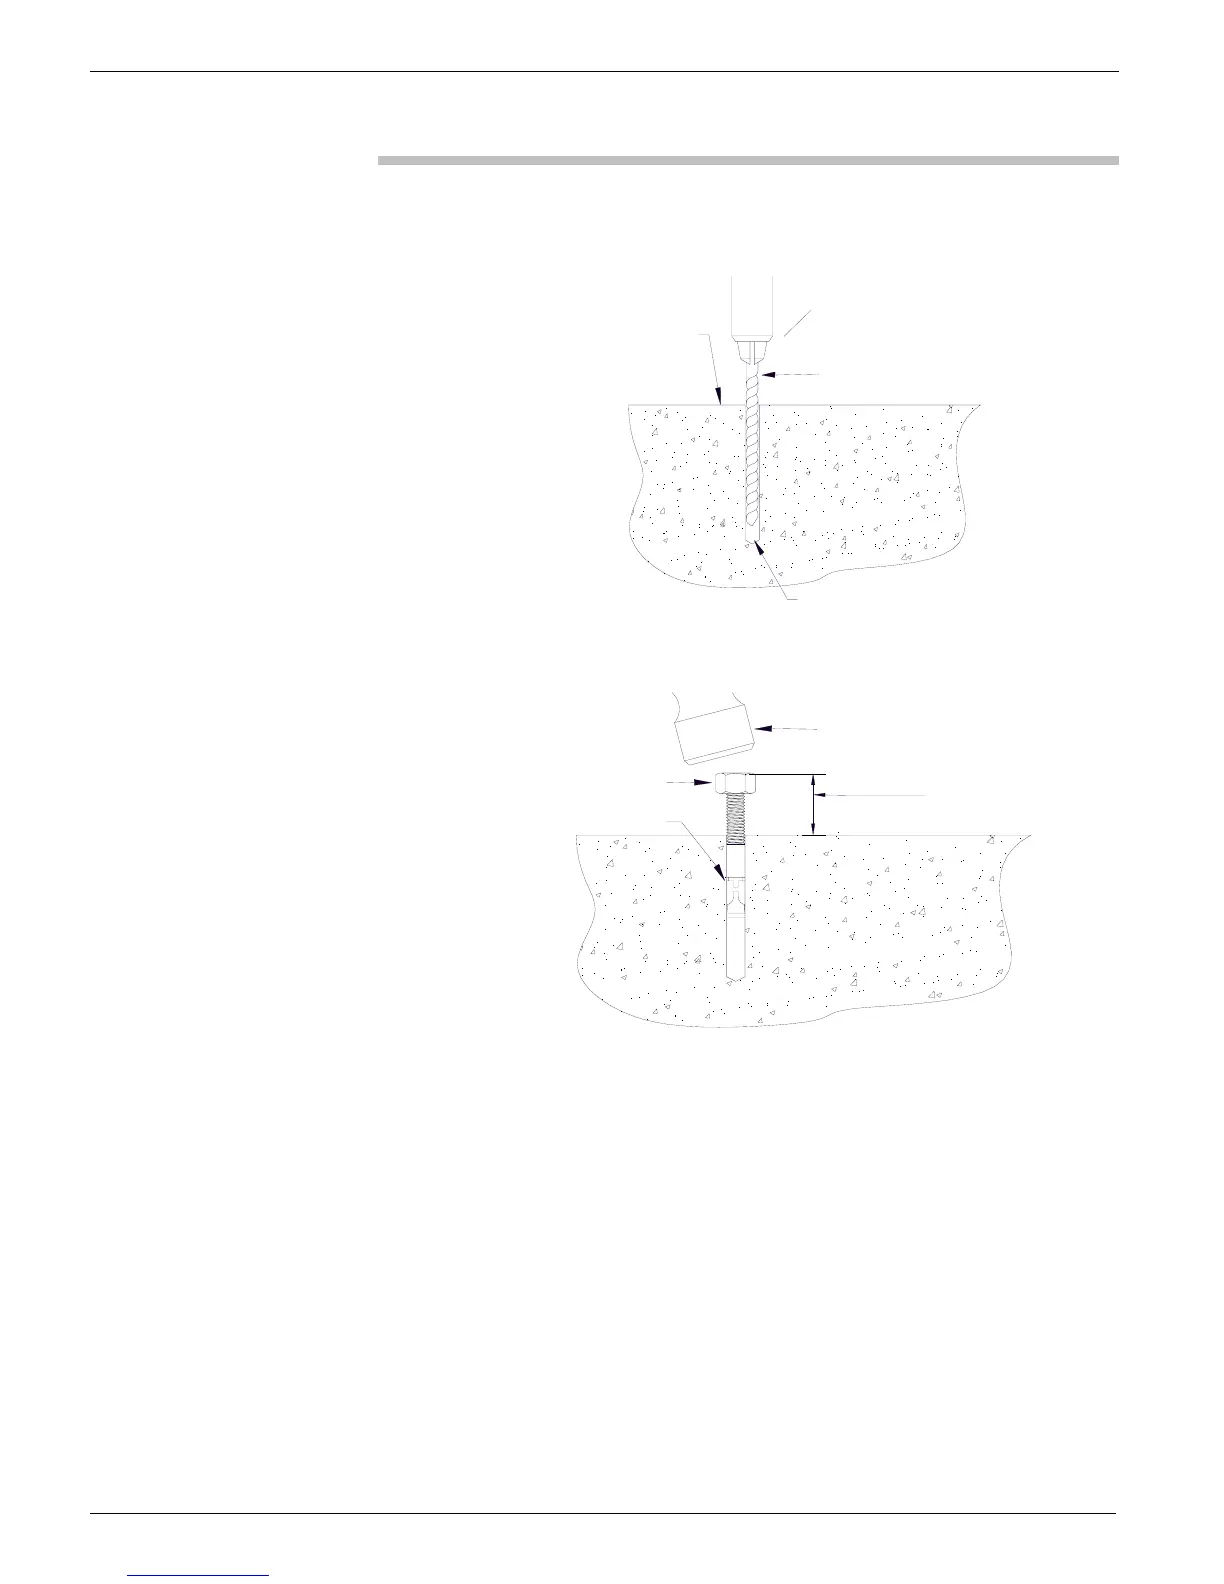
Figure 3: Drilling EpiSensor mounting hole
2. Clean debris out the hole. (Blowing through a straw is an
easy way to do this.)
3. Screw the nut/washer onto the stud until the top of the nut is flush
with the top of the stud. This will make is easier to hammer in the
stud and prevent damage to the threads.
4. Gently tap the top of the anchor stud with a hammer. The stud is
now in position but not firmly seated.
5. Check that the leveling screws are only about halfway into their
mounting holes on the lower flange of the EpiSensor.
Hammer
Nut aligned with
top of anchor bolt
Concrete anchor
3/8" – 1/2"
Percussion or hammer drill
Drill bit with diameter to fit
anchor stud
Concrete pad
Drill slightly deeper than
length of anchor stud (>2")
 Loading...