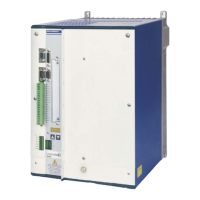
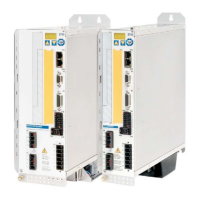
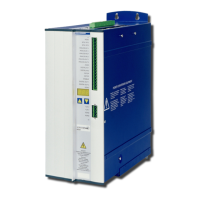
3.2 Guide to installation/wiring
The following notes should assist you to carry out the installation in a sensible sequence,
without overlooking anything important:
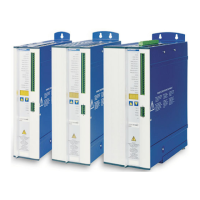
Site
In a closed control cabinet. Observe page 17.
The site must be free from conductive or corrosive materials.
For the mounting position within the cabinet ð p.25
Ventilation
Check that the ventilation of the servo amplifier is unimpeded
and keep within the permitted ambient temperature ð p.17 .
Keep the required space clear above and below the
servo amplifier ð p.25.
Mounting
Mount the servo amplifier on mounting rails (DIN-rails) on the
conductive, earthed mounting plate in the control cabinet and
mount the necessary add-on fans (ð p.66)
Cable selection Select cables according to EN 60204-1, ð p.17
Grounding,
Shielding
EMC-conform shielding and grounding (ð p.28) Earth the moun
-
ting plate, motor housing and CNC-GND of the controls. Notes
on connection techniques are on page 32
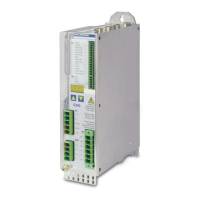
Wiring
— Route power leads separately from control cables
— Wire the BTB/RTO contact in series into the safety loop
— Connect the digital control inputs to the servo amplifier
— Connect up AGND
— Connect the analog setpoint, if required
— Connect the feedback unit (resolver or encoder)
— If required, connect the encoder simulation
— If required, connect the fieldbus
— Connect the motor cable
Connect shielding to EMC connectors at the motor end, and
the shielding lug at the amplifier end
— Connect motor-holding brake, with shielding to EMC
connector at the motor end, and to shielding lug at the
amplifier end
— If required, connect the external regen resistor (with fusing)
— Connect the auxiliary supply
(maximum permissible voltages ð p.17)
— Connect main power supply
(maximum permissible voltages ð p.17)
— Connect PC (ð p.51).
Check
Make a final check of the wiring carried out against the wiring
diagrams that have been used
24 SERVOSTAR
®
400 Installation Manual
Installation 07/05 Kollmorgen
 Loading...