46
Display Screen
(2) Settings area
Contains shortcut key icons for saving and setting measurement data.
Shortcut keys in the setting area are not displayed on screens other than the measurement screen (such as the menu
screen).
The setting area is enabled only in hold mode. (Single-probe measurement screen and multi-probe measurement screen)
Measuring Hold
Enabled in
hold mode
Trigger mode 0-cal AUTO
1.0
y
0.0 0.2 0.4 0.6 0.8 1.0 x
0.2
0.6
0.4
0.8
10
09
08
07
06
05
04
03
02
01
Lv
x
y
160.00
0.3127
0.3293
Φ10 Mini Normal
CH-01 f:Factory
ID: abcdefghij
Save
MeasSpeed
: LTD.AUTO
Sync
: MANU. (100. 0ms)
cd/ ㎡
Trigger mode 0-cal AUTO
1.0
y
0.0 0.2 0.4 0.6 0.8 1.0 x
0.2
0.6
0.4
0.8
10
09
08
07
06
05
04
03
02
01
Lv
x
y
160.00
0.3127
0.3293
Φ10 Mini Normal
CH-01 f:Factory
ID: abcdefghij
Save
MeasSpeed
: LTD.AUTO
Sync
: MANU. (100. 0ms)
cd/ ㎡
Use the [LEFT/RIGHT] keys to select a shortcut key icon.
Use the [UP/DOWN] key to move selection targets, including the data display area.
Press the [ENTER] key to apply the setting.
Measurement speed: Displays the measurement speed setting. Select this using the [UP/DOWN] and [LEFT/
RIGHT] keys, and then press the [ENTER] key to display the measurement speed menu.
(The menu for selecting AUTO/LTD.AUTO/FAST/SLOW is displayed)
Sync Mode: Displays the synchronization mode setting. Select this using the [UP/DOWN] and [LEFT/
RIGHT] keys, and then press the [ENTER] key to display the synchronization mode menu.
(The menu for selecting NTSC/PAL/UNIV./INT[***.*Hz]/ EXT/MANU.[****.*msec] is
displayed. *** is the currently set value).
However, the mode is switched to UNIV. if the external trigger mode is turned ON in EXT
mode.
Data Save: Select this using the [UP/DOWN] and [LEFT/RIGHT] keys, and then press the [ENTER] key to
save the displayed measurement results.
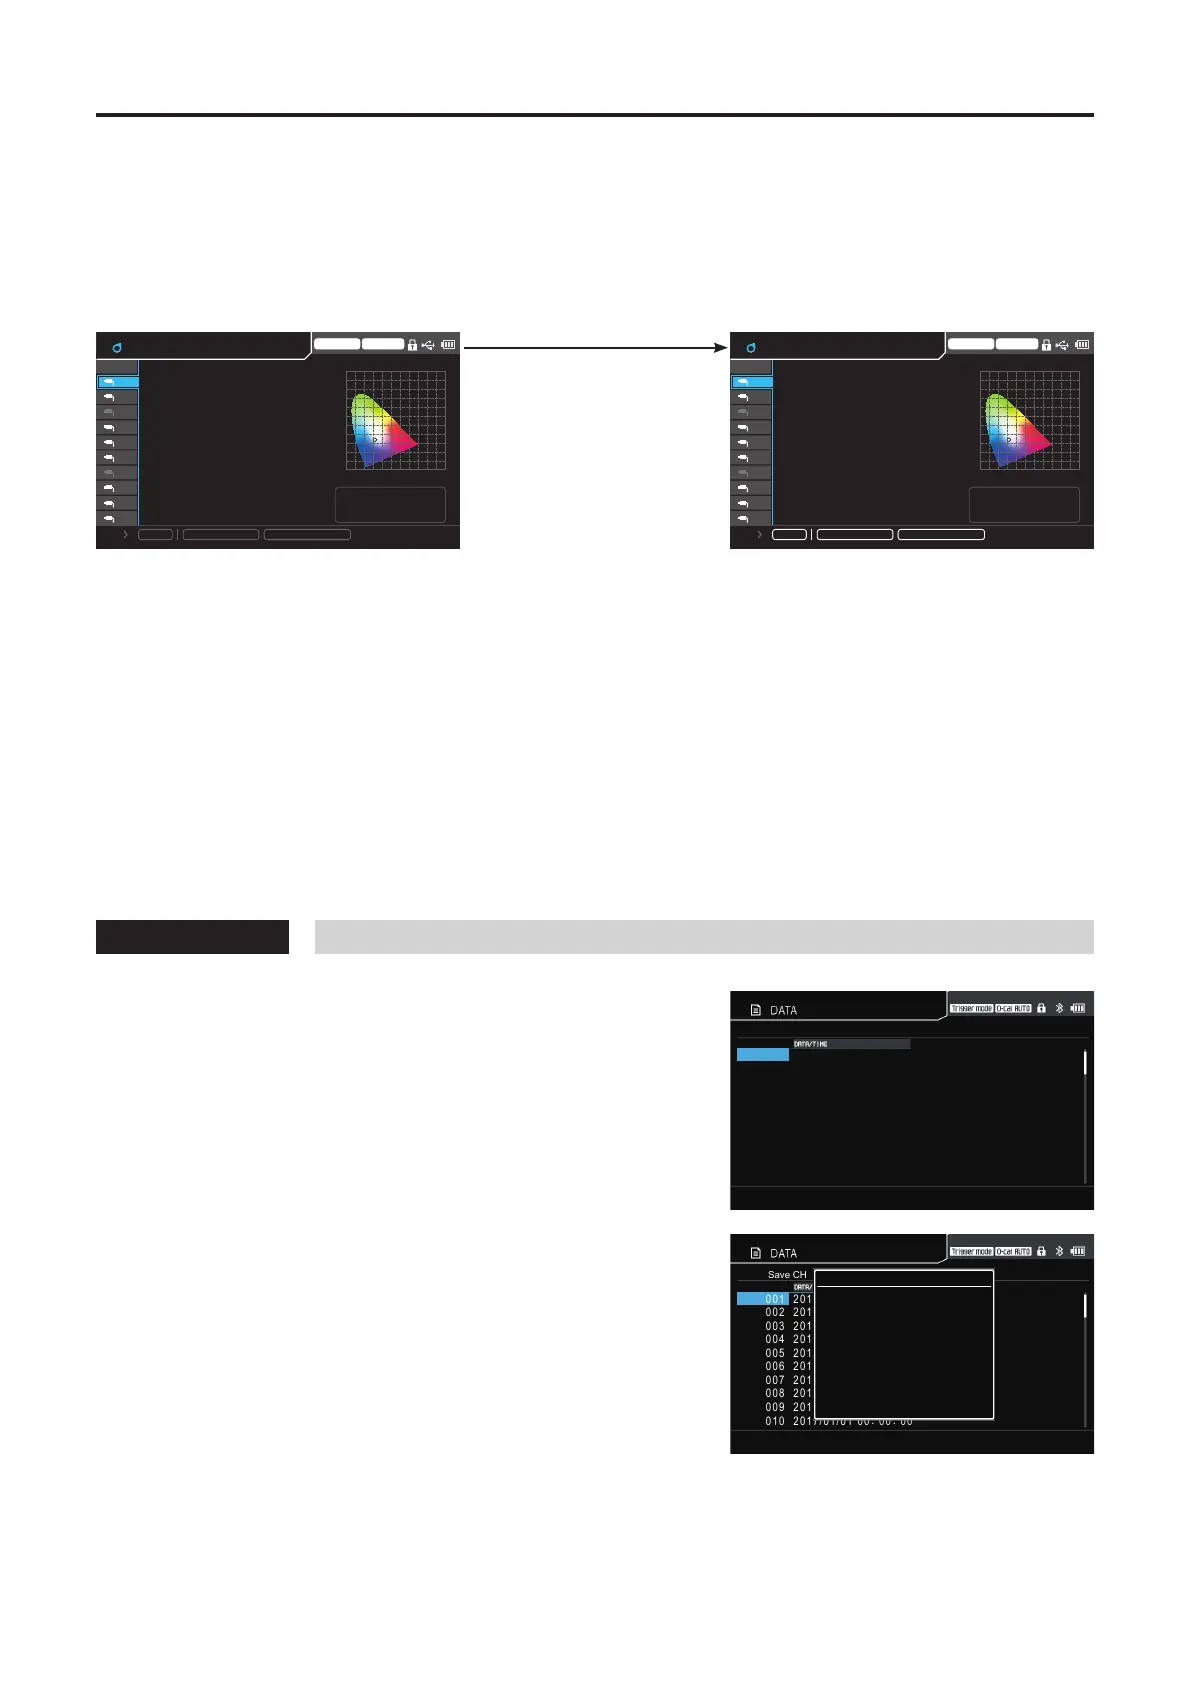
How to Save Data
1
Press the [ENTER] key to display the
screen for selecting where to save data.
Select the destination using the [UP/
DOWN] keys, and then press the [ENTER]
key.
The screen is not displayed when Save Destination is
set to AUTO. In this case, go to step 2.
Select Save CH
DATA001 2017/01/01
00:00: 00
DATA002 2017/01/01
00:00: 00
DATA003 2017/01/01
00:00: 00
DATA004 2017/01/01
00:00: 00
DATA005 2017/01/01
00:00: 00
DATA006 2017/01/01
00:00: 00
DATA007 2017/01/01
00:00: 00
DATA008 2017/01/01
00:00: 00
DATA009 2017/01/01
00:00: 00
DATA010 2017/01/01
00:00: 00
2
During saving, a pop-up screen is
displayed indicating that data is being
saved.
If data already exists, a confirmation message
appears first asking whether it is OK to overwrite.
Select “Yes” using the [LEFT/RIGHT] key and press
the [ENTER] key.
Select Save CH
DATA001 2017/01/01
00:00: 00
DATA002 2017/01/01
00:00: 00
DATA003 2017/01/01
00:00: 00
DATA004 2017/01/01
00:00: 00
DATA005 2017/01/01
00:00: 00
DATA006 2017/01/01
00:00: 00
DATA007 2017/01/01
00:00: 00
DATA008 2017/01/01
00:00: 00
DATA009 2017/01/01
00:00: 00
DATA010 2017/01/01
00:00: 00
Data Save
Saving Data
* Data will be saved as absolute values even when the dierence display is selected when saving is performed.