500 SERIES INSTALLATION MANUALJULY 2016 PAGE 33
7.1 Remove the nut (10-314), the outer retaining washer (10-
444), and the outer bushing (10-443) from the forward
trim cylinder anchor pin (port and starboard side).
7.2 Locate the rear anchor pin assembly and remove all
hardware and bushings. Slide the rear anchor pin through
the anchor pin bore in the aft end of the upper housing.
7.3 Following the order listed, place one washer (10-442),
spacer (12-535), one washer (10-442) and bushing (10-
443) (tapered pointing away from drive) on to the port
and starboard side of the rear trim cylinder anchor pin.
7.4 Slide the trim cylinders onto the anchor pins.
NOTE: If trim cylinders are at an inappropriate length
to t onto the anchor pins, the drive must be lifted up
manually or the red caps (see Step 7.6 on page 34 in this
manual) must be removed and length must be adjusted.
CAUTION: Fluid may run or squirt out of the ports when
adjusting length.
NOTE: The end of the trim cylinder with the hydraulic
line inputs must be face up and closest the transom.
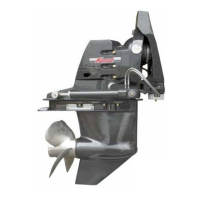
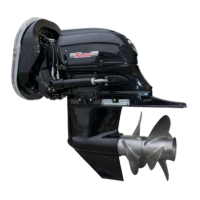
Step 7: Trim Cylinder Installation
FIGURE 7C
FIGURE 7A
FIGURE 7B
FIGURE 7D