c) Test Type. Identify VO2 as the Test Type when administering a
VO2 Max Test.
d) Test Protocol and Level (optional). Select the desired Protocol to
either drive the equipment automatically or to prompt manual
changes in workload. If a protocol is selected, a corresponding
Level is then required to be selected.
e) Notes. Free-form notes about this client may be entered.
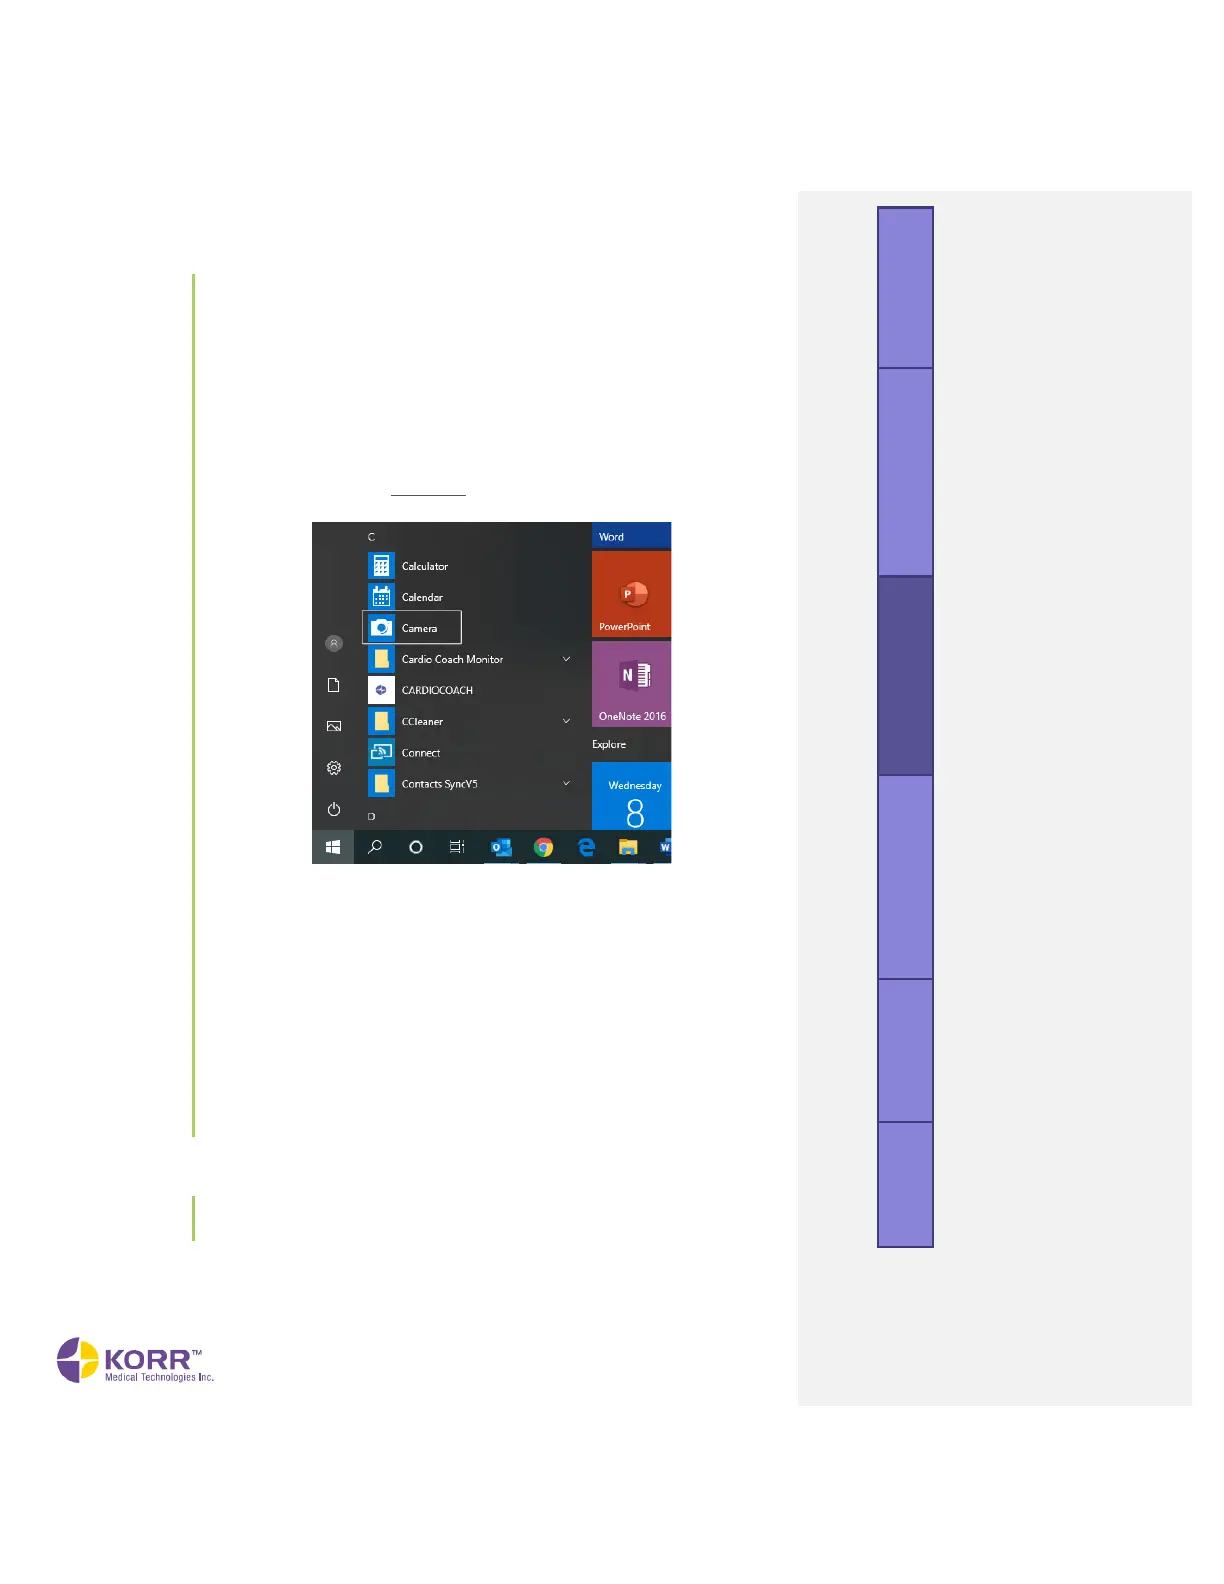
f) Images (optional). Click Add Image to add a photo image. Follow
the steps below to take a photo using your computer.
• Go to the Windows (not CardioCoach software) Start
screen and select the camera app from the app list.
• Have the client look at the camera lens at the top of the
screen and smile!
• Click the camera icon to take the photo.
• The photo will be saved to a file named Camera Roll in
your Pictures folder.
• To add the photo to the client’s profile, click the +Add
image button, then access the Camera Roll file on your
computer.
• Select the desired photo and then select Open.
• The image can be removed by clicking the Clear Image
option.
2. To begin testing, click the Start Test button.