Part 4: Installation and Start-up Installation
53
Part 4: Installation and Start -up
Part 4: Installation and Start-up
Installation
Assembly / Dismantling
Sketch showing basic mode of operation:
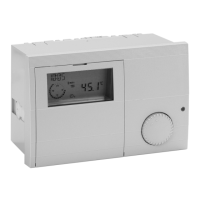
A Controller, side view, cutaway view
B Control panel plate
C Mounting clamp
D Unlocking holes (see Chapter Changing set values)
E Sharp-pointed tool
Installing the controller:
1. Set the mounting clamp to the wall thickness of the con-
trol panel (at the left and right-hand side of the unit):
a. Pull the mounting clamp at the low away from the con-
troller wall (toothing).
b. In this condition, slide the mounting clamp down or up
until the distance from the edge of the unit corre-
sponds to the thickness of the control panel wall.
Detent position 1 0.5-1.0 mm wall thickness
Detent position 5 5.0 mm wall thickness
c. Press the mounting clamp against the controller wall at
the low.
2nd Press the controller into the control panel recess and
check that it is firmly secure. If the controller wobbles: Re-
move the controller and move the mounting clamps up.
Removing the controller:
E Disconnect the unit from the power supply before
removing it.
d. Insert a sharp-pointed tool at an angle with respect to
the exterior wall into one of the unlocking holes (the
tool must be slid between mounting clamp and control
panel wall).