3: Installation of xSenso
xSenso User Guide 25
Table 3-5 Ethernet LEDs
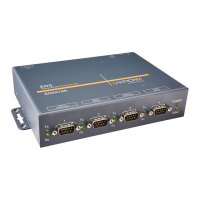
Reset Button
You can reset the xSenso to factory default settings, including clearing the network settings. The
IP address, gateway, and netmask are set to 00s.
To reset the unit to factory defaults:
1. Place the end of a paper clip or similar object into the RST (reset) opening (see Figure 3-2)
and press and hold down micro switch during a power cycle for a minimum of 25 seconds.
2. Remove the paper clip to release the button. The unit will continue the boot process restoring
it back to the original factory default settings.
To reboot the unit without resetting the unit to factory defaults:
1. Place the end of a paper clip or similar object into the RST (reset) opening (see Figure 3-2)
and press and hold down micro switch during a power cycle for 3 to 5 seconds.
2. Remove the paper clip to release the button. The unit will reboot.
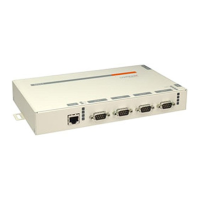
Right Side Panel
The following are located on the right side panel (Figure 3-6):
Analog Input 1
Analog Input 2
9-30 VDC 3 Pin Terminal Block Power Input
9-30 VDC Barrel Locking Power Input
Note: There are no inputs or outputs on the left side panel.
Ethernet LEDs Description
Left (L) GREEN ON - 100 Mbps link established
GREEN Blink - 100Mbps activity
AMBER ON - 10 Mbps link established
AMBER Blink - 10 Mbps activity
Right (R) GREEN ON - Full duplex
OFF - Half duplex
 Loading...