3: Installation of xSenso
xSenso User Guide 26
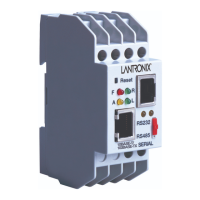
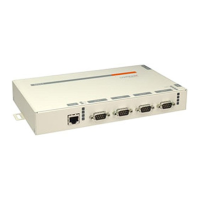
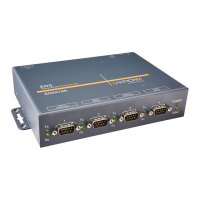
Figure 3-6 xSenso, Side View
Back Panel
On the xSenso back panel, there is a mounting bracket with a sliding orange clip which allows you
to mount and dismount the device from a DIN rail, as shown in Figure 3-3. There are also four
rubber feet that can be attached to the bottom-side of the device, if the xSenso is to be placed on
a flat surface.
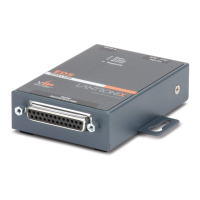
Figure 3-7 xSenso Bottom/Back Panel View
Installing the xSenso
Be sure to place or mount the device securely on a flat horizontal or vertical surface. The device
comes with mounting brackets for mounting the device vertically, for example on a wall. If using
AC power, avoid outlets controlled by a wall switch.
Observe the following guidelines when connecting the analog input devices:
It is recommended to use twisted-pair wires to connect analog sensors and xSenso. If EMC is
a concern, shielded wires and/or ferrite bead may be used to improve signal integrity in noisy
environment.
9-30 VDC Barrel
Locking Power Input
Excitation Voltage Input
Current Input

 Loading...
