Leidos Security Detection & Automation, Inc. – Proprietary Page 22 of 119
© 2020 Leidos. All rights reserved
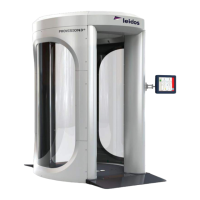
Figure 6: Column Screws to Be Removed
7. Remove all screws/bolts and brackets securing the upper/lower frame assembly to the crate base.
Figure 7: Screws/Bolts and Brackets to Be Removed
4.3 Installation Kit Crate Unpacking
1. Remove end panel and lay panel down as a ramp, as shown in the following figure (left side), by
hooking the bolts in the holes at bottom of opening.
2. Remove all items in front of the Genie Lifts as shown in the following figure (right side) and set
aside.