4511-xxx
Repair information
4-3
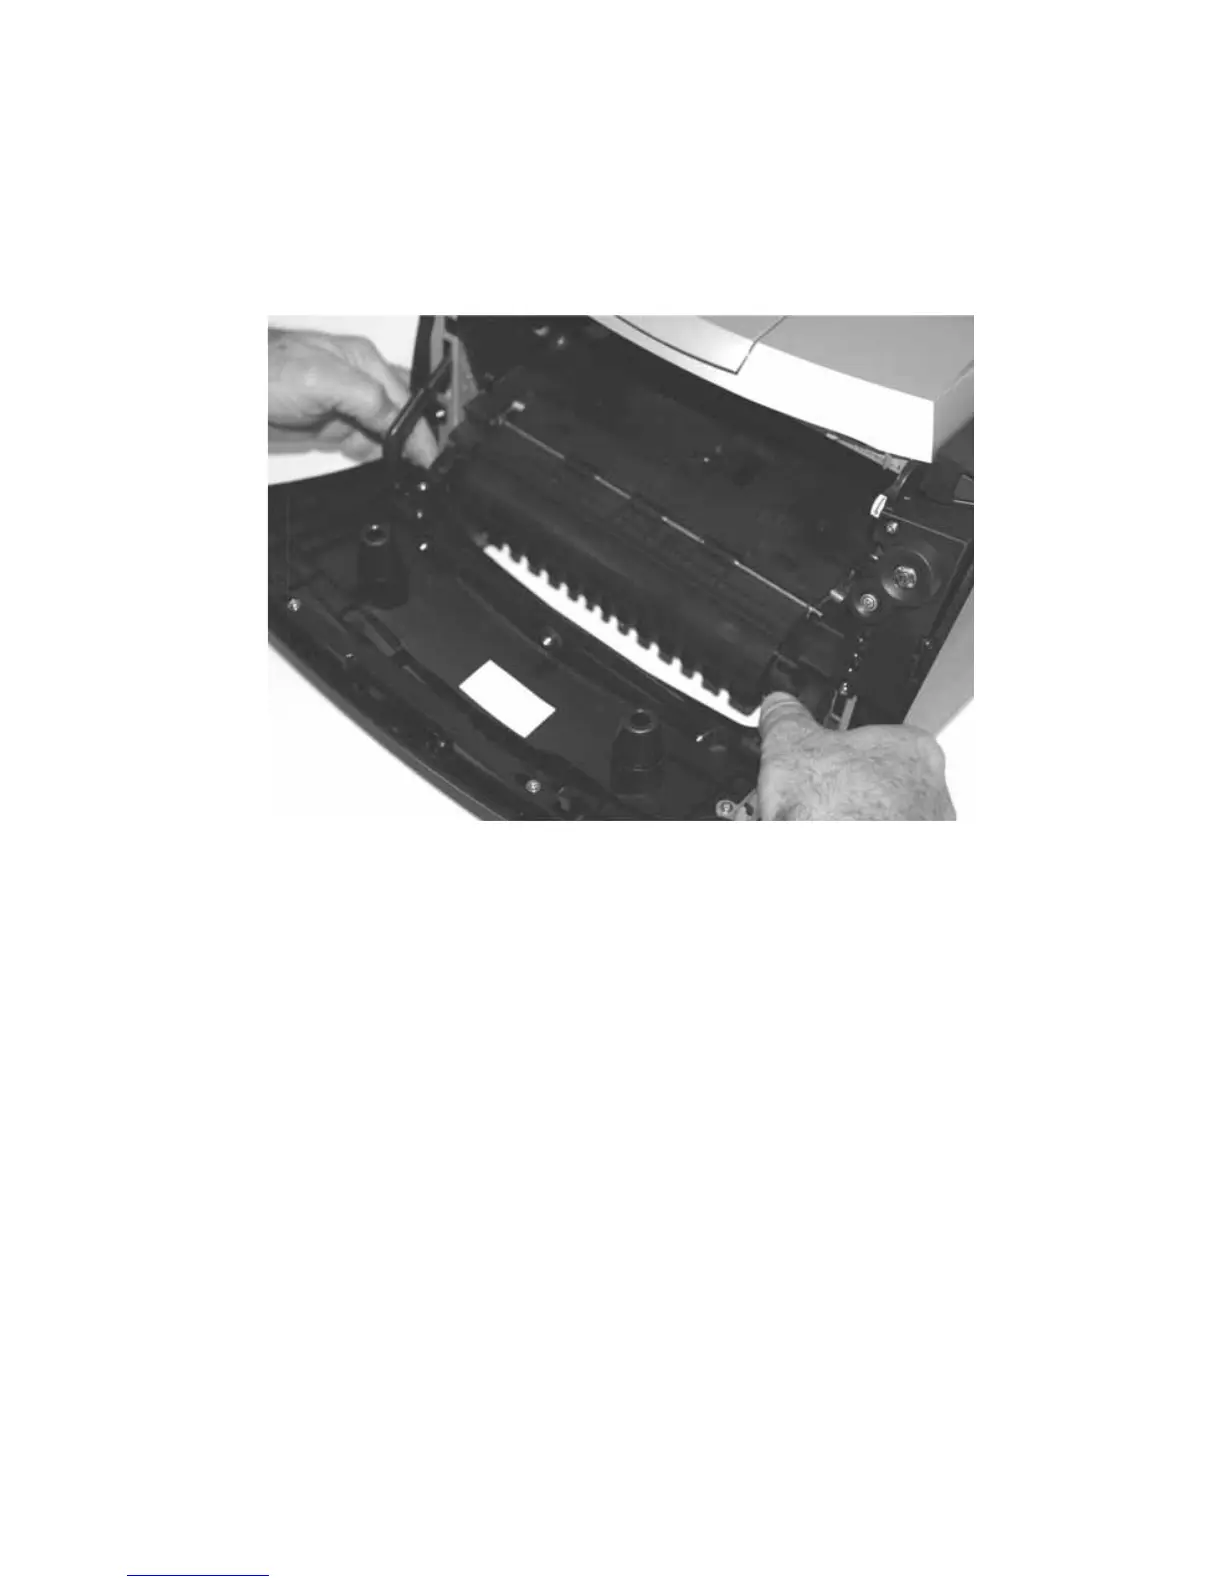
3. Force the left hinge out of its socket, and relax it above the socket.
4. Force the right hinge out of its socket, and lift it above the socket.
Warning: Do not pull the fuser link out of the printer any farther than
when the door is fully open. Otherwise, the link extension may dislodge
the cartridge coupler.
5. Carefully lift the cover free from the printer frame.