4511-xxx
4-4 Service Manual
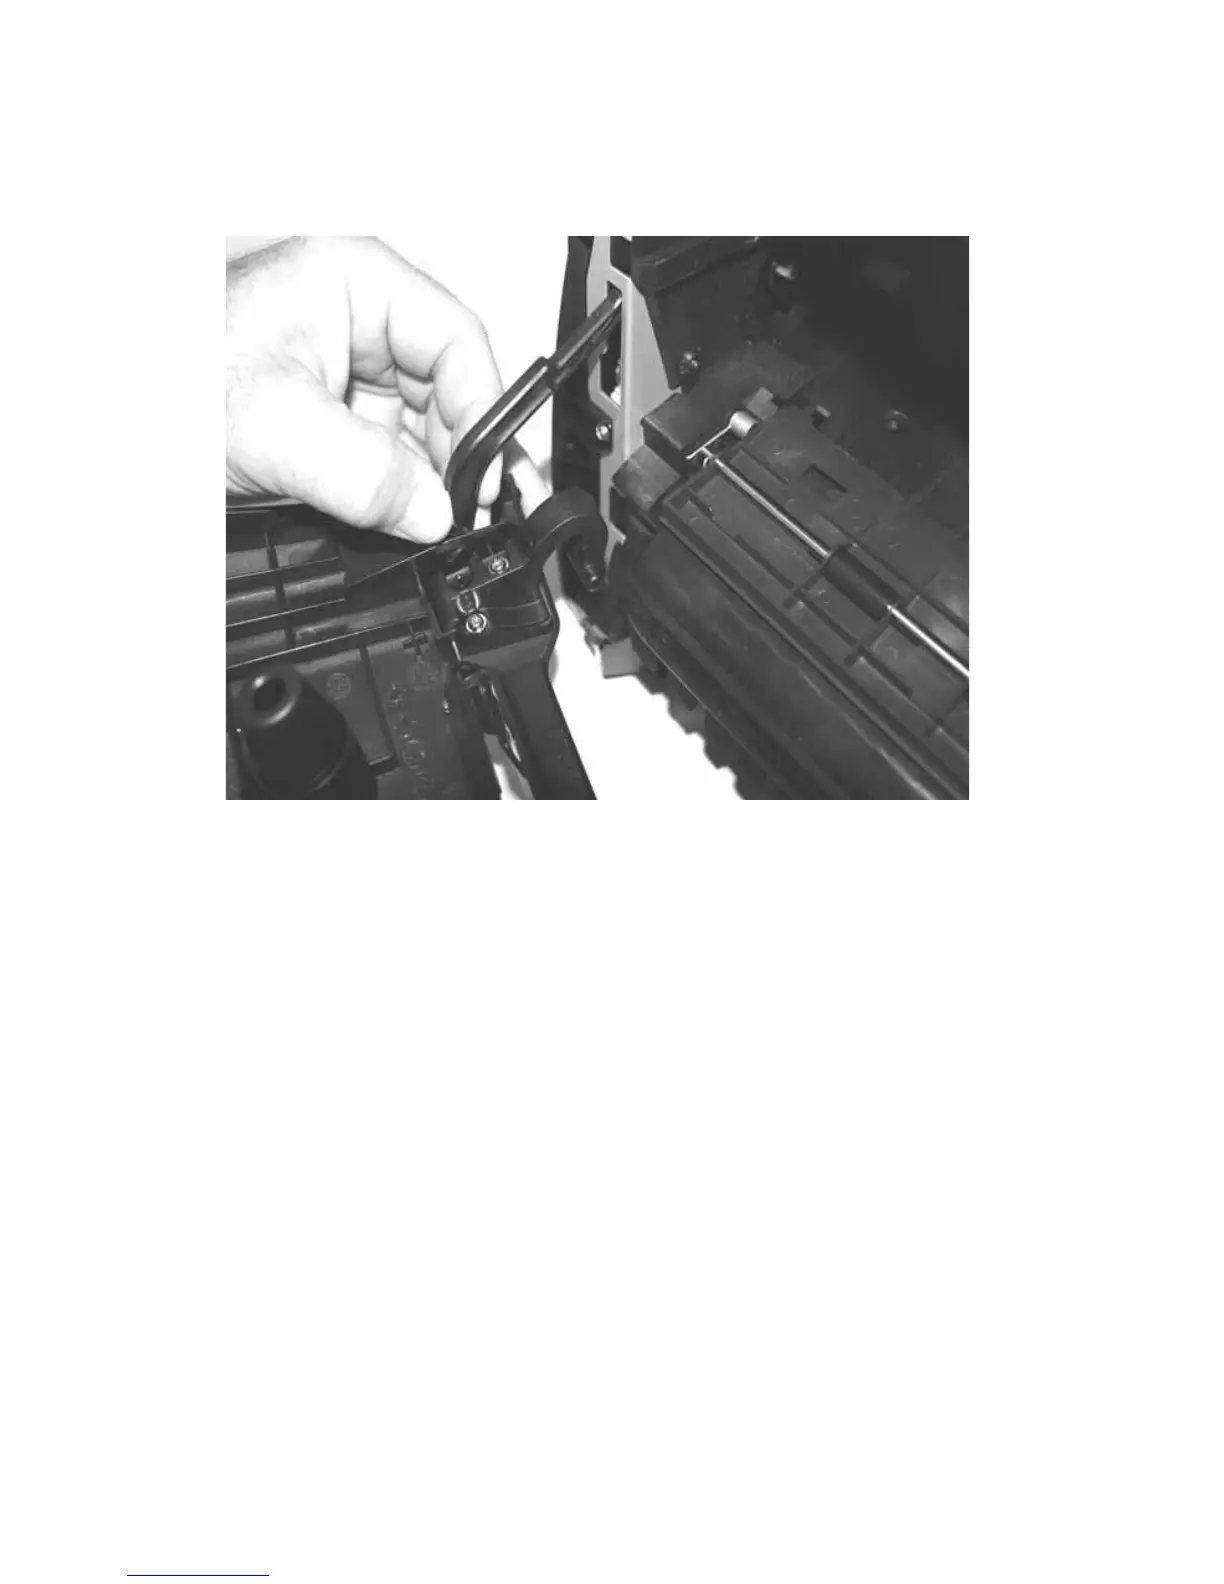
6. Use your left hand to hold the fuser link at the cover joint while rotating
the right side of the cover slightly away from the printer to disengage
the link.
7. Remove the front access cover.
Reinstallation note: If the front access cover is being replaced, remove the
logo plate, and install it on the new cover. See “Front access cover logo
removal (E238, E240, and E240n)” on page 4-27.