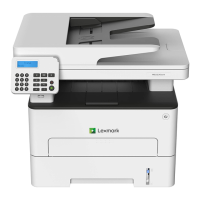
Removal procedures
Keep the following tips in mind as you replace parts:
• Some removal procedures require removing cable ties. You must replace cable ties during reassembly to
avoid pinching wires, obstructing the paper path, or restricting mechanical movement.
• Remove the toner cartridges, imaging kit, and trays before removing other printer parts. The imaging kit
must be carefully set on a clean, smooth, and flat surface. It must also be protected from light while out of
the printer.
• Disconnect all external cables from the printer to prevent possible damage during service.
• Unless otherwise stated, reinstall the parts in reverse order of removal.
• When reinstalling a part held with several screws, start all screws before the
final
tightening.
• For printers that have a soft power switch, make sure to unplug the power cord after powering
o.
Left side removals
Left cover removal
1 Remove the tray insert.
2 Remove the duplex unit.
3 Remove the rear door. See “Rear door removal” on page 243.
4 Remove the bottom rear door. See “Bottom rear door removal” on page 244.
5 Remove the left cover.
3400-48x
Parts removal
227

 Loading...