Image Studio Software
4
C-DiGit User Manual 4-43
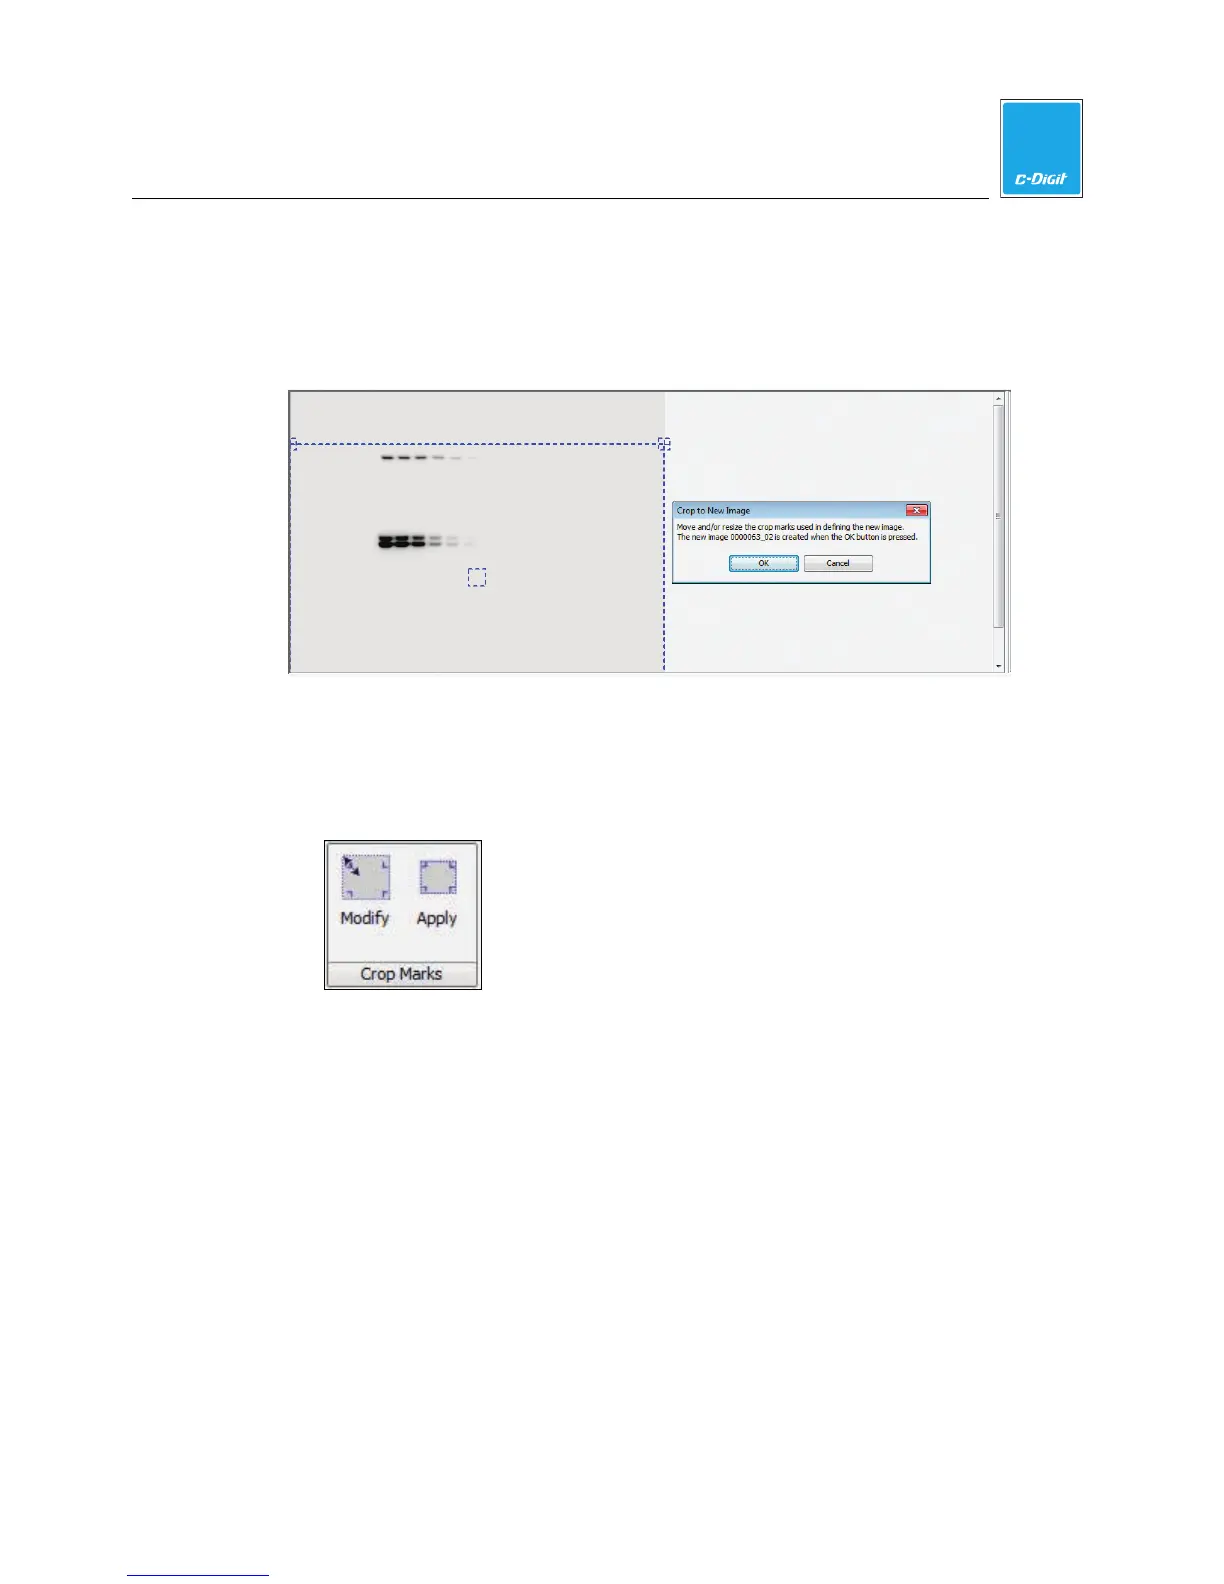
Crop the Image
Click Crop to create an image that contains only the area within the bounding box.
Adjust the crop area by dragging the bounding box at the corners or at the center.
Click OK to crop the image. A new, sequentially numbered image is created; the
original image is unchanged.
Crop Marks
Place crop marks on the image to indicate the area of the image to print or export.
These crop marks can apply to the selected image only, or to all images in the
Images table.
1. Click Apply to display the corners of the currently defined cropping area on the
image.
2. Click Modify to open the Edit Image Crop Marks dialog (below). Two boxes
appear as dotted lines on the image.