C-DiGit User Manual 2-1
2
Quick Start Tutorial
The Quick Start Tutorial Guide included with the C-DiGit Blot Scanner is intended
as a quick verification tool to ensure that the C-DiGit is working properly, before
you proceed to scan your own membranes. The Tutorial Guide is reproduced in
this section, with some additional detail.
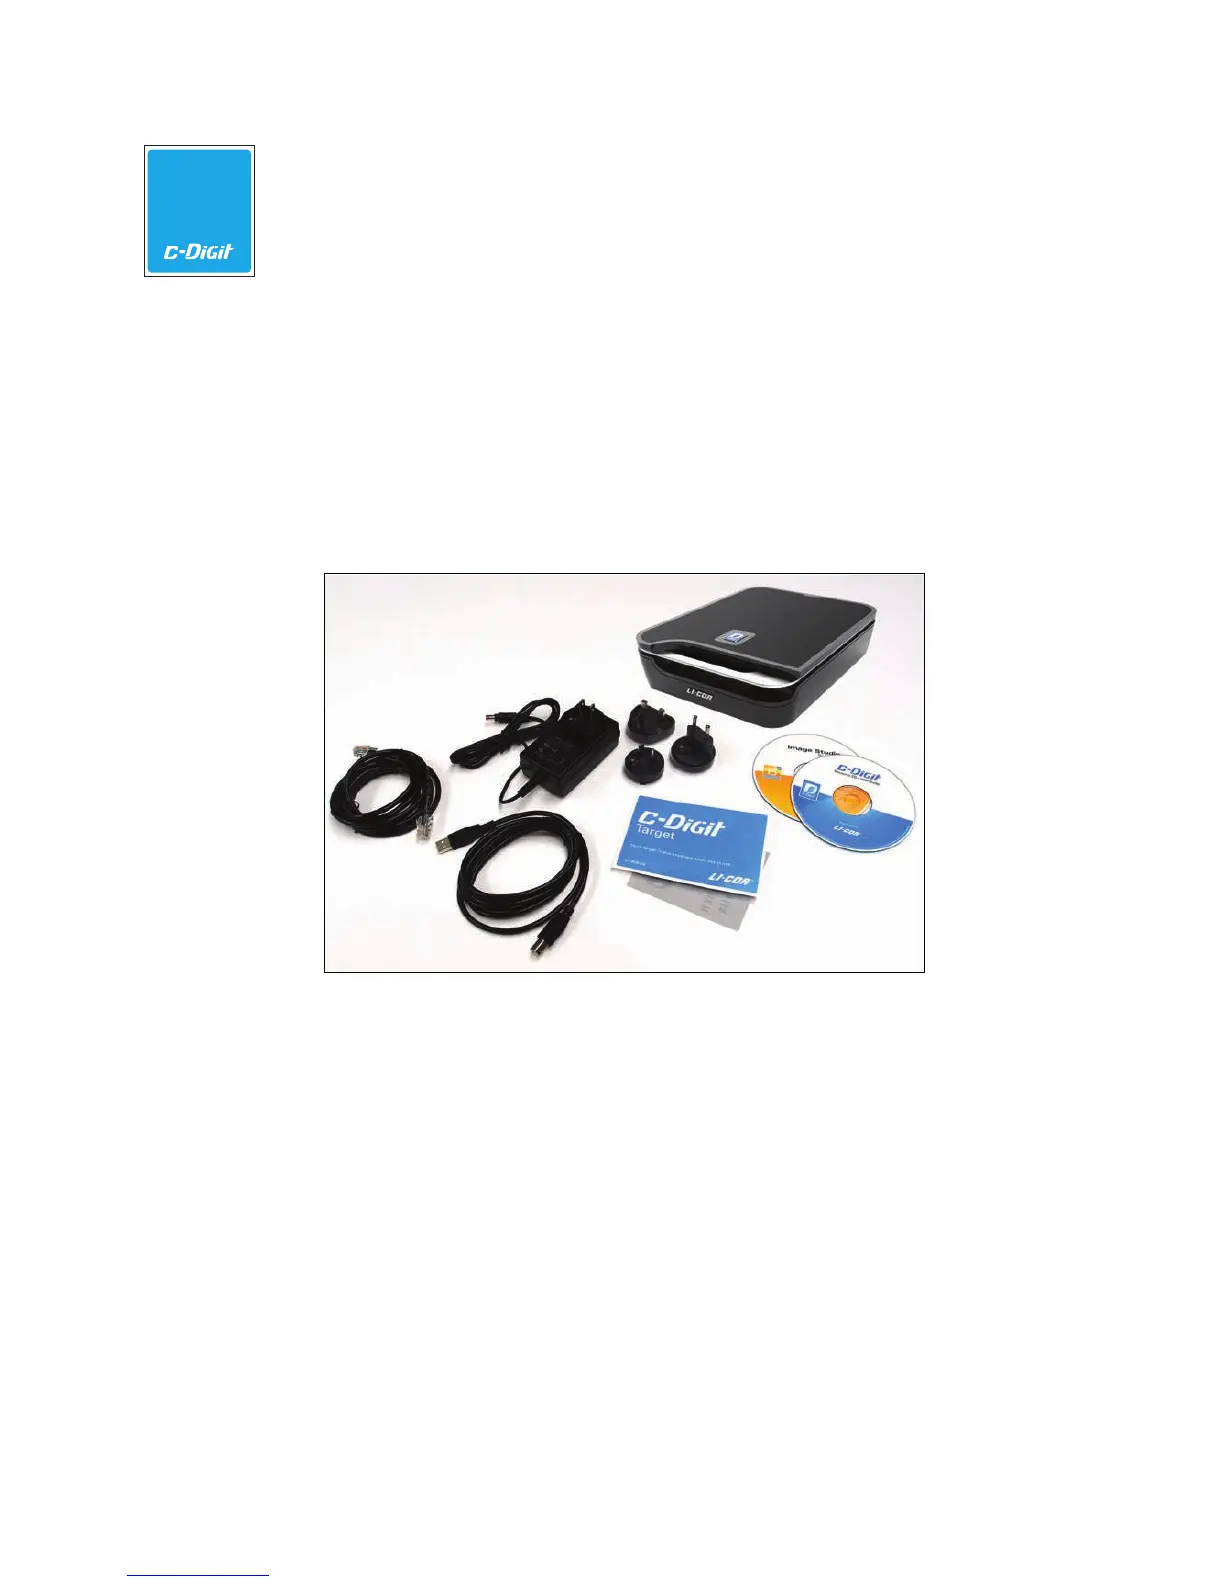
1. Unpack C-DiGit
In addition to the C-DiGit Blot Scanner, you will find the items shown below
(l-r): 1) Ethernet and 2) USB cables, 3) a power supply with interchangeable
plugs, 4) a C-DiGit Target, and 5) Image Studio and Resource CDs.
1
2
3
4
5
The USB cable is the default method used to connect to the C-DiGit Blot
Scanner; the Ethernet cable is used for alternative connection methods
described in Section 5.
2. Place C-DiGit in the Lab
Place the C-DiGit Blot Scanner away from heat sources (furnaces, windows,
etc.) and out of direct sunlight.
3. Install Image Studio Software
Insert the Image Studio DiGits CD, and follow the instructions below to install
the Image Studio software. Note that you should make sure that your user
account has administrator rights on the computer.