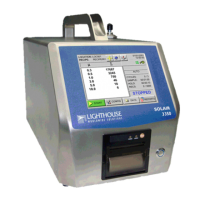
Unpack, Inspect and Install
248083387-1 Rev 10 3-9
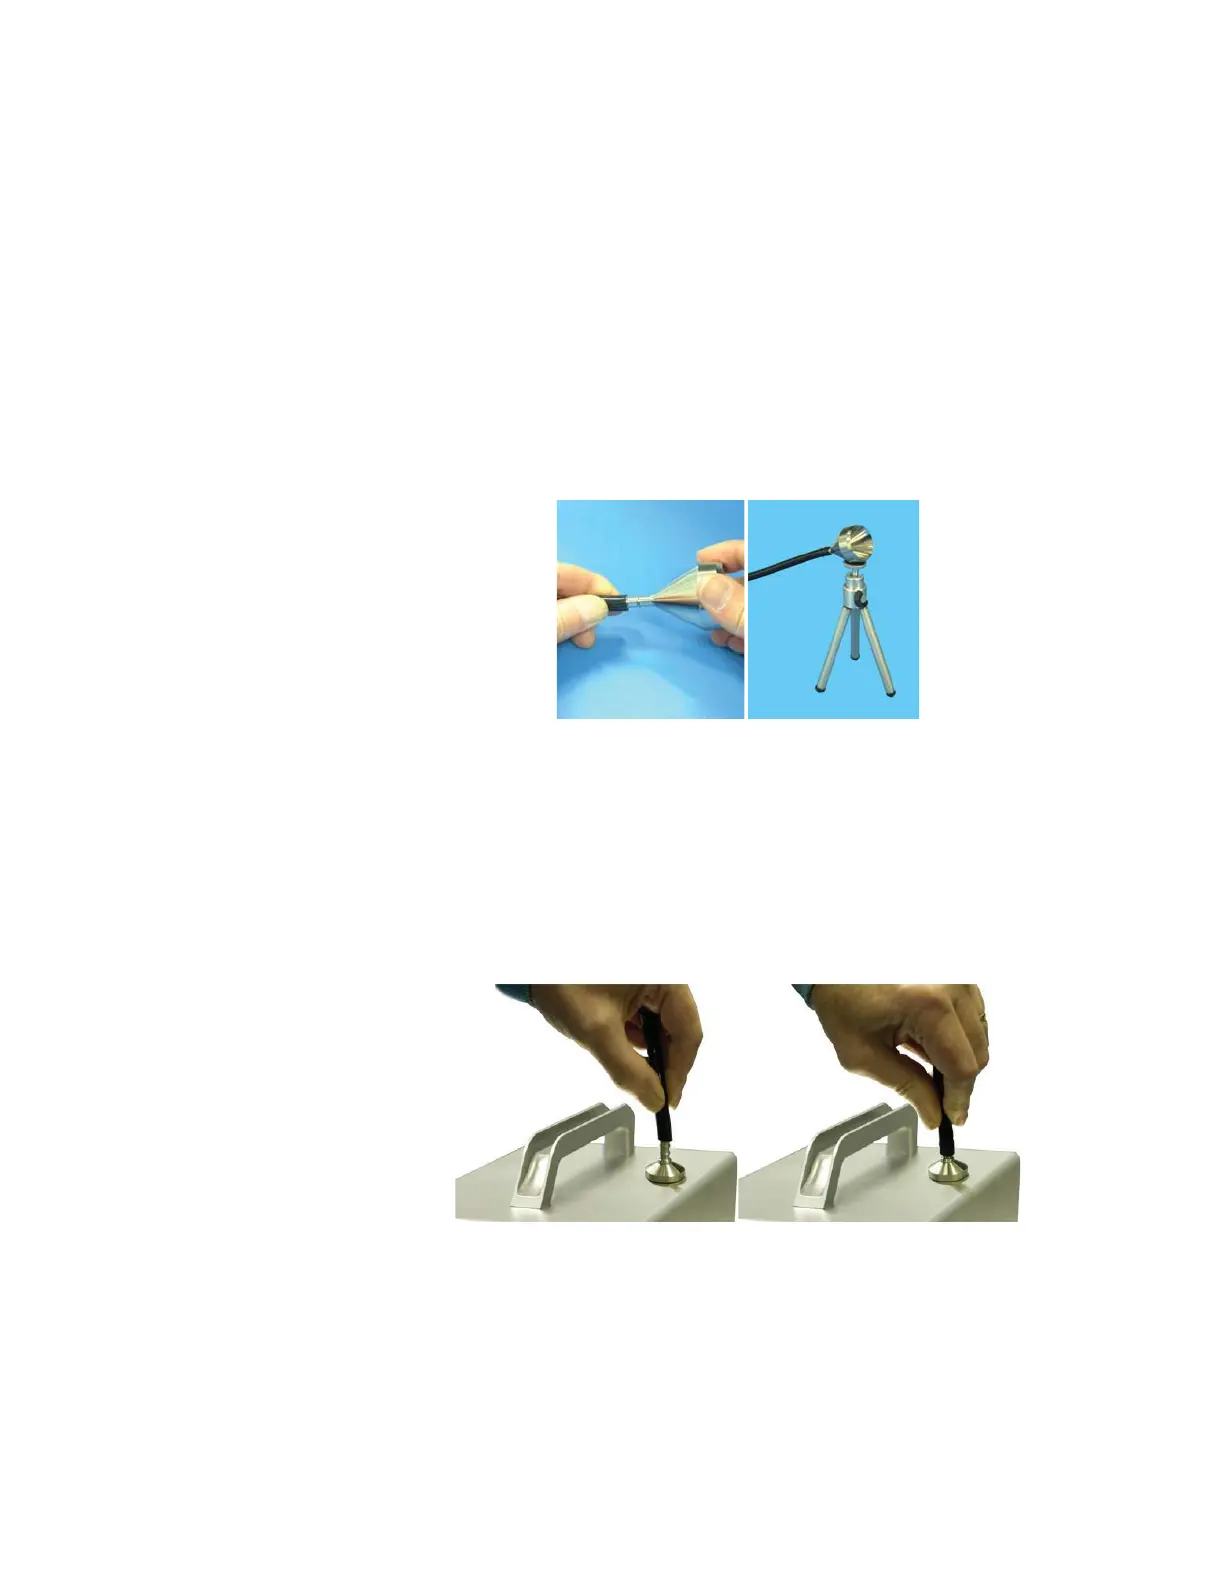
Connecting the Isokinetic Probe
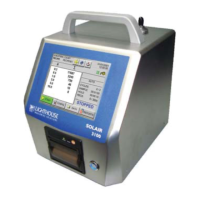
The SOLAIR comes with an isokinetic sample probe, tripod stand and
a length of sample tubing that is lined with an electrostatic reduction
material to eliminate particle adhesion. The probe with tubing connects
to the sample inlet.
1. Insert the isokinetic probe’s barb connector into one end of the
tubing. If the tripod will be used, screw the probe onto the tripod’s
head and use the lock wheel to lock the probe in position. The head
of the tripod swivels and can be locked in any position. See Figure
3-9.
Figure 3-9 Tubing, Isokinetic Probe and Tripod
2. Remove the protective cap from the sample inlet located on top of
the unit.
3. Place the other end of the sample tubing over the inlet barb and
push down firmly until the tubing covers the full length of the barb.
See Figure 3-10.
Figure 3-10 Installing Tubing Onto Inlet