Before start-up
- 41 -10.13
12.7 Connecting the inert gas
cylinder
 Set the insert gas cylinder 14 down on the
carrier plate and secure it with the chain
1.
 Briey open the gas cylinder valve 32
several times in order to blow out any dirt
particles present.
 Connect the pressure reducer 13 to the
inert gas cylinder 14.
 Screw the inert gas hose 5 to the pressure
reducer.
 Open valve 32 of shielding gas bottle 14.
 Turn the machine off at main switch 9.
 Press torch key and keep it pressed.
 Turn on the machine at mains switch 9.
9 Solenoid valve will be switched on for 10
seconds.
 Set the gas quantity using adjusting screw
35 of the pressure reducer 13. The gas
quantity will be displayed on the owmeter
34.
Rule of thumb:
Gas volume = wire diameter x 10 l/min.
The cylinder content is indicated on the
content manometer 33.
33
13
34
1
35
14
32
5
Abb. 13: Connecting the inert gas cylinder
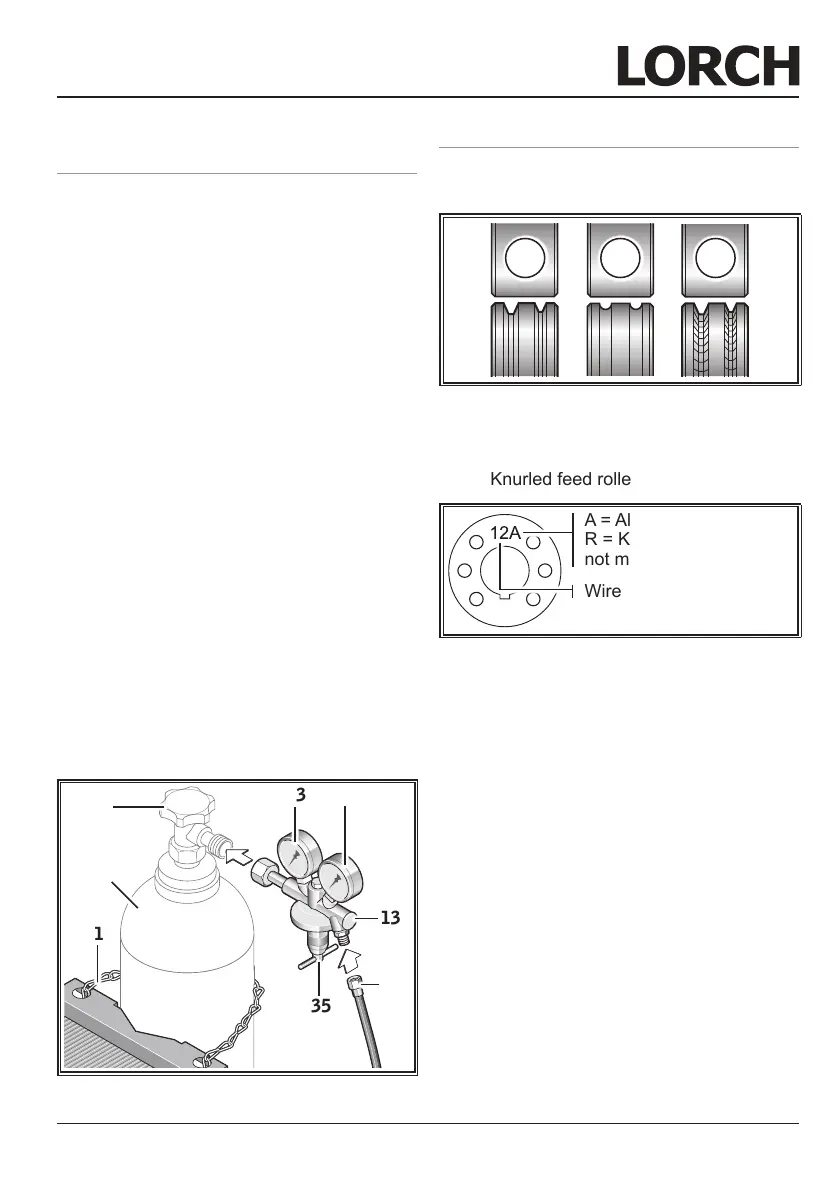
12.8 Changing the wire electrode
 Change the wire feed rollers. Select the
most suitable rollers for the application.
A B C
Abb. 14: Wire feed rollers
A Steel feed roller
B Aluminium feed roller
C Knurled feed roller (for ux-cored wire)
Wire dia. in mm / 10
A = Aluminium
R = Knurled
not marked = Steel
Abb. 15: Marking of wire feed rollers
 Replace the steel torch with an appropri-
ate torch, or change the wire feed spiral.
Wire feed spiral: (for steel or ux-
cored wire)
 Remove the existing wire feed spiral or
plastic core and insert the new wire feed
spiral. (Refer to the operating manual for
the torch)
 Insert the guide tube 43 into the central
connection.
Plastic core: (for aluminium, stain-
less steel or CuSi wire)
 Remove the existing wire feed spiral or
plastic core and insert the new plastic
core. (Refer to the operating manual for
the torch)
 Remove the guide tube 43 from the cen-
tral connection.
 Loading...