LUMIPro 2017
3
Quick Start Tutorial—Part III
Now that you’ve got your model placed, posed, and lit, they’re right where you want them. Now we’re going to ne-tune the lighting, nd a good camera angle, and set the eyes. Be pre-
pared for fewer ddly bits and more creativity; time to let your inner artist shine!
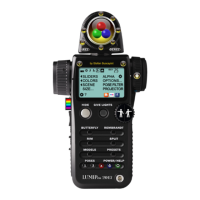
Step 10. Adjusting the lights is simply a matter
of touching them in the direction you want them
to move. In the picture to the right, the light will
move towards the model’s neck. If the top of the
light is clicked, the light will move up; the bottom:
down, etc. is overcomes a fundamental basic
in SL: you can’t use Edit to adjust prims worn by
somebody else. For this tutorial, click on the right
side of the Red light ball, until it appears in posi-
tion shown here, above the model’s le shoulder.
You may also adjust the Green and Blue balls as
well, until you’re satised that the lighting looks
good; continue when you’re ready.
Step 11. Find a shot. For this tutorial, let’s focus
on a shot from the torso up, with the model ro-
tated slightly to the right, as if they’re looking o
over your le shoulder. Take a moment to frame
the shot until it’s similar to what is shown to the
right.
TIP: To show o your model a little better, try
this: rst press Control-9. is sets your camera to
the default focal length. en press Control-zero
three or four times, to zoom in a little bit. is will
give you a more natural look. Try it!
When you have your camera in place, you may
notice a couple things: your model is not look-
ing at the camera, and there’s a big red ball in the
shot. Clicking the HIDE button will hide the ball
instantly, but we still want the HUD open for the
next step, so let’s just hide the lights for now.
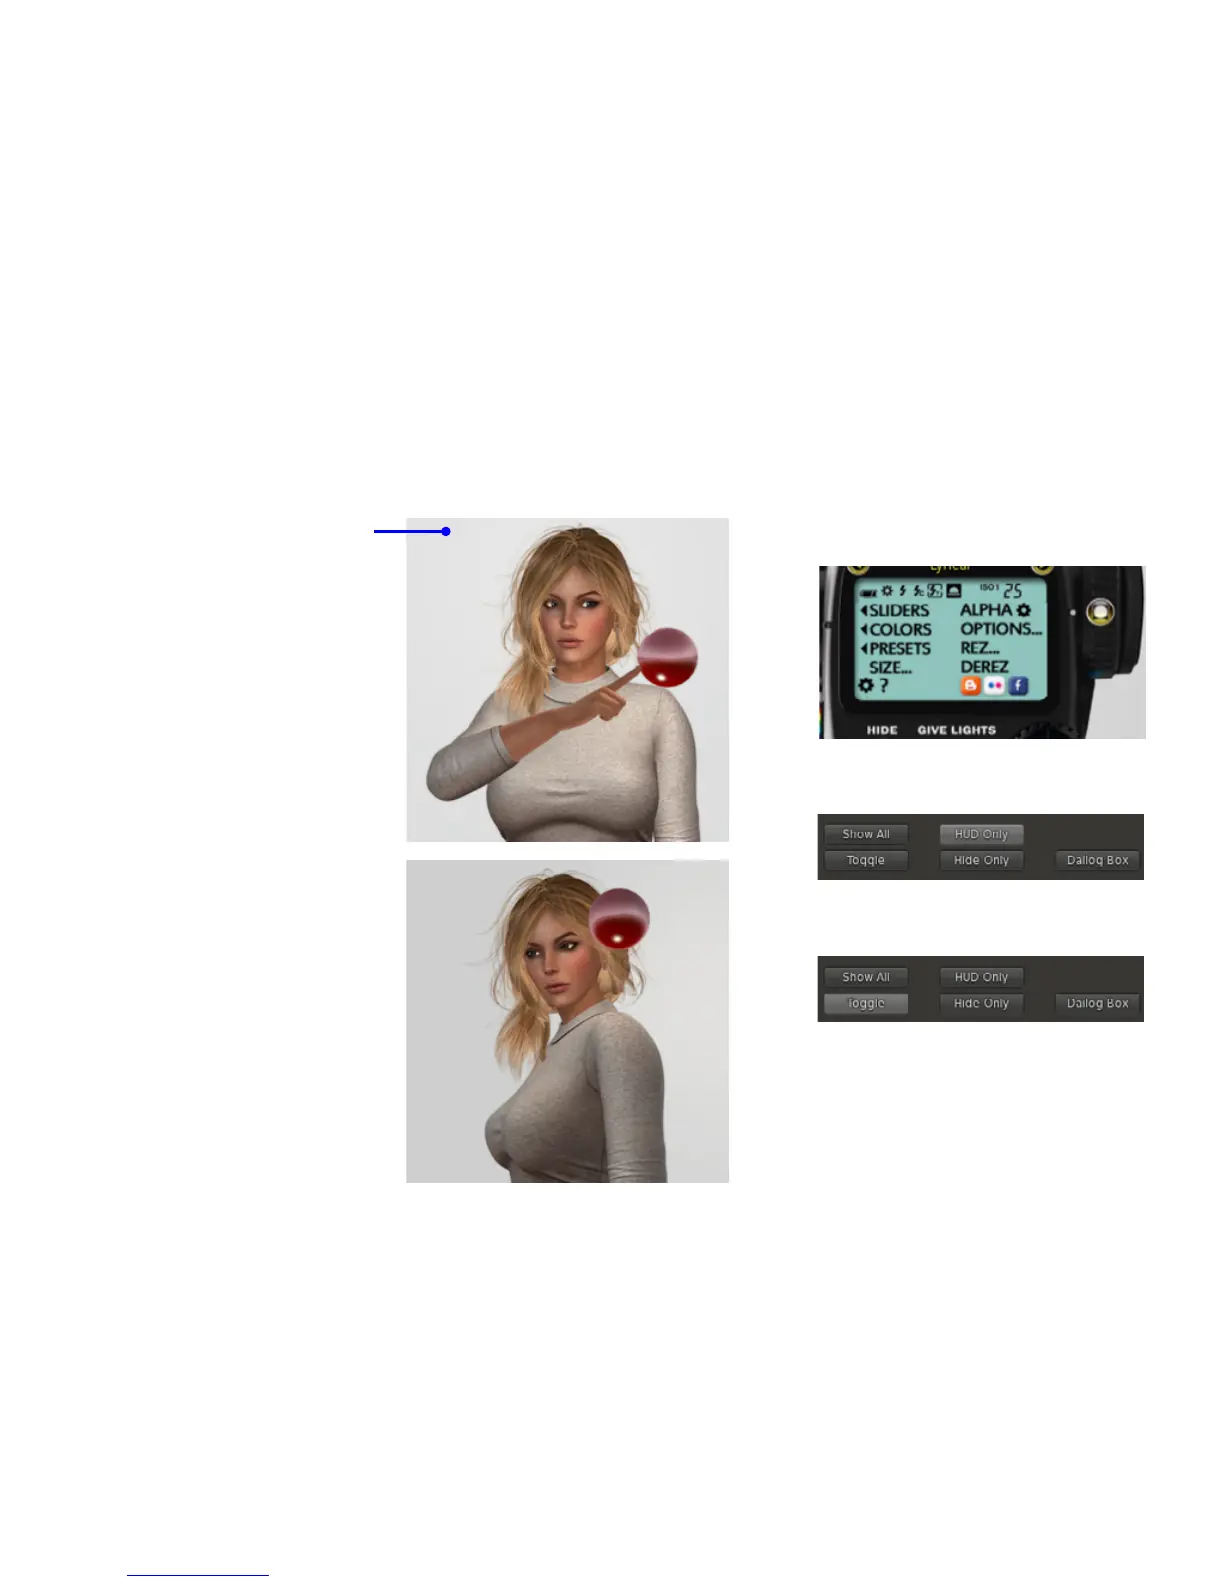
Step 12. In the LCD window of the HUD, locate the
ALPHA/Gear button, and click on it.
Step 13. In the resulting menu, you’ll have several choic-
es, which the manual will cover in greater detail. For
now, click the HUD Only button. e window will close.
Step 14. Repeat Step 12, then click the Toggle button.
You will now be able to show and hide rezzable items like
lights, sit balls, and projectors independent of the HUD.
Try it out: clicking on the Alpha button should now
show and hide the model’s lights and sit ball. When
you’re comfortable with the way things are working, let’s
make a picture!