30
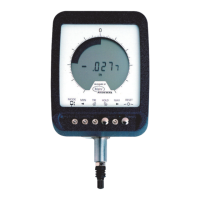
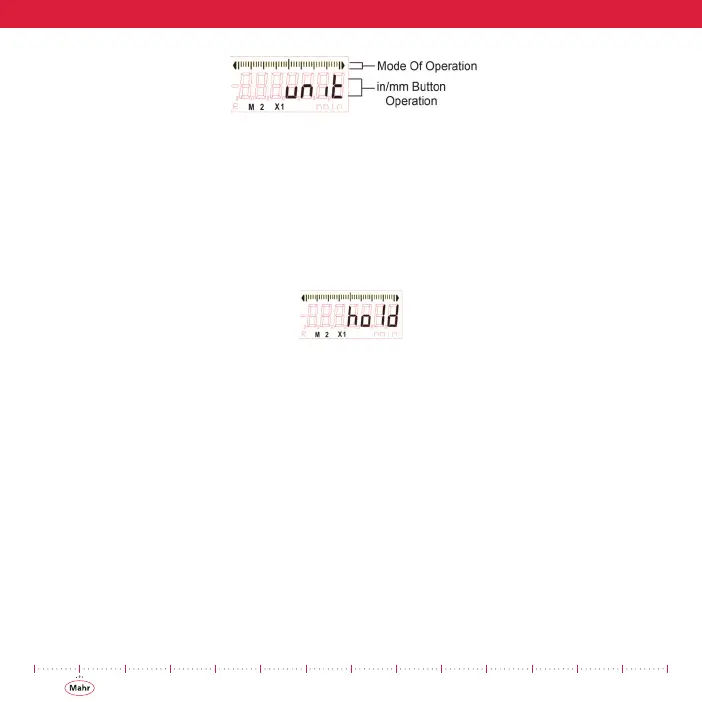
Figure 19 - Mode of Operation Select Display
The indicator arrives so that the units are selectable by using the inch/mm button. The inch/
mm button may be disabled and re-assigned to the Hold function. The Hold function is
used to freeze a reading on the display.
5) Press and release the inch/mm button to enable the hold function. The display
shows the new setting.
Figure 20 - hold Display
The selection is toggled to assign the inch/mm button for the Hold function or for chang-
ing the units in the gaging mode.
6) Once selected, press and release the M/OFF button to advance to the next
menu option. To exit the Setup mode press and release the
M/OFF button until it returns back to the gaging mode (no M icon is displayed
unless multiplier factor is other than 1.000).
5.10 Changing Data Output Configuration (M3 X1)
1) Simultaneously press and hold M/OFF (1), then quickly press and release inch/
mm (2) once to enable the setup mode. (M1 icon appears in the lower left cor-
ner of the LCD) (Figure 3).
2) Continue to press and release M/OFF until the M13 icon is displayed, signifying
the unit is in the selectable resolution mode.
 Loading...