32
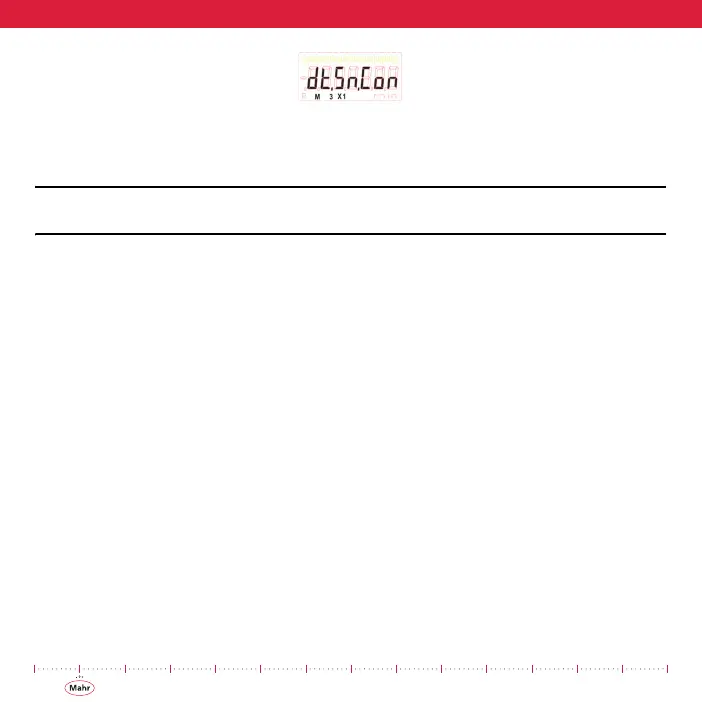
Figure 23 - Continuous Data Output Mode displays new setting
The selection is toggled using the ZERO/ON button.
NOTE: The continuous output operation may inhibit use of certain data collection cables,
devices, or software.
5.11 Calibration Mode (M123) [S]
1) Fit the indicator into a calibration device so that it is “on-scale”. The indicator
should remain “on-scale” throughout calibration. Select the inch or metric units
while in the gaging/measurement mode.
2) To enter Calibration Mode from the Gaging/Measurement Mode:
a) Simultaneously press and hold M/OFF (1), then quickly press and release
inch/mm (2) once to enable the setup mode. (M1 icon appears in the
lower left corner of the LCD) (Figure 3).
b) Press and release M/OFF to enter M2, Preset Mode.
c) Again, press and release M/OFF to enter M12, Limit #1 Tolerance Entry
Mode.
d) Again, press and release M/OFF to enter M23, Limit #2 Tolerance Entry
Mode.
e) Again press and release M/OFF to enter M13, Resolution Mode.
f) Press and hold M/OFF for 2+ seconds until M3 is displayed.
g) Press and release M/OFF to enter the M1 X1.
h) Press and release M/OFF to enter the M2 X1.
i) Press and release M/OFF to enter the M3 X1.
 Loading...