4 When the CD is detected, the Digital Music Library will try to get the album information automatically. When
the display changes from getting the music album information, press the Menu/Enter button.
If the Digital Music Library is connected to the Internet, music tracks will be imported using the acquired
album information.
If multiple titles are found, select the appropriate album title on the displayed window. Once you have selected
the album title, you can return to the previous window and select it again by pressing the Back button. The
album title with the “ ” symbol will contain the cover art.
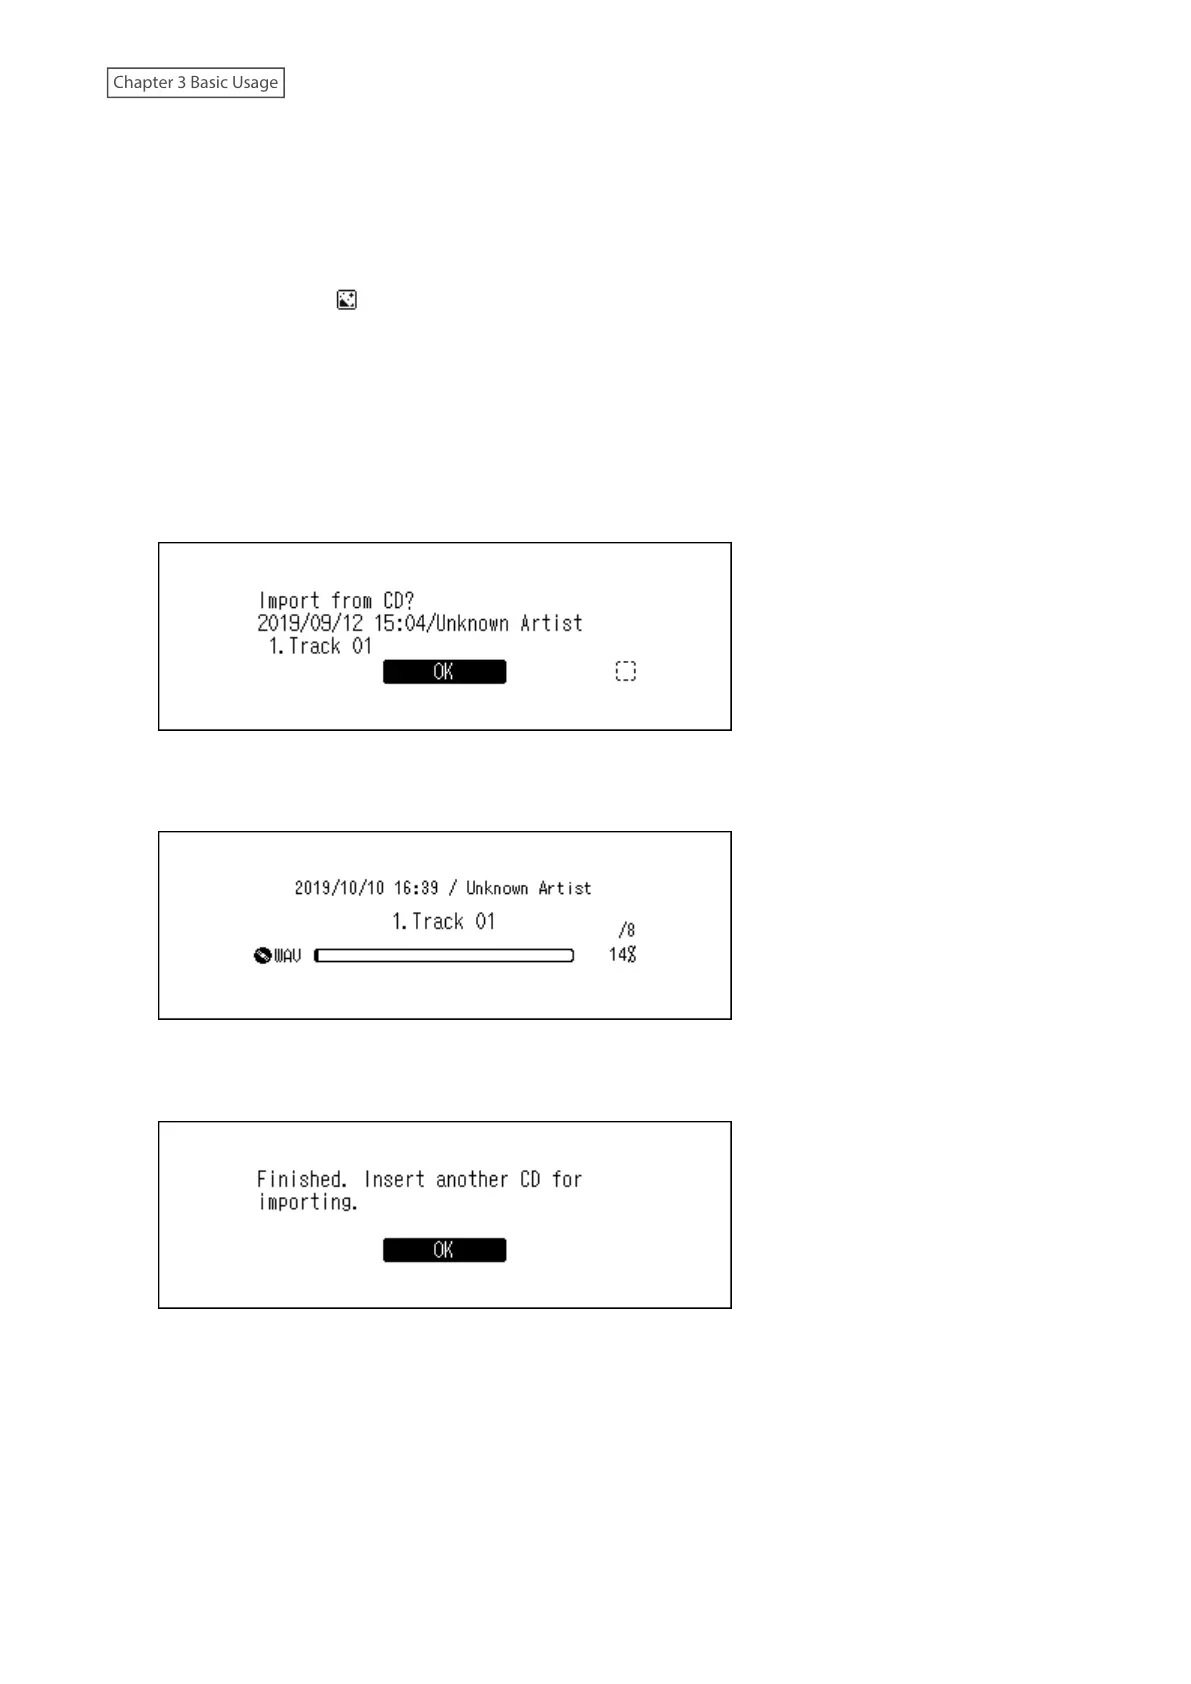
If the Digital Music Library is not connected to the Internet, or if the CD information is not available from the
online music database, the album name and music title information will not be acquired. In such a case, the
import date will be used as the album name and the track number as the filename.
Note: If the Digital Music Library cannot get the music album information while connected to the Internet,
check your device’s security settings or security software to make sure that the Digital Music Library has
permission to access the Internet.
5 Check the imported tracks using the Up/Down buttons and press the Menu/Enter button.
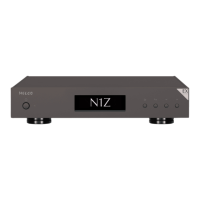
6 The import process will start. The album title, artist, title of the music file, and format information will be
displayed.
After importing finishes, the disc tray of the optical drive will open automatically.
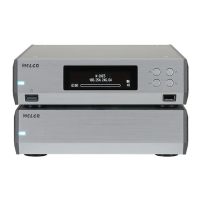
7 Press the Menu/Enter button.
To import tracks from another CD, repeat the process from step 2 above. If you have finished importing, press the
Down button or the Back button.
Import Destination Details
Imported tracks will be stored in the “import_CD” folder. If importing from a non-music CD, the imported data will
be stored in the “import” folder, not the “import_CD” folder.
18