SECTION 5
DISASSEMBLY AND ASSEMBLY
102
regulations.
Intall the new Printhead Latch:
1. Align the right tab of the Latch with the right hinge and
gently press into place. Repeat for the left side.
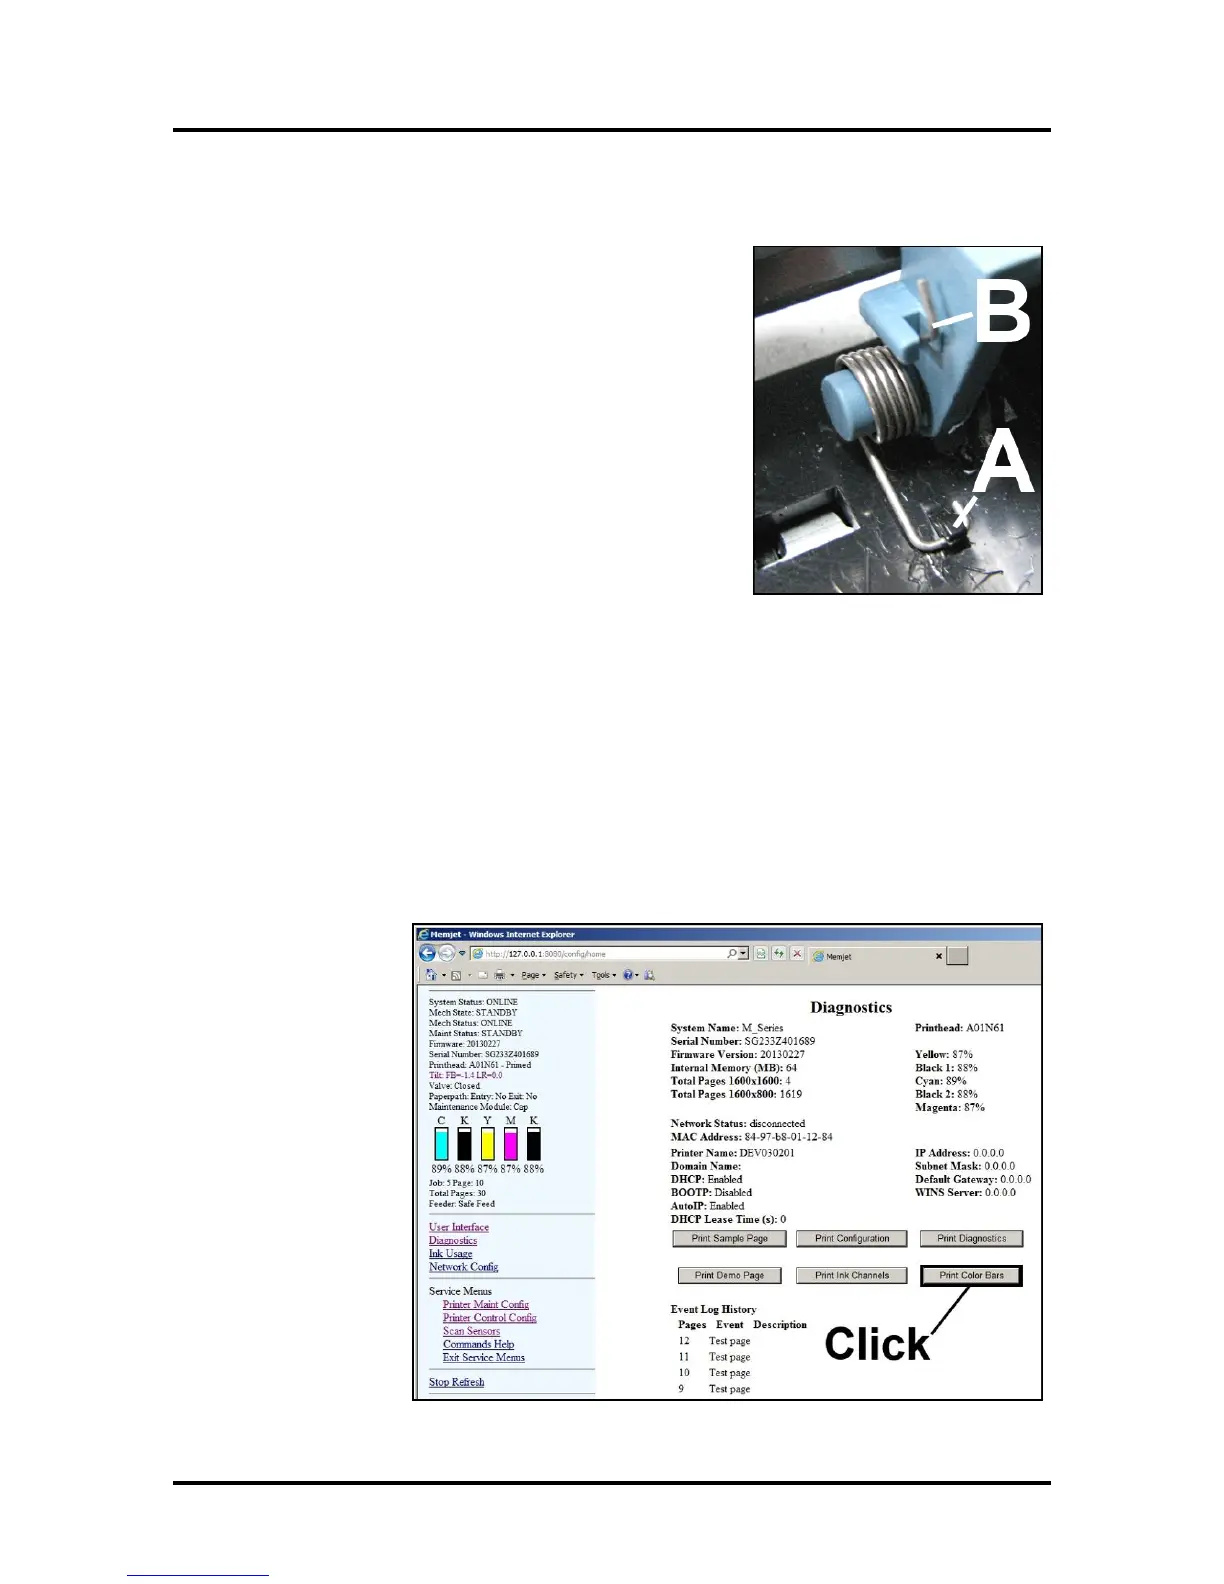
2. [A] Use needle-nose pliers to install the right Spring into
the plastic tab in the base of the housing.
NOTE: Be sure to orient the Spring as shown.
[B] Use the needle-nose pliers to position the other end of
the Spring into the notch in the Printhead Latch.
3. Repeat Steps 2A and 2B for the left side.
4. Remove the Printhead from the protective cap and wipe the Printhead surface according to
standard installation procedure, then install.
5. Restart the Printer.
6. Manually close the Printhead Latch until it clicks. The Printer will automatically prime and be
ready for testing. NOTE: If the Printhead Latch is closed with the system powered down, the
Printer will not prime automatically.
Testing
1. Restart the Printer if necessary.
2. Open the Printer
Toolbox,
navigate to the
Diagnostics
screen and click
“Print Color
Bars” to confirm
the the unit is
functioning
properly.
 Loading...