1 Introduction
Titrando Installation Instructions 5
1.3 Parts and controls
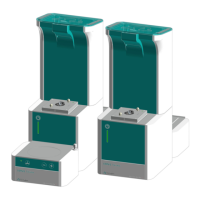
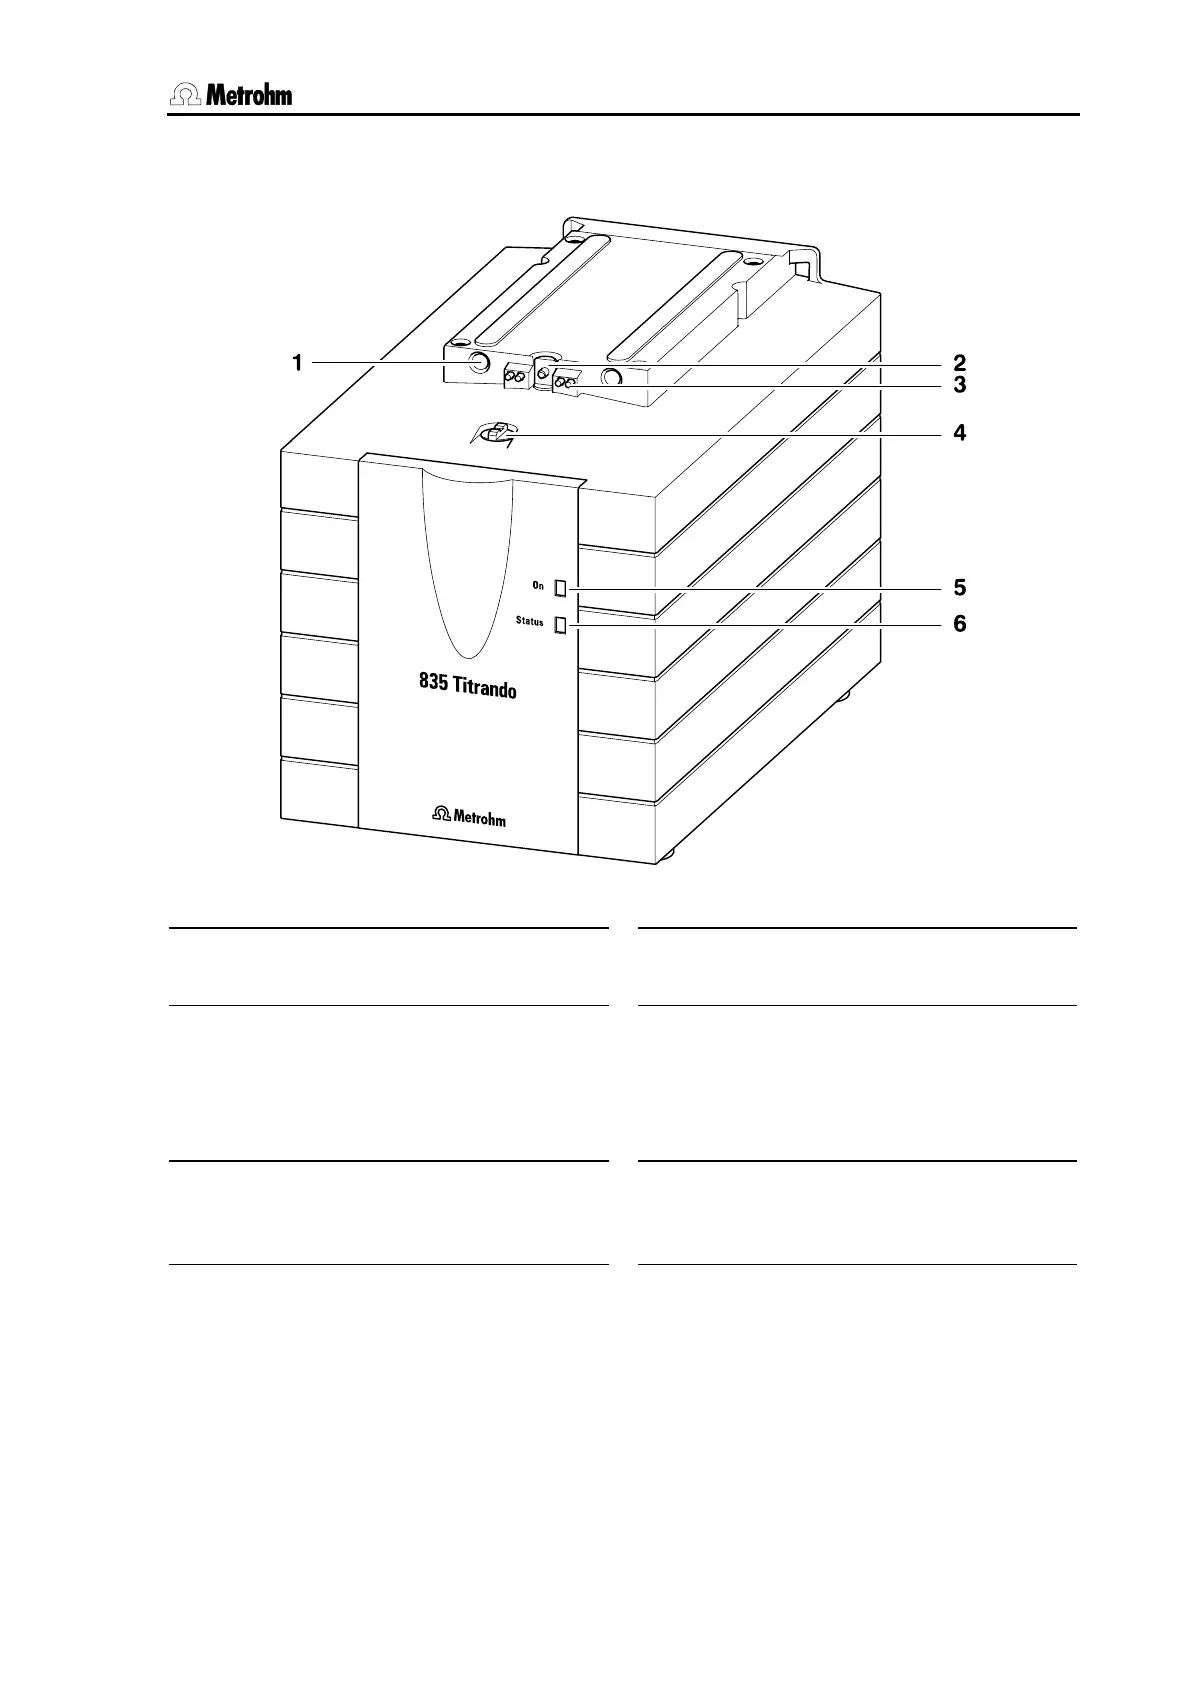
Fig. 2: Front view of a Titrando with internal dosing drive
1 Guide openings
for centering the exchange unit
4 Coupling
for switching the flat cock
2 Push rod
of the dosing drive
5 "On" LED
Lights up when the Titrando is con-
nected to the mains supply and a con-
troller (Touch Control or computer) is
connected and switched on.
3 Contact pins
for the data chip
6 "Status" LED
Shows the current status of the internal
dosing drive (see Section 2.4.2).