NDT-2000 User's Manual 29
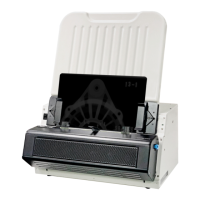
7. Select your desired image quality from the
Density drop-down menu for the current
scan job, based on the needs/image quality
requirements of the inspection.
– 3.5D: It allows users to get an image
with OD quality between 0.5D and
3.5D. Image processing is delivered
faster.
– 4.0D: It allows users to get an image
with OD quality between 0.5D and
4.0D. Image processing is delivered a
little slower but in high quality.
– 4.5D: It allows users to get an image with OD quality between 0.5D and
4.5D. Image processing is delivered slow but in best quality.
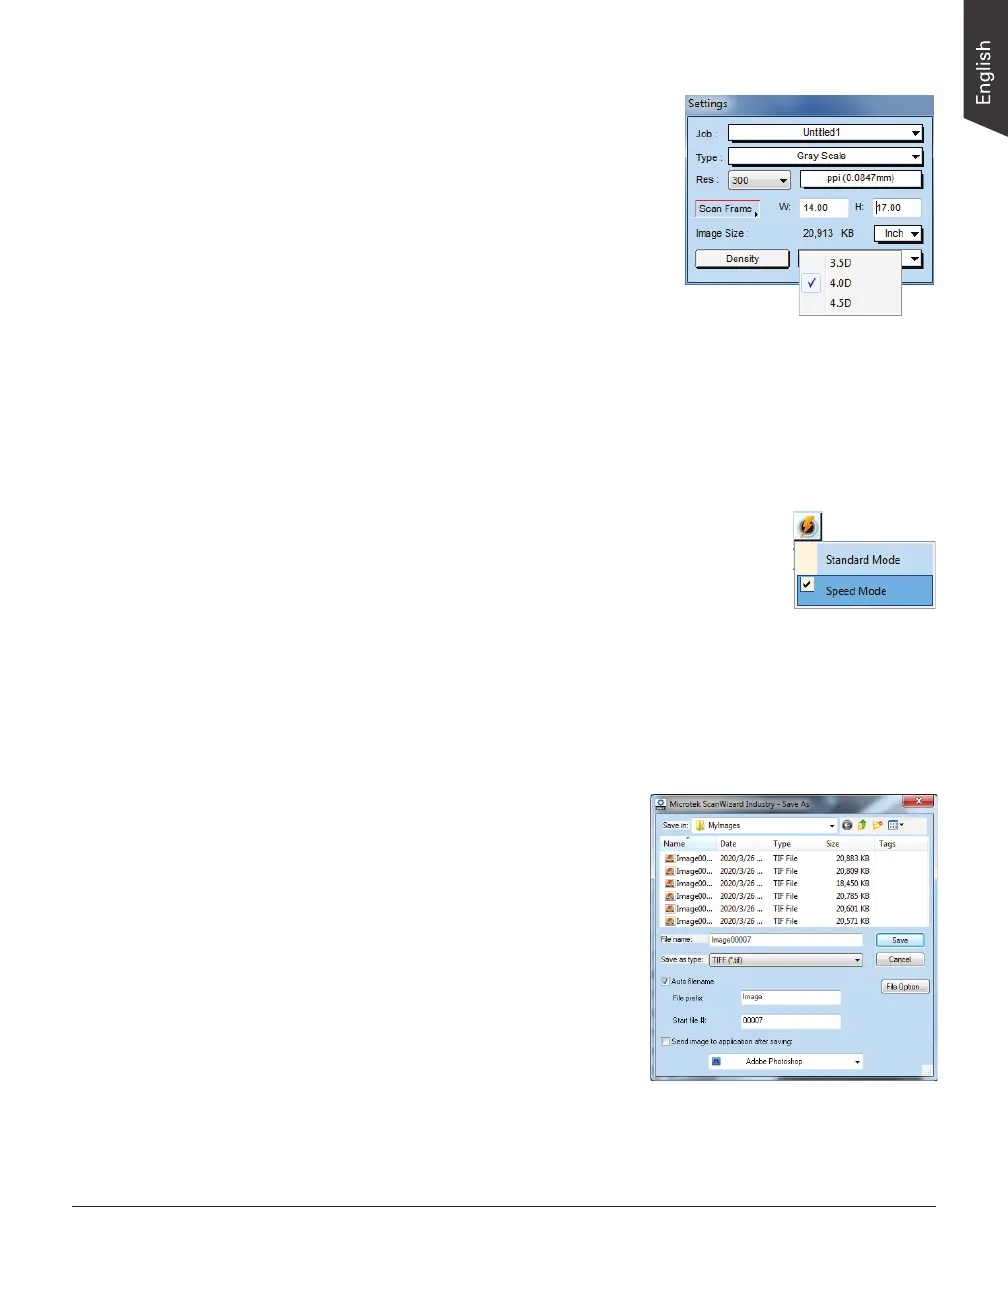
8. If necessary, select your desired scan mode from the Scan Mode drop-down
menu to scan lm based on the requirements.
– Standard Mode: This is an image capturing method
which meets with the BAM standard, converting the
density of a 16-bit positive lm image into a negative
lm image by multiplying 10,000. When saved as
a TIFF format, it can be displayed as a positive lm
image again. This mode is suitable for the lm with
high density but in needs of superior image quality.
However, the scanning speed will be slowed down.
– Speed Mode: This is the default setting, which can improve the contrast
ration of a normal image.
9. Click the Scan button in the Preview window to start scanning.
– If ScanWizard Industry is launched
as a stand-alone program, a
window “Save As” dialog box will
appear. Click the Save button;
then, the scanned image can be
saved into your selected folder or
sent to your selected application.
To view the scanned image, double
click the “Industry Images” icon
on your desktop (default folder
assigned by the software), or
retrieve it from your assigned
folder.
– If ScanWizard Industry is launched as a Plug-In from an application
program, the scanned image is delivered after the scan to your
application, where the image can be saved, viewed, or printed further.