Automation screen 179
PRO1 Live Audio System
Operator Manual
Automation screen
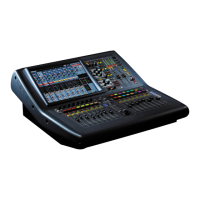
The Automation screen (shown right)
contains information on the following:
• Scenes — see “Scenes” on page 180.
• Shows — see “Show files” on page 188.
• Scope — see Chapter 21 "Scope
(Automation)" on page 193.
• Events — see Chapter 23 "Crossfades
(Automation)" on page 207.
For details of how to open the Automation
screen, see “To open the Automation screen”
on page 79.
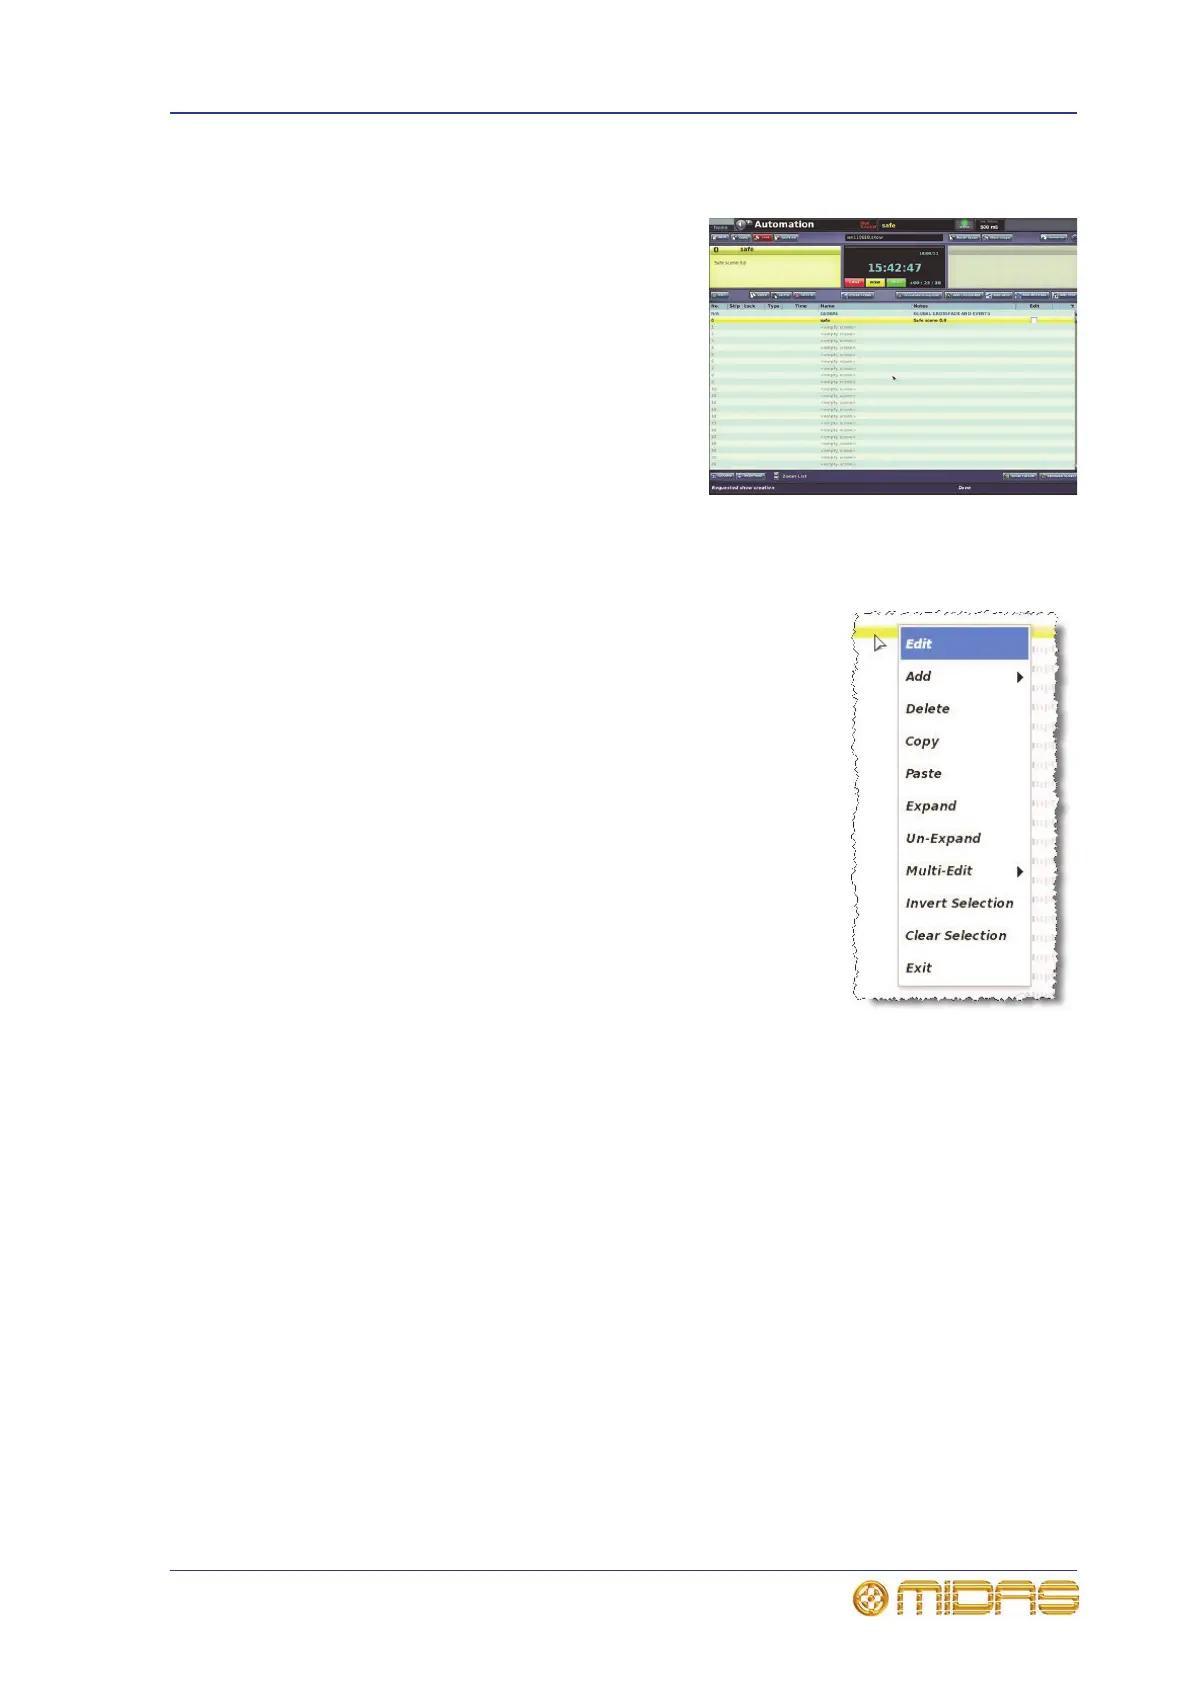
Using the right-click menu
You can access some of the functions of the function buttons
and also additional functions by right-clicking the desired
scene. This opens a menu that has the following options:
• Edit: Opens the Edit Scene Properties window.
• Add: Opens a submenu with the following options:
• Overwrite Scene: Overstores the scene with any
changes made. For example, if you are working on
scene 2, and you have made changes to it, right-click
on scene 3 and then select Add > Overwrite Scene,
and scene 3 will be overstored with the changes made
to scene 2.
• Insert Scene: Inserts the scene you have just copied
immediately before this one.
• Midi Event: Creates a MIDI event in the scene.
• Internal Event: Creates an internal event in the
scene.
• GPIO Event: Creates a GPIO event in the scene.
• Crossfade Event: Creates a crossfade event in the scene.
• Delete: Deletes the selected scene (see “Copying and deleting scenes” on
page 185).
• Copy: Copies the selected scene (see “Copying and deleting scenes” on page 185).
• Paste: Pastes the scene you have just copied.
• Expand: Expands the scene/point scene (see “To expand a scene/point scene” on
page 183.
• Un-Expand: Closes the point scenes of the scene/point scene (see “To expand a
scene/point scene” on page 183).
• Multi-Edit: Opens a submenu with the following options:
• Set List: Opens the Set List window.
• Show Editor: Opens the Show Editor window.
• Invert Selection: Any scenes that have been ‘checked’ (that is, their check box in
the Edit column contains an “X”) become unchecked, and vice versa.