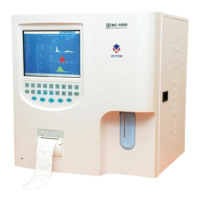
Maintaining Your Analyzer
10-22
5. Follow the instructions displayed on the screen to place an empty cup, whose diameter
should be no less than 8cm, below the sample probe.
6. Press [ENTER] to soak the wipe block with the aspirated cleanser. The soaking progress
will be displayed on the screen, as Figure10-25 shows.
Figure10-25 Cleaning wipe block
z Spills are possible during the soaking process. Keep a minimum 30cm
distance from the analyzer.
7. When the soaking is done, wipe the bottom of the wipe block with a probe
cleanser-dipped cloth that does not leave debris.
8. Press [ENTER] to flush the block and the interior of the probe and the flushing progress is
displayed on the screen as Figure10-26 shows .
9. After the flushing is done, the screen returns to the initial state.
When the accumulated analyzed whole blood samples reach 2,000, or prediluted samples
reach 4,000, a message box will pop up to remind to clean the probe wipe, as Figure10-27
shows. CLICK “Enter” to do the procedure; CLICK “Cancel” to abort the procedure.