22
Ready
A3+ Name_C
■ Test Cut
After setting the paper, fi rst of all check if the
control panel is in standby mode.
Note : In standby mode the...
LCD panel : shows start-OK
LED lamp : Power lamp is lit
READY lamp : Error lamp is off
After checking the unit is in standby mode,
press the START/STOP switch while holding
down the ENTER switch at the same time.
A test cut of just 1 sheet is made and it is
stacked in the eject tray.
Check the business card size and see if the
printed surface matches the cutting position.
1.
2.
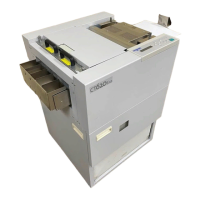
ع Before you start cutting
Before you start the actual cutting job, make a test cut to fi nd if there is any deviation between
the cutting position (up/down direction) and printed surface. If the printed surface and cutting
position don’t match then you must align the paper feed unit position.
3.
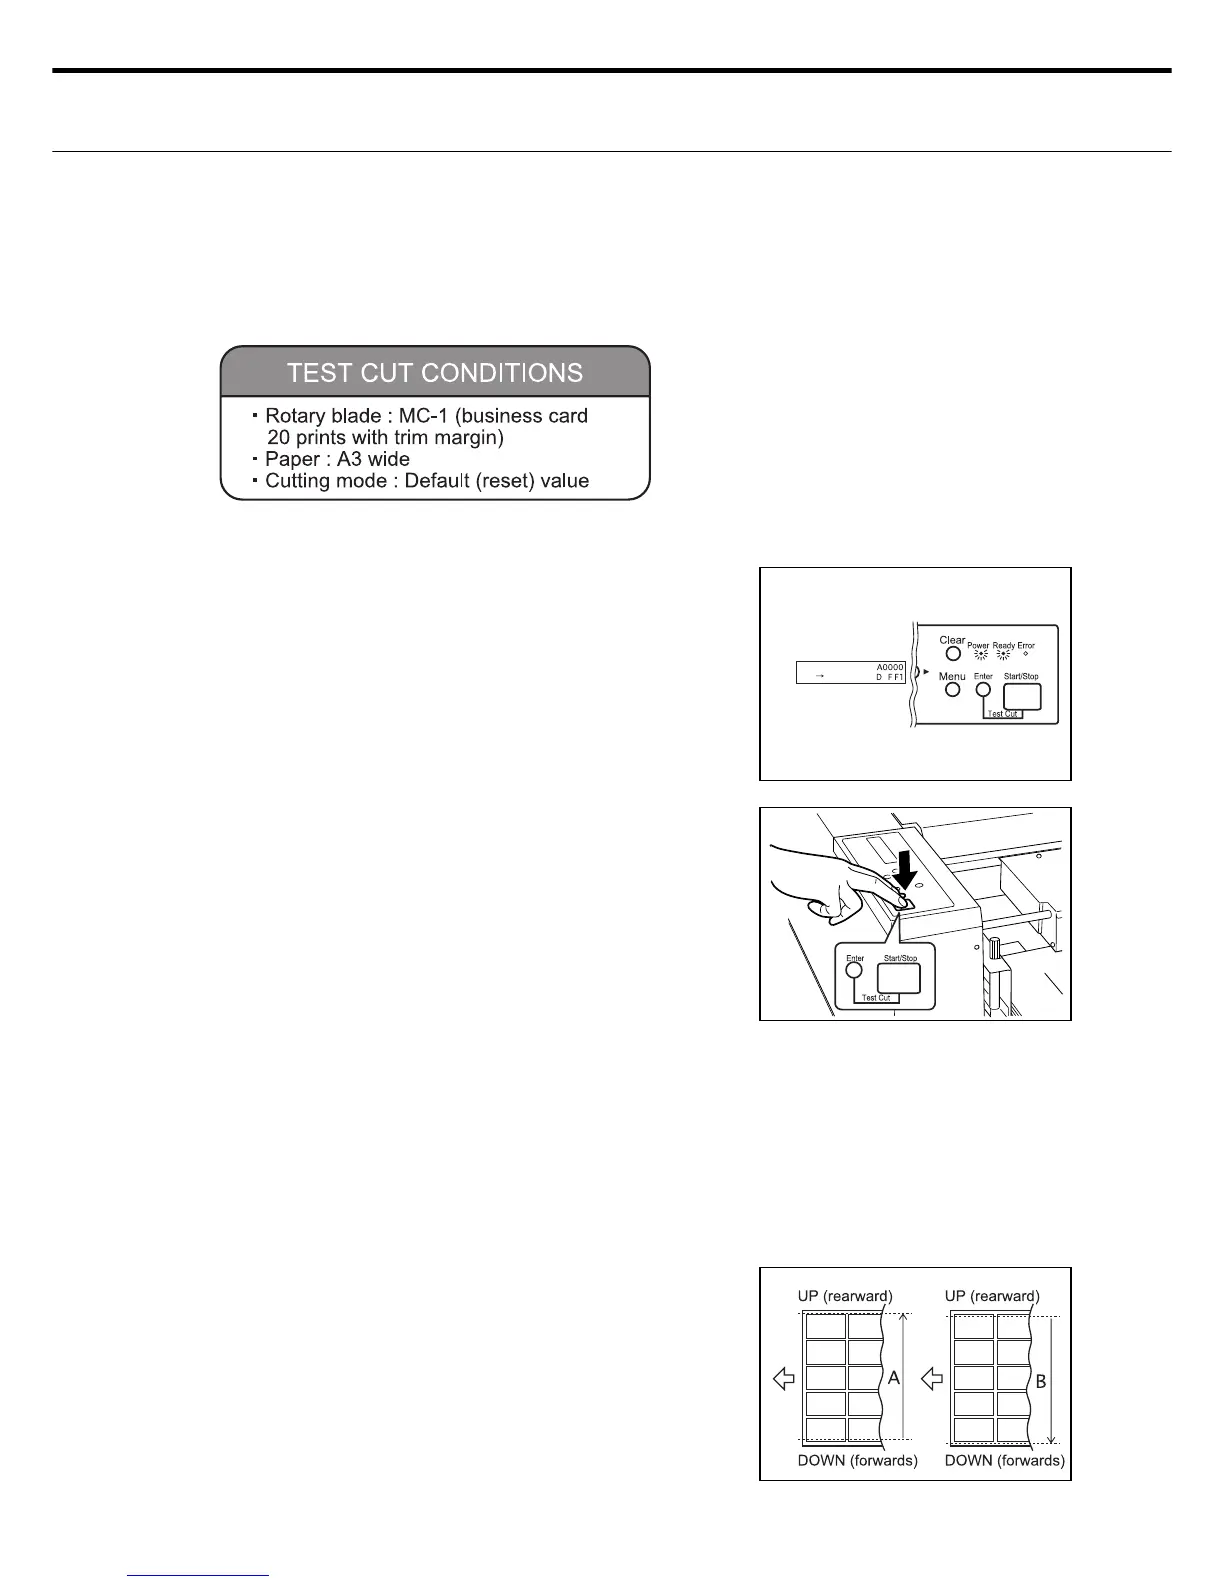
■ Aligning the cutting position (feed unit front & rear direction)
After making the test cut, check if the busi-
ness card cutting position has deviated up-
wards or downwards.
Fig. A : Cutting position has deviated up-
wards versus the print position.
Fig. B : Cut ting position has deviated
downwards versus the print posi-
tion.
1.
The test cut is only made on 1 sheet of paper, so you must repeat this task when
aligning the cutting position.
If the cutting stops during the test cut then press the START/STOP switch to re-
start the test cut.
7. Cutting the paper