Bolt X Quick Start Guide
25
6. Power up the Ulti box. Both input and output switches on the power
supply need to be switched on.
7. Power up other connected devices, if applicable, such as the
Motionbase or the XL Turntable. Note that there is no particular
order in which these need to be powered up.
8. Power up the Flair PC and all of its components.
9. Check INtime is running on the Flair PC.
10. Launch Flair. After software boot up is complete, ensure that the
green network and node lights are illuminated in Flair. Reload if
necessary.
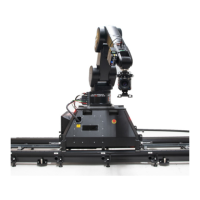
11. Release the E-stop that is plugged into the computer
stack, by turning the button clockwise until the red
button pops up and then pressing the Enable button.
Also make sure the key on the PLC box is in the
vertical position (RED led must be off). Green LED
on the E-stop box should come on.
11.1 The Green LED on the safety box should also
come on.
11.2 (pedestal only) The Yellow LED on the YRC cabinet should
also come on.
The robot is now ready to be enabled in the software.
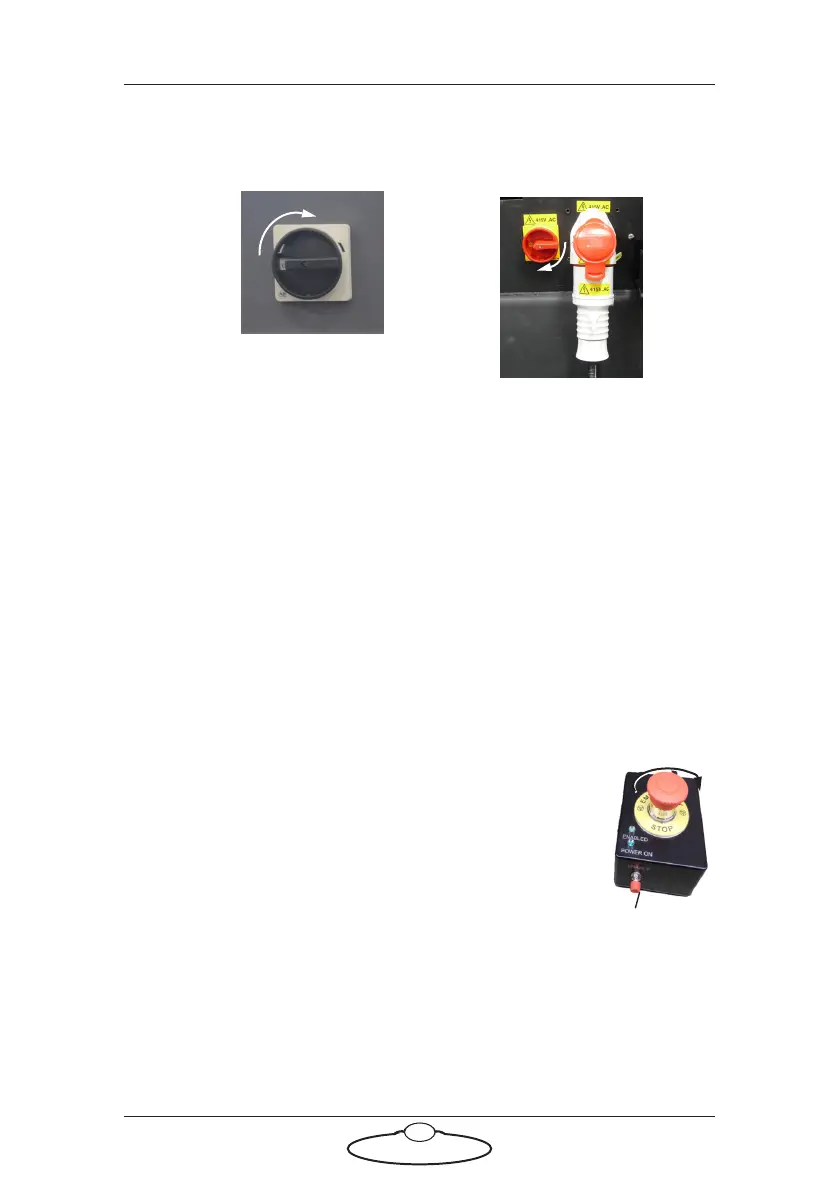
For Bolt X On Track, turn
on the power switch on the
side of the Bolt X Base.
For Bolt X on Pedestal,
power on the YRC1000
controller unit
The pendant shows the boot up
sequence which normally takes about
1 minute. For more, refer to Checking
when YRC1000 is ready on page 38.
Reset
button