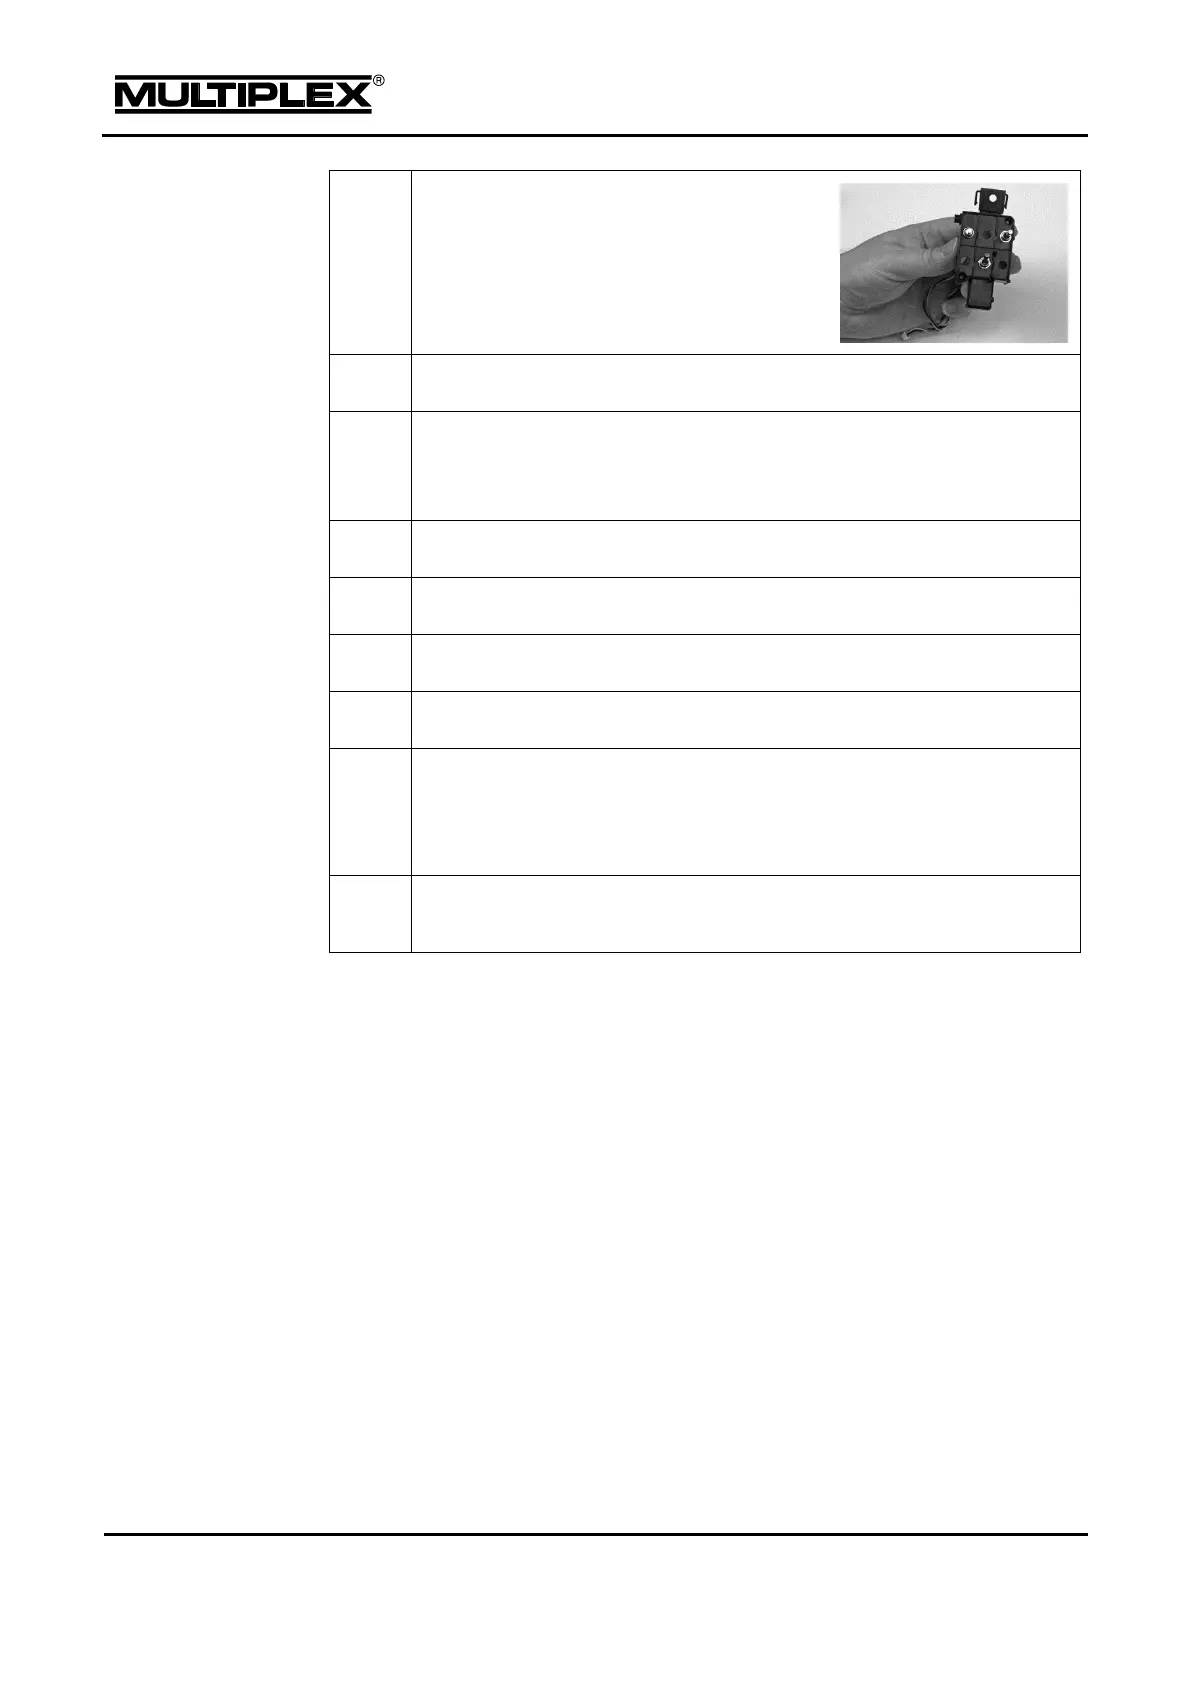
Install the controls. Observe the installation
direction for dip-switches: The red cable
must face the transmitter front.
Replace the switch tray and secure it using the screws.
Replace the circuit boards and secure them using the screws. Replace
the cover over the headset socket and make sure that the clips snap into
place.
Refit the connectors of the controls.
Close the cap on the slots.
Insert the battery and close the transmitter.
Switch on the transmitter.
Verify that the controls operate correctly.
To test this, assign the new controls to any switched function in the
Setup > Switch menu.
The date and time have to be set again in the Timer menu, as the battery
was removed.