ROYAL evo
Page 78
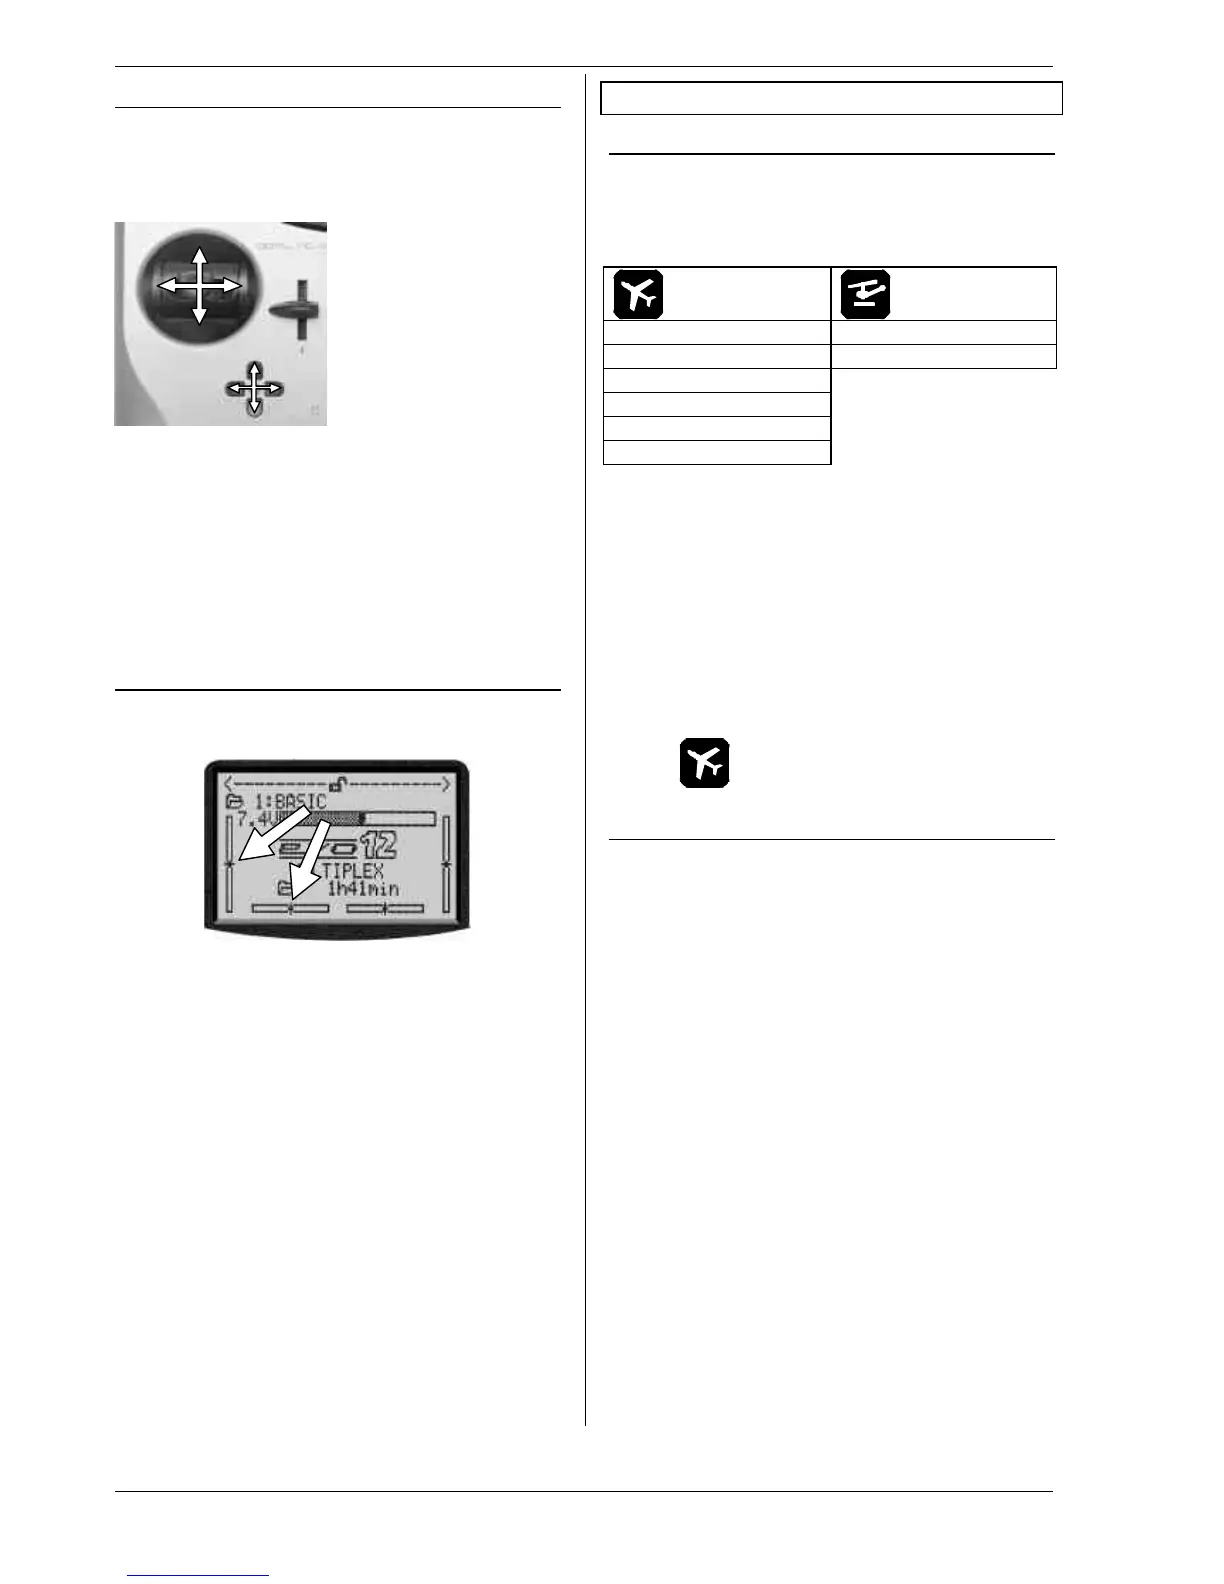
11.3. The cruciform digital trim assembly
The trims of the ROYALevo take the form of buttons
arranged in a cross, located below and to one side of
the stick units. They are located in an ergonomically
optimum position, and can be reached easily when the
transmitter is hand-held or installed in a tray.
Each press of a trim button
effects a trim adjustment
around the corresponding
control axis in the direction
of that button.
If you hold a trim button
pressed in for longer than
about 1 second, the trim
continues to increment
until you release the but-
ton (AUTO-REPEAT).
Each trim step (increment) is accompanied by a confir-
mation beep. When you reach the trim centre position,
and when you reach the ends of the available trim ran-
ge, you will hear different sounds. You can switch the
trim beeps OFF if you prefer (è 13.1.2.).
!!
The trim of the 4th stick axis (‡‡ ) always works
in idle trim mode for throttle!
This is also valid if SPOILER is assigned to this H
and for helicopters.
11.4. On-screen trim display
The trim settings are displayed on the screen in status
displays 1-3. They take the form of graphic displays in
bar form, on both sides and the bottom of the screen:
Starting from the trim centre position, a maximum of 20
trim steps are available in both directions. The trim in-
crements can be set to any of 4 values from 0.5% to
3.5% ( TStep è 14.2.3).
!! Note: Trim step width, trim range
When you alter the trim step, the number of
steps stays the same. This means that both the
trim range and the actual trim value (!) are
changed, i.e. you must adjust the trims again if
you alter the trim increment size.
The current trim value is displayed on the screen in
graphic form, but it can also be displayed numerically if
you wish (parameter Trim è 14.2.2)
There are several variations in the form of the graphic
trim display shown in the status display (parameter
Trim graph è 13.1.1)
' TIP !
Reset trim to centre
If you press both buttons for one of the trimmed axis
simultaneously, trim is set to centre for the currently
active flight phase. This applies also to throttle.
12. Creating a new model
12.1. Basic information
With the ROYALevo you create a new model by select-
ing a model template. A total of eight model templates,
or sample models, are available, sub-divided into fixed-
wing and helicopters (detailed description of model
templates è 12.4.):
1. BASIC 7. HELImech
2. ACRO 8. HELIccpm
3. HOTLINER
4. DELTA
5. GLIDER
6. 4 FLAPS
The values defined by the template serve as starting
points, and have to be adjusted to suit your model. All
the settings and definitions can be altered at any time
and changed in any way you wish.
" Take it in easy stages "
When you wish to create a new model with the
ROYALevo there are various ways you can proceed. In
our opinion the procedures described in the following
sections for fixed-wing models (è 12.2.) and helicop-
ters (è 12.3.) are the swiftest means of getting to your
destination.
12.2. A new fixed-wing model
Step ŒŒ Creating a new memory
New models are created by moving to the sub-menu
New Model in the I Memory menu (è18.6.).
This is the procedure once you have reached this menu:
1. The software automatically selects the first vacant
spot memory for the new model.
(Parameter Memory nr.)
2. You select a template to suit the model
(Parameter Template).
From the eight available model templates select
the one which is closest to your model (description
of model templates è 12.4.)
3. Choose the servo type and the servo assignment
(sequence) at the receiver.
(Parameter Servo conf.)
4. Select your preferred control mode (stick mode)
(Parameter Mode)
5. Select an assignment list (which transmitter con-
trols operate the various functions).
(Parameter Assignment)
! Note re. assignment list
In each case you must use the stated assignment
list (from the three lists available) depending on
the model template you have selected. If you do
not do this, the model template cannot be guaran-
teed to function as described in the text (è 12.4.).